This post may contain affiliate links. Please read our disclosure policy.
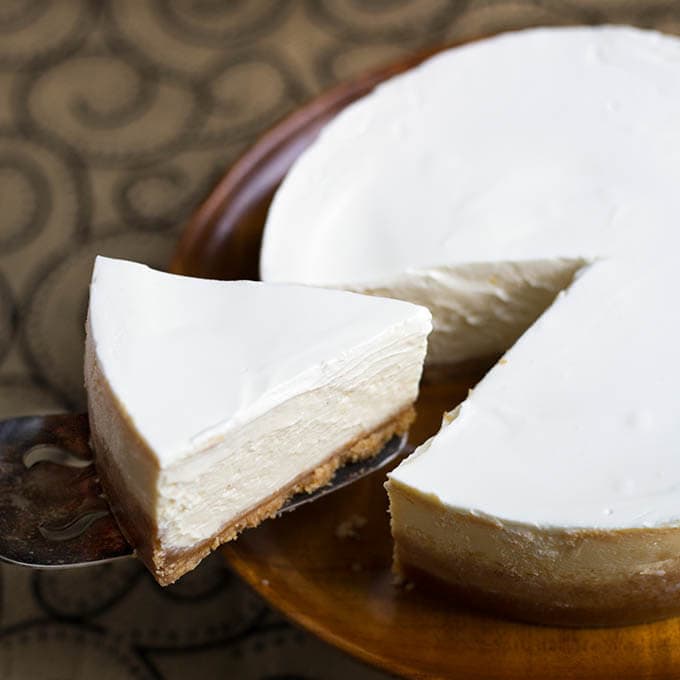
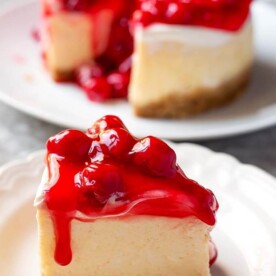
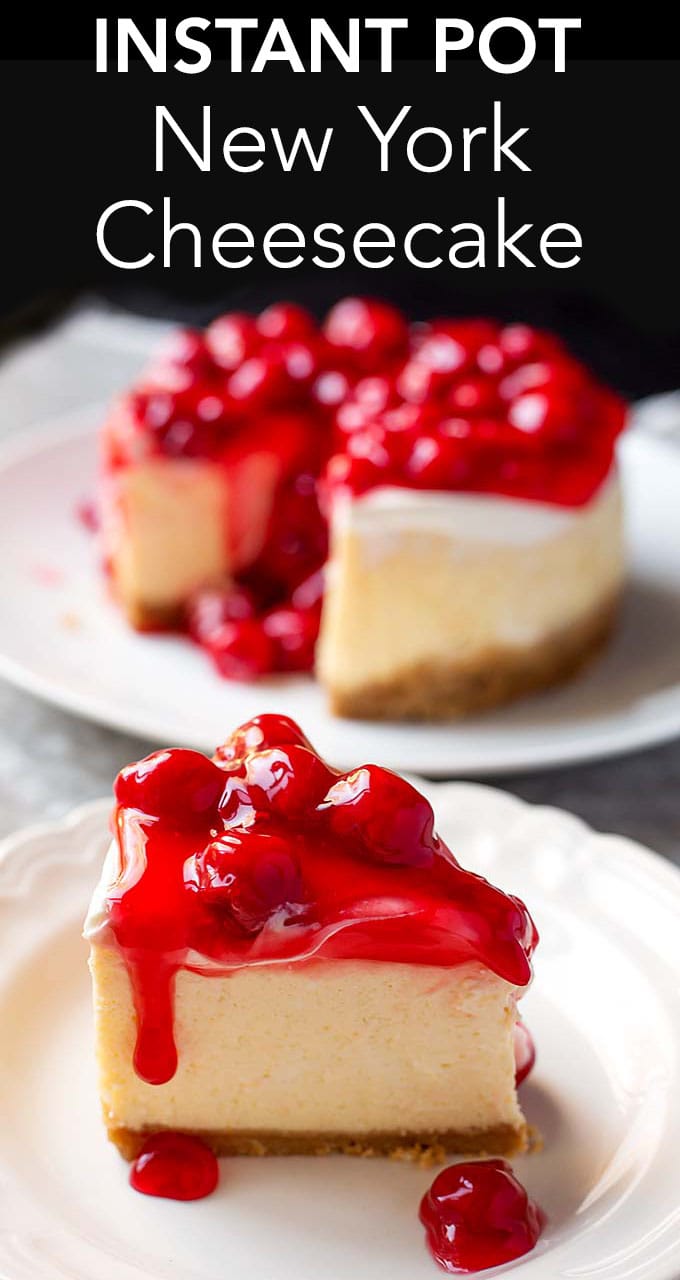
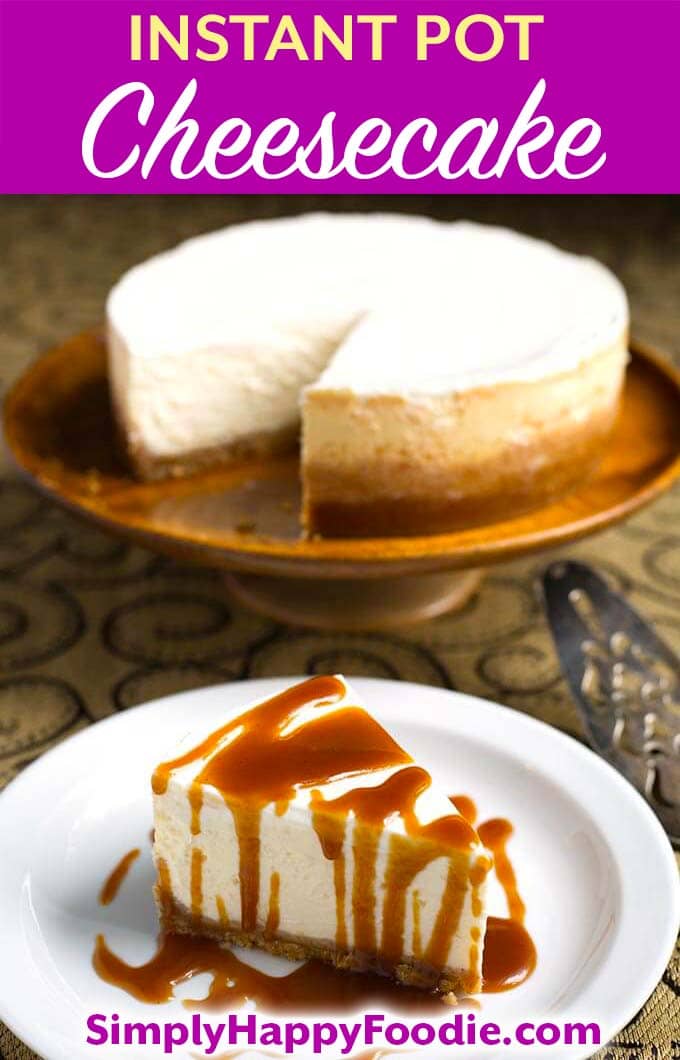
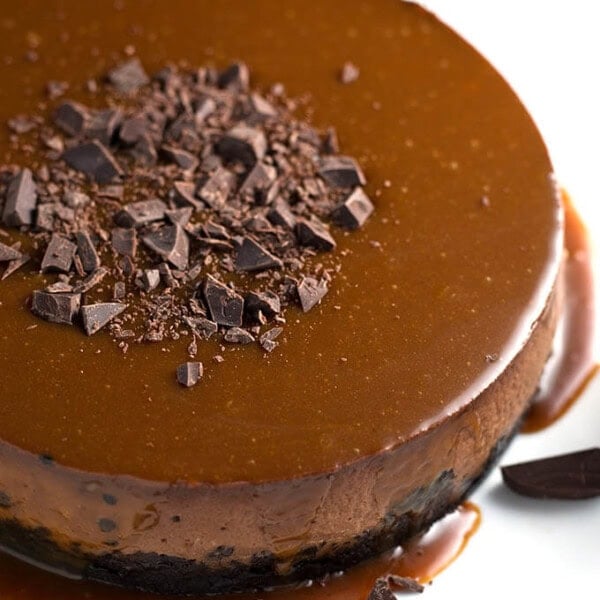
Instant Pot Cheesecake. I love it. One of my favorite desserts of all time! The classic New York Cheesecake is my favorite. I think (sometimes it’s orange, or chocolate). My Instant Pot New York Cheesecake recipe makes the creamiest, most wonderful New York Cheesecake I’ve ever had!
Instant Pot New York Cheesecake
The funny thing is. I never liked cheesecake when I was younger. I didn’t care for the density, and it was just okay in terms of flavor for me. Then when Paul and I were at a restaurant in New Orleans, I tried a bite of his cheesecake, and I really liked it! It was very creamy, and had a great flavor.
I had a hard time finding a cheesecake around here that I liked. Nothing was as creamy as the one I tried with my husband. So I started looking for a way to make one that was as good. What I didn’t realize was that the cheesecakes baked in the oven were denser, and that’s what I didn’t like. Is it just me?
When I bought my Instant Pot electric pressure cooker about 2 1/2 years ago, I learned that people were making cheesecakes in them! Interesting. So I tried a few recipes. They were okay, and getting close to what I was looking for, but not my ideal. I experimented a lot. I made so many cheesecakes in the past two years!
A friend of mind said she had the best cheesecake many years ago at Lindy’s in New York. Hmmm, that made sense, New York Cheesecake. So I found their recipe, which is quite infamous.
I was as inspired by the story and the history of Lindy’s as by the cheesecake recipe! Gangsters, movie stars, musicians, and authors all ate there, and had that cheesecake! Pretty neat!
I experimented with some variations, but did my own version. It had to be scaled way back as that recipe makes a big cake! But I was successful, and very excited to finally have a cheesecake that I really liked. Instant Pot New York Cheesecake! Now that this is THE cheesecake I like, I make it just like this, New York Style!
My family and friends love Instant Pot New York Cheesecake, and I make all of my flavored cheesecakes based off of this recipe!

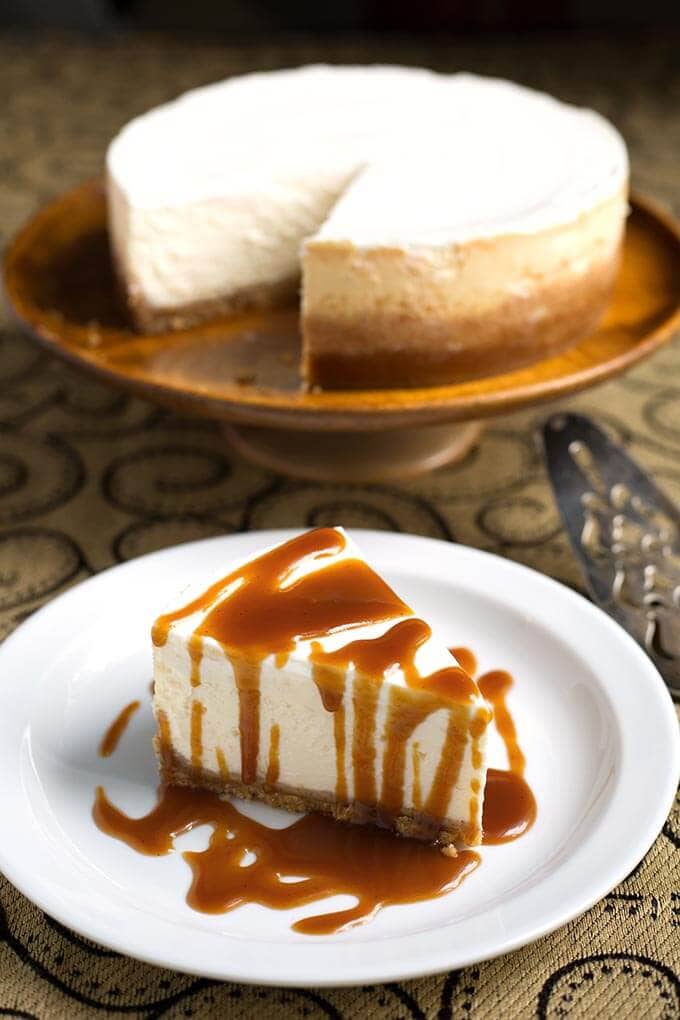
Caramel Sauce
Instant Pot Chocolate Cheesecake
Pressure Cooker Dreamy Orange Cheesecake
Instant Pot Pumpkin Cheesecake
Instant Pot Chocolate Orange Cheesecake
We are a participant in the Amazon Services LLC Associates Program, an affiliate advertising program designed to provide a means for us to earn fees by linking to Amazon.com and affiliated sites.
Instant Pot New York Cheesecake
Ingredients
Crust
- 1 cup Graham Cracker Crumbs (about 9 graham crackers)
- 1 Tbsp Sugar
- 3 Tbsp Butter melted
Cheesecake Filling
- 2 8 oz Pkgs Cream Cheese (room temp)
- ½ cup Plus 2 Tbsp Sugar
- 2 tsp Vanilla
- 3 Tbsp Heavy Cream (room temp)
- 2 tsp Corn Starch
- ½ tsp Orange Zest (optional)
- ½ tsp Lemon Zest (optional)
- 2 Eggs (room temp)
Sour Cream Layer
- ¾ cup Sour Cream
- 4 tsp Sugar
- ⅛ tsp Vanilla
Instructions
Prepare the Pan
- Use a 6 or 7 inch x 3 inch cheesecake pan (I use a 7” Fat Daddio's Push Pan (affiliate), but you can use a springform pan as well. Whatever will fit comfortably in your pressure cooker).***
- Spray the pan with baking spray. If you have parchment paper, cut a piece to fit the bottom of your pan and spray that too (or use Worthy Parchment Liners (affiliate). When using the 6" pan, you can line the sides with parchment to make a retaining wall as the filling will rise up a bit. Just cover the pan a little looser than you would with the 7".
Prepare the Pressure Cooker
- Put 1 1/2 cups of cold water in the inner liner of the pressure cooker.
- Put the trivet in the pot as well.
Prepare a Sling
- Usually made with aluminum foil, used to get the cheesecake in and out of the pot easily.
- Fold a 28” length of foil along the long end 3 times. You will end up with a sling that is 28” x 3”
Prepare the Crust
- Place the graham crackers and sugar in a food processor.
- Pulse several times until the cookies turn into fine crumbs.
- Add the melted butter and pulse several times to combine and soften the crumbs. You may need to scrape the bowl of the food processor and pulse a few more times.
- Pour crust mixture into your prepared pan and use your fingers or the bottom of a small glass to press the mixture into place. Cover the entire bottom of the pan and come up the sides a little. You do not have to come all the way up the sides. You want the crust to be about 1/4” thick or so.
- Put the pan in the freezer to chill and firm up while you prepare the cheesecake filling.
Prepare the Cheesecake Filling
- Clean the crust residue out of the food processor.
- Add the room temperature cream cheese and sugar and process until smooth and creamy.
- Add the vanilla, heavy cream, and corn starch, orange zest, and lemon zest, if using.
- Pulse several times until well combined and creamy.
- Add the room temperature eggs last. Pulse a few short bursts until just combined. If you whip the eggs too much the cheesecake will puff up and won’t have the right consistency.
- Take the crust from the freezer and pour the filling into the pan.
- Place the pan on a trivet/rack with handles and put it in the pot.
- (If using a sling) Lay the sling out and set the pan on it, centered. Gather up the two ends and very carefully lift the pan and set it in the pressure cooker, leaving the sling with it. Just fold over the two ends of the sling to the side of the pan.
Cook the Cheesecake
- Close the lid of the pressure cooker and set the steam release knob to the Sealing position.
- Press the Manual (or Pressure Cook) button and then the + or - button to choose 27 minutes, High pressure (Cook 5 minutes longer when using the 6" pan).
- When cook cycle ends, let the cooker naturally release pressure for 15 minutes. Then manually release any remaining pressure.
- When the pin drops and it is safe to open the lid.
- (If using a sling) Gather up the two ends of the sling and VERY carefully lift the cheesecake pan out of the cooker and onto a cooling rack.
- Cheesecake is done when it jiggles just a little (mostly in the center) when the pan is shook. You don't want waves. It will firm up in the fridge. If it looks to liquid, cover it back up and cook for another 5 minutes, and let naturally release for 10 minutes.
- Let cool for an hour, then put the sour cream layer on cheesecake.
Making the Sour Cream Layer
- In a bowl, mix together the sour cream, sugar, and vanilla. Mix very well to start sugar dissolving.
- Spread the sour cream layer on while the cheesecake is still warm, but not hot.
- Put the cheesecake, still in the pan, into the fridge to set-up and chill for at least 4 hours before serving. I prefer to make my cheesecake in the evening and let it cool overnight.
Serve
- Remove from the push pan by setting the pan on top of a large can and pushing the pan straight down. The pan will slide down and the bottom with the cheesecake on it will stay atop the can. Slide cheesecake onto a serving dish.
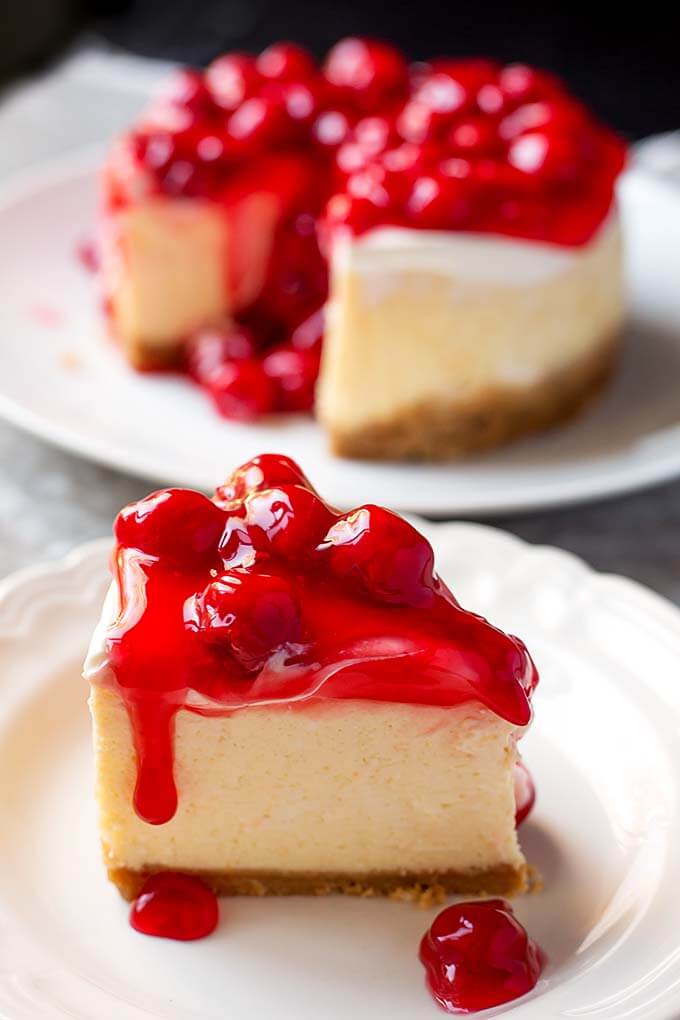
- Serve as is, which is very delicious, or top with berries, Blueberry Compote, Caramel Sauce, Lemon Curd, or whatever you like.
Notes
-------
Inspired by Lindy's famous NY Cheesecake.
Nutrition
Nutrition information is automatically calculated, so should only be used as an approximation.

RESOURCES TO MAKE INSTANT POT CHEESECAKE
We are a participant in the Amazon Services LLC Associates Program, an affiliate advertising program designed to provide a means for us to earn fees by linking to Amazon.com and affiliated sites.


I made this at Christmas. It was a huge success, several people ask me for the recipe. I was told that this cheesecake is better than a recipe for cheesecake that came from an Italian lady. I plan on making the pumpkin cheesecake soon.
Thank you for these recipes. I’ve had my IP for a while and since I found your website I’m comfortable using my IP. The way you write your recipes is so helpful to me.
I’m going to try this for the first time this weekend. Will it taste very different from the recipes that have sour cream in them? And is the texture better when cooked covered or uncovered?
I do use sour cream sometimes, but the texture of this one is creamy. I prefer to cover my cheesecakes, but lots of people want a shorter cook time, so uncovered is just an option, but still comes out creamy.
So the pan I got in my kit is 7×2. I know I won’t use all the filling. Thinking 1/2 – 1 inch from the top? How long do you think it will take to cook? 24-25 minutes?
If you line your pan with a parchment “collar” you can use all of the filling and the collar will contain it.
Are you supposed to cover the springform pan with foil when cooking? I have with other recipes..but this doesnt mention it.
No, you don’t have to. If you do cover it, the cook time will increase a bit.
Good cheesecake. Some people just don’t care for the sour cream topping so it’s necessary to cover the pan with a sheet of paper towel followed by aluminum foil crimped over the top to prevent the water drops from getting on the cake. It wasn’t a big deal to wick it off, but the craggy top could be avoided.
This one and the chocolate cheesecake recipes are pretty much flawless.
Would you cook for 40 mins like the chocolate or shorter time if cooking covered?
Yes, as covering does extend the cook time. So, 39 to 43 minutes.
Hi live in uk so can i put crushed biscuites in base please
Yes, Vivian, I like to use shortbread biscuits.
Maybe I missed it but what temp should this cook on? High, med, low?
High. All of my recipes are High pressure, unless otherwise stated. That’s because some pressure cookers don’t have low.