
This post may contain affiliate links. Please read our disclosure policy.
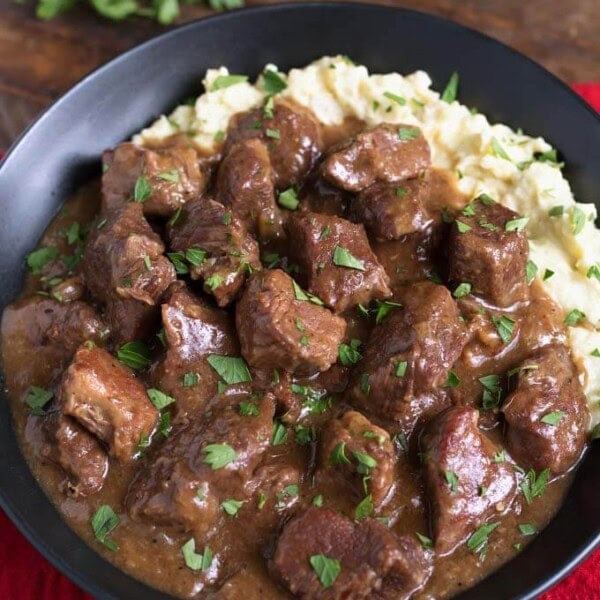
Instant Pot Mississippi Pot Roast is the perfect Instant Pot Beginner recipe! Probably the number one, most flavorful pot roasts of all time is the pressure cooker Mississippi Pot Roast. Using a nice chuck roast and yummy seasonings, this is an absolute classic pot roast with the most flavor of any I have ever had!
Originally published on 12/13/17
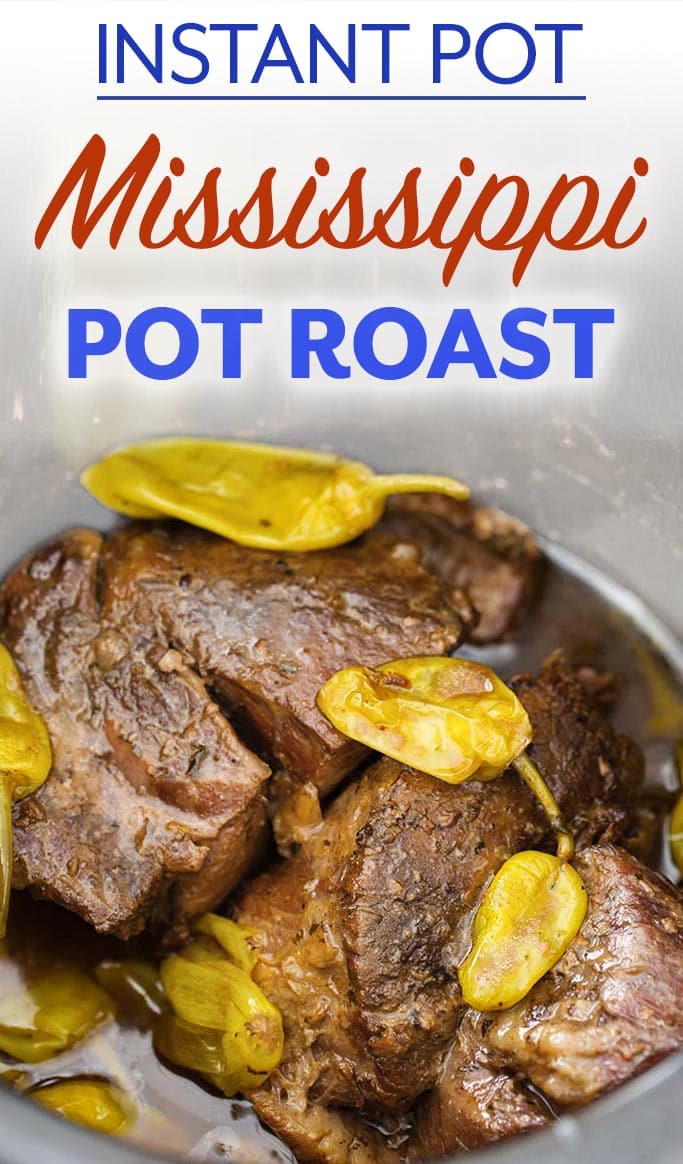
Instant Pot Mississippi Pot Roast
If you are looking for an easy, first recipe to make in your Instant Pot, this is a great one! Mississippi Pot Roast is a “Dump and Start” recipe (unless you want to brown it first), and is super delicious!
This is truly the most flavorful pot roast I have ever made. Faster than the oven or crock pot, and is incredibly delicious. I make this Instant Pot Mississippi Pot Roast several times a year, because the guys (and I) enjoy it so much!
Cooking a pot roast in your electric pressure cooker is a great time saver!
You get a tender, flavorful pot roast in a little over an hour, versus the 3 to 4 hours it normally takes in the oven, or 8 hours in the crock pot. And it tastes just as good!
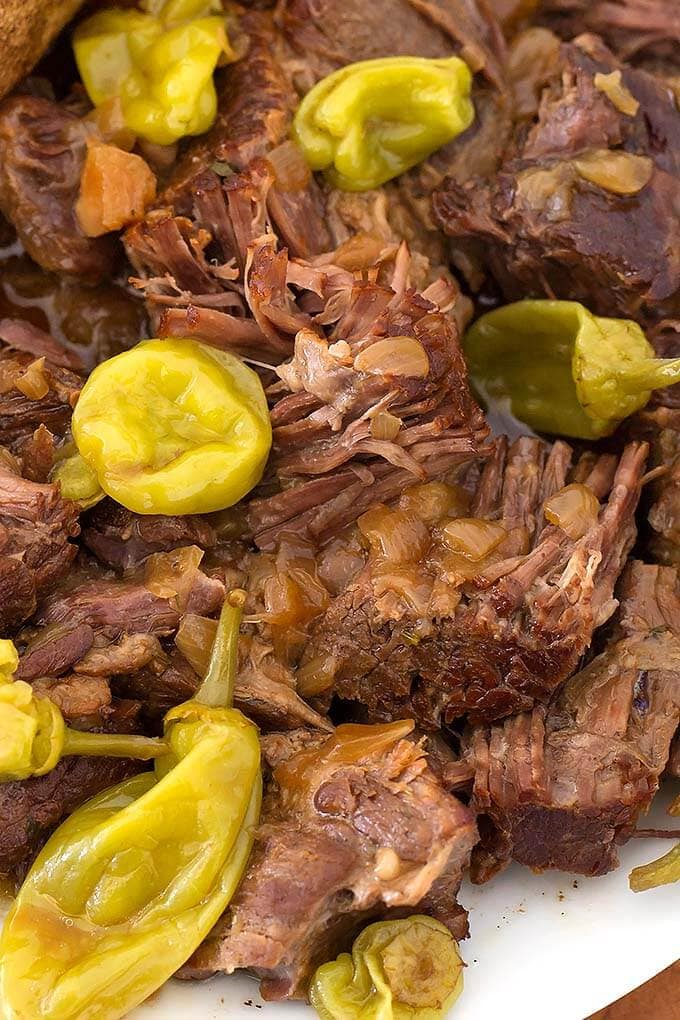
I put my own little spin on it, and add onion, which I think add so much more flavor to the recipe.
Can I use a frozen roast?
Yes, however, since you can’t cut the frozen roast into chunks, the cook time will be longer. Still less time than in the oven or slow cooker!
What about the salt?
- Mississippi Pot Roast can be a bit salty, so here are some tips to help with that:
- Use unsalted butter
- Use low or no sodium broth (or use water).
- Try to find low sodium ranch dressing mix, or make a batch of my Homemade Ranch Dressing Mix and don’t add salt (or use less).
- Rinse off the pepperoncinis and use half the amount of the juice from the jar. You can always add more after cooking if you want to.
Tips for making the best Instapot Mississippi Pot Roast
- This can be a salty meal, so use unsalted butter, and low or no sodium broth (or use water).
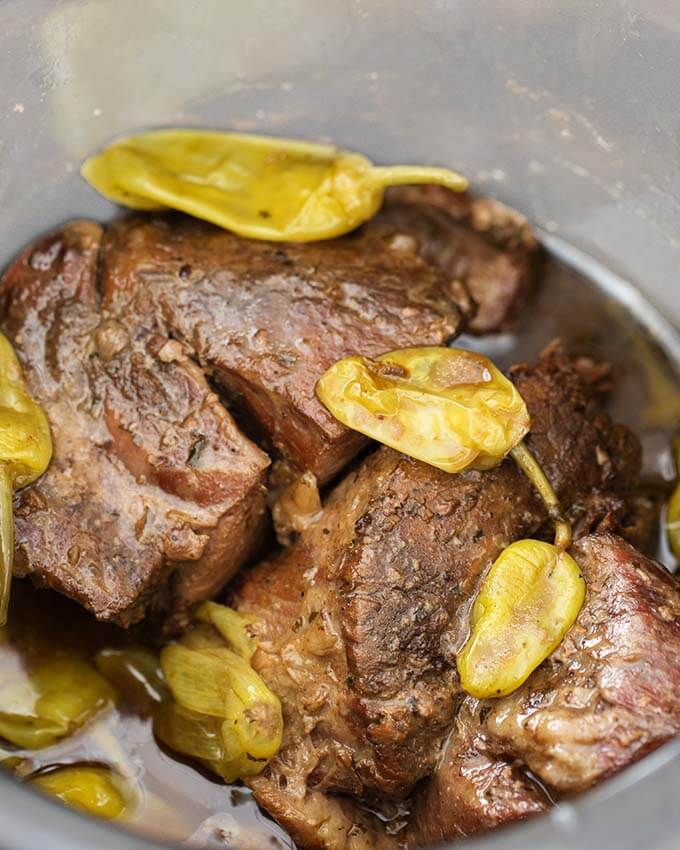
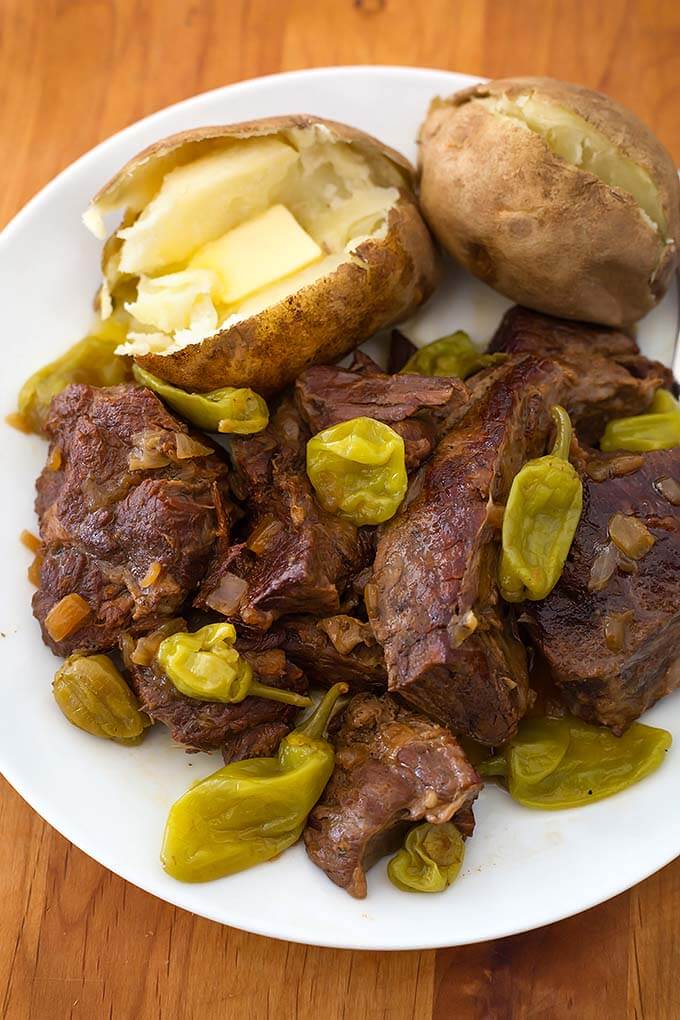
- You can buy the pepperoncinis whole or sliced. I use whole ones so Paul can pick them out, lol! The “original” variety aren’t hot, but do add a salty and tangy flavor.
- Use a well marbled chuck roast for the most flavorful and tender pressure cooker Mississippi Pot Roast.
- Browning the roast on each side first does increase the flavor, but isn’t necessary. If making this as a beginner, just dump it in and start the pot!
Robin Chapman, the original creator of the Mississippi Pot Roast, likes this pot roast in sandwiches! We use potato buns and they are so delicious!

Instant Pot Mississippi Chicken
Instant Pot Simple Pot Roast
Instant Pot Bone-In Ham
Instant Pot Creamy Mashed Potatoes


Instant Pot Mississippi Pot Roast
Ingredients
- 3-6 lbs Chuck Roast, cut into 1 pound pieces of even thickness
- 3 Tablespoons Vegetable Oil
- 1 small Onion, chopped (optional, if you don't use the onion, omit the veg oil, too)
- 9 Pepperoncinis, whole or chopped
- ½ cup Pepperoncini Juice from the jar
- 1 ½ cups Low Sodium Beef Broth, (or water)
- 1 (1 oz) packet Dry Ranch Dressing Mix
- 1 (1 oz) packet Au Jus (or packet of brown gravy mix)
- 4 Tablespoons Butter, unsalted
For Gravy
- 3 Tablespoons Flour
- 3 Tablespoons Softened Butter, unsalted
Instructions
- Turn pot on Sauté mode (normal heat). When the display reads "Hot" add the oil.
- When oil heats up, place meat in one layer into the pot and don't move it for 5 full minutes (Don't brown for less than that).
- Turn meat over and cook for another 5 full minutes.
- Remove the meat to a dish and cover with foil to keep it warm.
Deglaze the Pot
- Add the onion and a bit of the beef broth to the pot and stir to loosen the brown bits from the bottom of the pot. As you stir, scrape the bottom of the pot with a wooden spoon until the bottom is free of all of the stuck on brown bits.
- Add the pepperoncinis and their juice, beef broth, au jus and ranch packets, and butter. Stir to combine.
- Turn off the sauté mode.
Pressure Cook the Roast
- Add the meat back into the pot.
- Close lid and set the steam release knob knob to the Sealing position.
- Press the 'Pressure Cook' or 'Manual' button (or dial) then the +/- button to select 60 minutes. High Pressure. It will take several minutes to build pressure.
- When the cooking cycle ends, let the pot sit undisturbed and count up to 15 min (15 minute natural pressure release, or NPR).
- After the 15 minute NPR, turn off the pot and manually release the remaining pressure by turning the steam release knob to the Venting position.
- When the pin in the lid drops back down, open the lid.
- Remove the pot roast to a plate and cover.
Make the Gravy
- Turn the Sauté function back on.
- Mix the flour and softened butter together until well combined.
- When the liquid is starting to simmer, add the mixture to the pot, stirring well until thickened. Then turn off the pot and add the roast back in.
- Enjoy with mashed or baked potatoes, or over rice.
Notes
Nutrition
Nutrition information is automatically calculated, so should only be used as an approximation.
Pin This pressure cooker Mississippi Pot Roast Recipe


Man this thing just eats ! I browned the heck out it – omg so good. Served it on soft bakery fresh hoagie bread with mayo and melted mozzarella. It honestly was so good ! . Thank you !
Absolutely the best pot roast I have ever eaten. Tangy, meaty, just wonderful.
I have made this recipe multiple times over the past year and it’s always a hit!
Delicious recipe! My substitutions were using veggie “better than bouillon” mixed with water instead of beef broth, as that’s what I had, and using banana peppers instead of pepperoncini’s to cut down on the spiciness. Tasted great!
This is me and my daughter‘s favorite meal. Sometimes I make the gravy, and sometimes we just use the juices. I forgot to add the chopped onions in the beginning, so I just sautéed some with sliced mushrooms and added them to the juices after removing the meat after the house was up. I also didn’t have any beef broth so had to use just water with the pepperoncini juice, and it still turned out delicious. The juices from the meat did the trick.
It’s so easy to make, you’d never know it didn’t take hours!
Can I do this in a 6qt instant pot?
Yes, that’s what I use.
We are big fans of Mississippi Pot roast in my house. Forgot to take the meat out yesterday so I started to defrost it under water while I looked for recipes. I’m so happy I found this one! It was FANTASTIC!! I’ll probably do it like this from now on rather than putting it in the crock pot. Super flavorful and tender. Thank you!
Can you substitute banana peppers for the pepperoncini?
Yes, they may not be as zingy, but as long as you enjoy the flavor, that’s fine!
This is the only way we make roast now! So delicious 😋 I add carrots, mushrooms and small potatoes in the pot as well.
Your website is full of great recipes, and this is my favorite so far!