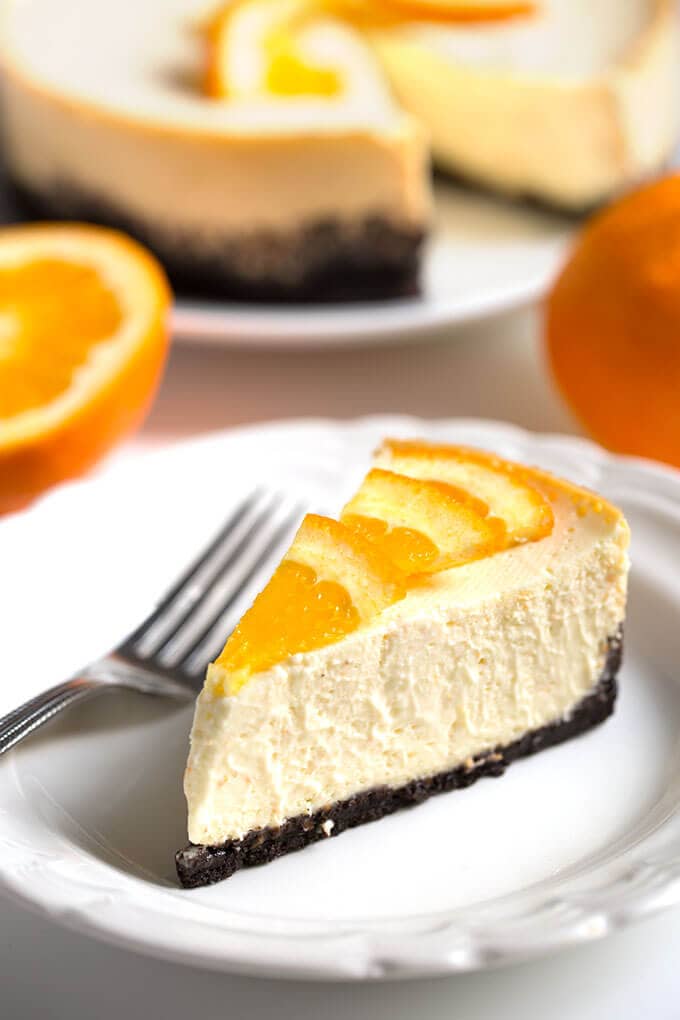
Pressure Cooker Dreamy Orange Cheesecake has become my number one favorite cheesecakes of ALL TIME! I make cheesecake in my Instant Pot often, and I love how creamy it turns out! You can make an amazing Instant Pot orange cheesecake in your electric pressure cooker!
Pressure Cooker Dreamy Orange Cheesecake
This is the cheesecake I've been dreaming about adapting for a long time. When I made my first pressure cooker cheesecake in my Instant Pot, I knew that someday I would come up with a recipe for this family favorite orange cheesecake that would be worthy of the best party or special occasion. And I did!
Do you like orange? Do you like chocolate? Me too, so I combined them in one incredible cheesecake. Pressure Cooker Dreamy Orange Cheesecake has a crust made from chocolate sandwich cookies that I scraped the filling out of. If I could find those without filling, that would be great. But it didn't take long. The cheesecake filling has orange zest and fresh orange juice. You need to use fresh for the best results.
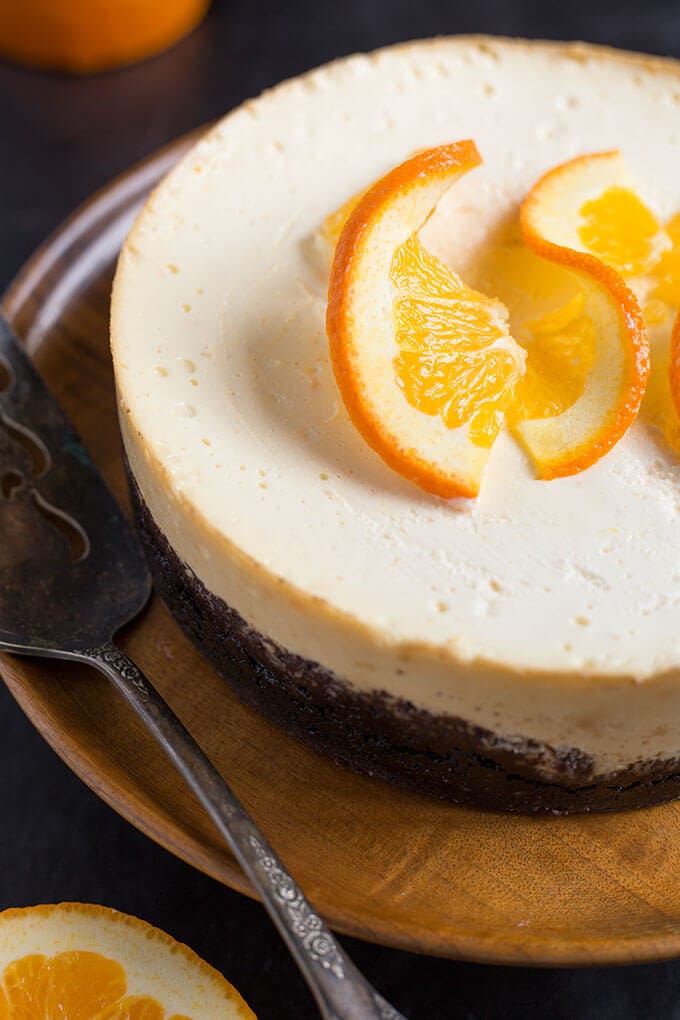
When I make something that tastes this good, I have to send it with Paul to work. His coworkers get to enjoy some homemade treats while the temptation is out of my way. I could seriously eat the entire cheesecake in one day.
If you love cheesecake, try my other scrumptious recipes:
Instant Pot Chocolate Cheesecake
Instant Pot Pumpkin Cheesecake
Instant Pot New York Cheesecake
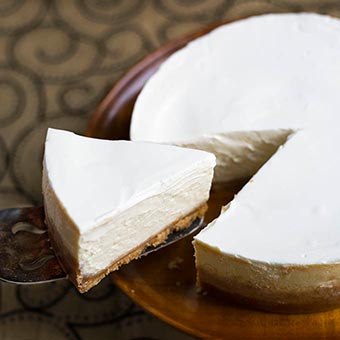

The taste of fresh orange in a creamy cheesecake. A chocolate crust is a combination of crisp and sweet and goes perfectly with the orange flavor! Cook this cheesecake in your electric pressure cooker!
- 20 Chocolate Sandwich Cookies, filling scraped out
- 1 Tbsp Sugar
- 3 Tbsp Butter, melted
- 2 8oz Pkgs Cream Cheese, room temp
- ½ cup Sugar
- 2 ½ tsp Orange Zest
- 2 Tbsp Orange Juice
- 1 tsp Lemon Juice
- 2 tsp Vanilla
- ½ cup Sour Cream
- ½ cup Heavy Cream
- 2 Eggs, room temp
-
Use a 7 or 8 inch cheesecake pan (I use a 7” push pan, but you can use a springform pan as well. Whatever will fit comfortably in your pressure cooker).
-
Spray the pan with baking spray. If you have parchment paper, cut a piece to fit the bottom of your pan and spray that too.
-
Put 1 ½ cups of water in the inner liner of the pressure cooker.
-
Put the trivet in the pot as well.
-
Usually made with aluminum foil, used to get the cheesecake in and out of the pot easily.
-
Fold a 28” length of foil along the long end 3 times. You will end up with a sling that is 28” x 3”
-
Scrape the filling out of the cookies and place them in a food processor. Discard the filling.
-
Add 1 Tbsp sugar.
-
Pulse several times until the cookies turn into crumbs.
-
Add the melted butter and pulse several times to combine and soften the crumbs. You may need to scrape the bowl of the food processor and pulse a few more times.
-
Pour crust mixture into your prepared pan and use your fingers or the bottom of a small glass to press the mixture into place. Cover the entire bottom of the pan and come up the sides a little. You do not have to come all the way up the sides. You want the crust to be about ¼” thick or so.
-
Put the pan in the freezer to chill and firm up while you prepare the cheesecake filling.
-
Clean the crust residue out of the food processor.
-
Add the cream cheese and sugar and process until smooth and creamy.
-
Add the orange zest, orange juice, lemon juice, vanilla, sour cream, and heavy cream.
-
Pulse a several times until well combined.
-
Add the eggs last. Pulse just until combined. If you whip the eggs too much the cheesecake will puff up and won’t have the right consistency.
-
Take the crust from the freezer and pour the filling into the pan.
-
Cover the pan with a paper towel, then with a piece of foil. Crimp the edges around the pan so it stays taut and secure.
-
Lay the sling out and set the pan on it, centered. Gather up the two ends and very carefully lift the pan and set it in the pressure cooker, leaving the sling with it. Just fold over the two ends of the sling on top of the pan.
-
Close the lid of the pressure cooker and set the steam vent to the Sealing position.
-
Press the Manual (or Pressure Cook) button and then the + or - button to choose 36 minutes.
-
When cook cycle ends, let the cooker naturally release pressure for 15 minutes. Then manually release the remaining pressure.
-
When the pin drops and it is safe to open the lid, do so carefully, facing away from you.
-
Gather up the two ends of the sling and VERY carefully lift the cheesecake pan out of the cooker and onto a cooling rack.
-
Leave covered for a 10 minutes, then carefully peel off the foil/paper towel.
-
Test the doneness: The cheesecake should be a little jiggly when you shake the pan. It will firm up in the fridge. You don't want it really jiggly, and if it is, put the foil/paper towel back on and cook it for 5 more minutes, with a 10-15 minute Natural Release.
-
Let cool for an hour, then put the pan in the fridge to chill for at least 4 hours before serving. I prefer to make my cheesecake in the evening and let it cool overnight.
-
Remove from pan and serve as is, or with whipped cream.
Resources to make Pressure Cooker Dreamy Orange Cheesecake:
We are a participant in the Amazon Services LLC Associates Program, an affiliate advertising program designed to provide a means for us to earn fees by linking to Amazon.com and affiliated sites.




DanJMartin
Hi,
Thank you for this recipe! I followed it pretty closely while veganizing it (for example, I used Tofutti better than cream cheese, Earth Balance buttery spread, Follow your Heart Vegan Egg, and chocolate Belvita cookies) and it came out pretty good! 😅 I wonder how does one get the cheese cake out of the pan if not using a spring form pan? I used parchment paper on the inside of the pan and it worked but it left the edges looking not at all pretty. Thank you again!
Andrea Wendlandt
First time making this and I put it in for the 35min, still raw, put it back in ip for another 15min, still raw and liquidy, putting it back in for another 15...In think there's too much liquid ingredients in this recipe
Sandy
Oh no! I'm sorry that happened. That is so strange because I have made this many times. Is your pot on High pressure? Sealing properly with no steam leaking? Did you do a 15 minute natural release? Leave it covered for 10 minutes after taking it out of the pot? What kind of pan did you use? Also, it can be a little jiggly in the middle. It firms up when chilled.
Claire
I noticed other cheesecake Insta pot recipes have 2 tablespoons of flour in the filling
Sandy
It isn't necessary, but it makes it a little denser.
Karen
I really don’t feel like the filling is even noticeable in these kinds of crusts, but another option for you could be chocolate Teddy Grahams. Thanks for sharing this recipe- can’t wait to try it.
Sandy
Thanks Karen. It is a bit of work to scrape them all. I know some folks don't like the high fructose corn syrup in the filling, so scraping it out and adding sugar, or not is an option for those folks. I myself have not tried this with the filling, so I might have to do that! I like the idea of the Teddys, thank you for the tip!
Cynthia Desimone
Would orange extract be ok in place of orange zest?
Sandy
I think so. I don't know the equivalent, so hopefully there is a chart of something to show you.
Julie Meadows
Looks yummy. Would orange oil be a good substitute for the orange juice?
Sandy
I think so. Go easy on it as the zest is strong.