This post may contain affiliate links. Please read our disclosure policy.
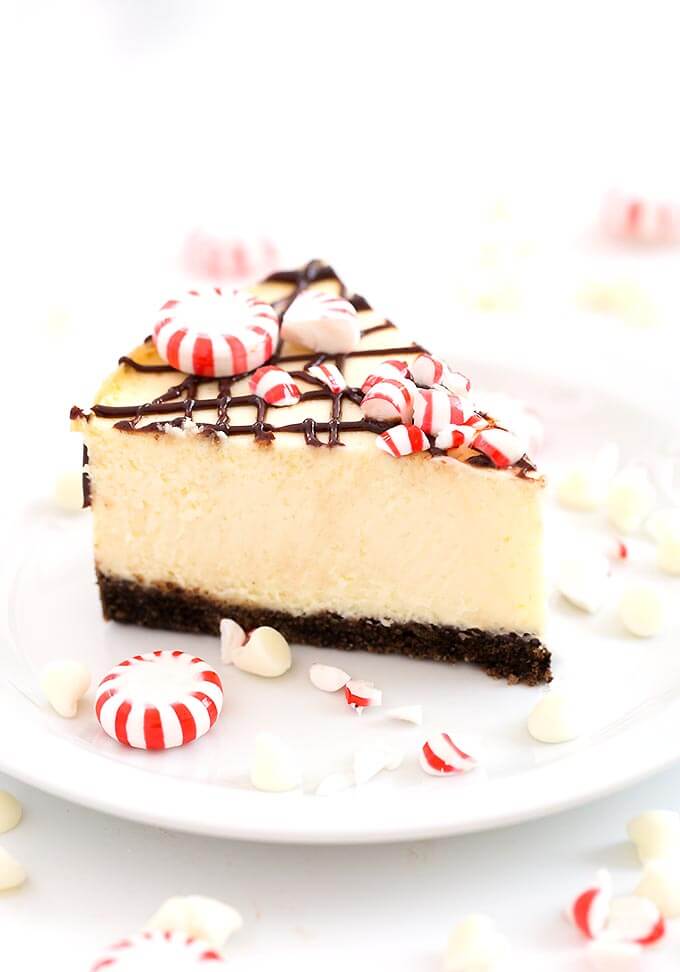
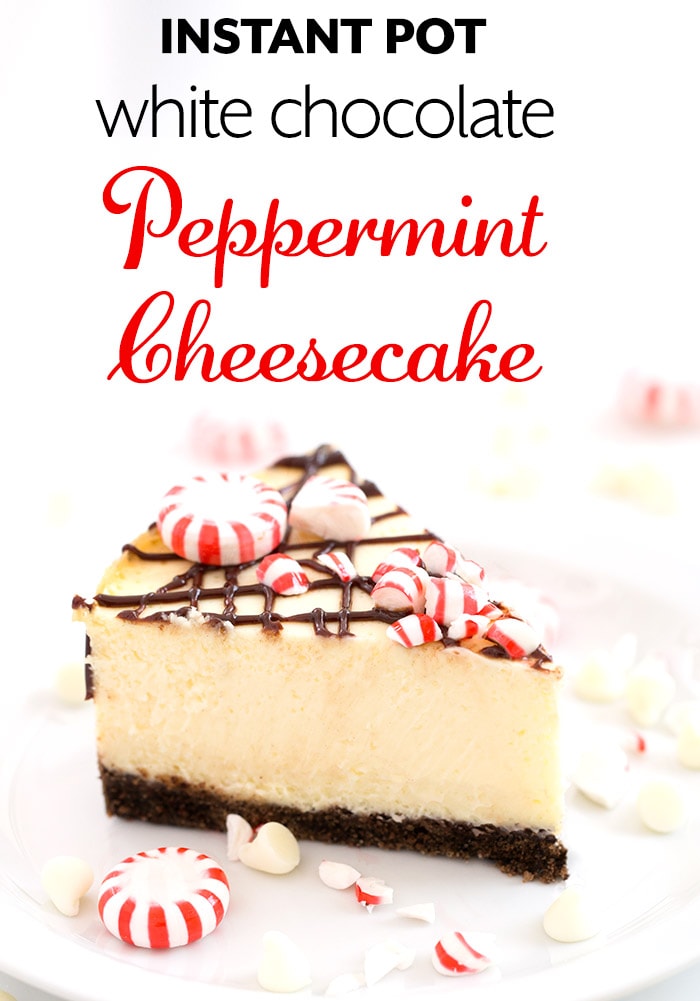
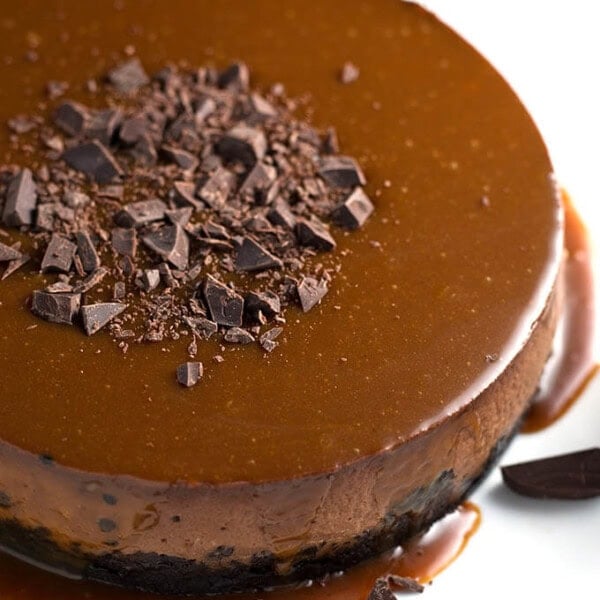
The Holidays can now officially begin, for I give you a wonderful dessert, Instant Pot White Chocolate Peppermint Cheesecake! So string those lights, hang a wreath, and light those candles, or whatever traditions you do to begin this wonderful time of the year! You won’t have to worry about what to bring to the feast, because this cheesecake is one that will be remembered!
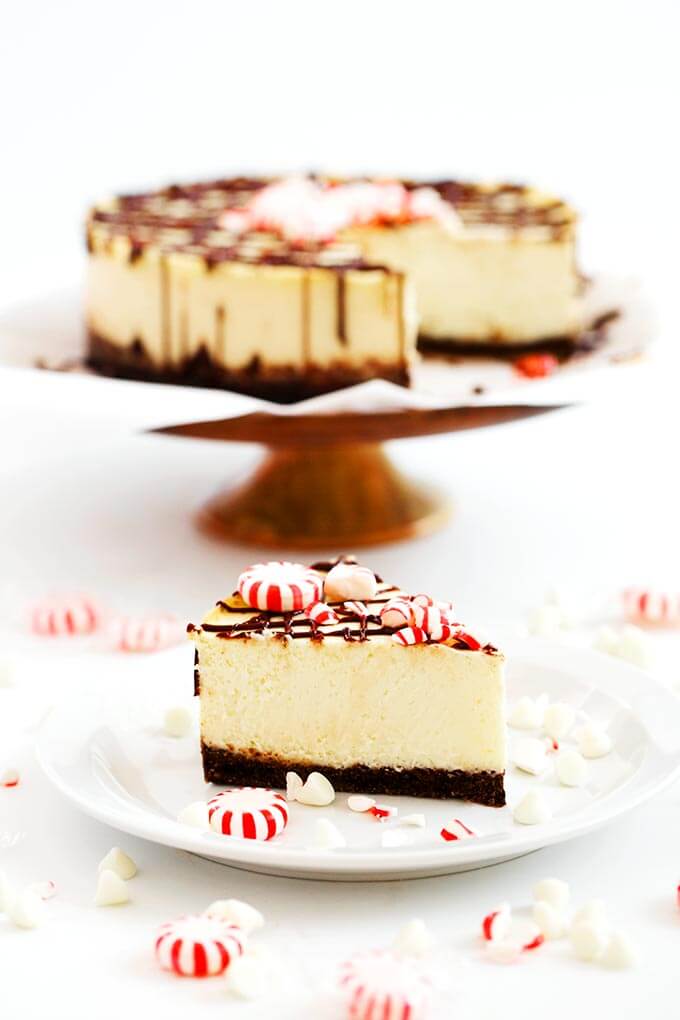
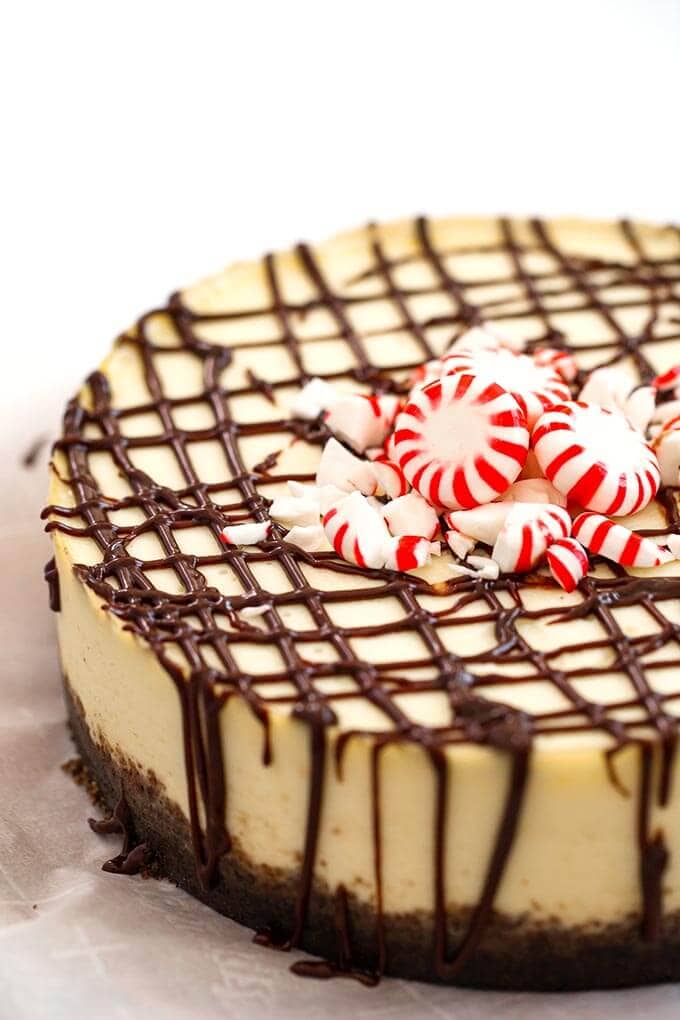
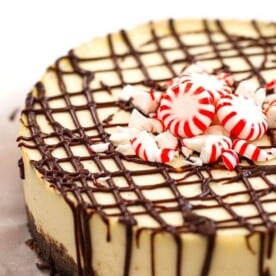
Instant Pot White Chocolate Peppermint Cheesecake
Peppermint is one of those smells that I associate with my grandparents’ home. They always had a patch of mint growing along their old wooden fence. Nana said it kept the ants away. Grandpa liked to pluck a leaf off of the plant and chew it. I tried it, but it was too strong for me! But I love mint in so many things!
The idea for this cheesecake came to me when Paul and I were taste testing my Chocolate Orange Cheesecake, which is amazing! I told him I wanted to do something that really says ‘Holiday’.
Then we started tossing out ideas, and I said mint, but there needs to be something else. Then it came to me, white chocolate! It’s funny because I don’t care for white chocolate. But I decided I would make it and let others be the judge. So, Instant Pot White Chocolate Cheesecake was born!
Once it came out, and the taste testers liked it, I tried it too. I have to tell you. now I like white chocolate again! Man is this delicious! And it definitely says HOLIDAY!
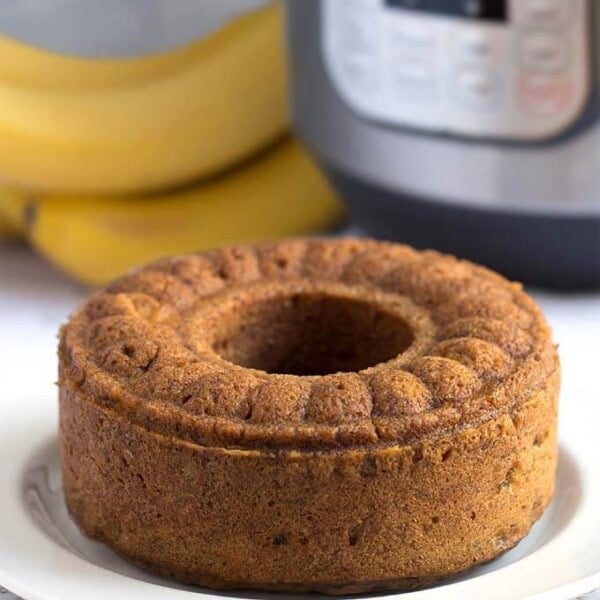
If you love cheesecake, try my other scrumptious recipes:
Instant Pot Pumpkin Cheesecake
Instant Pot Eggnog Cheesecake
Instant Pot Chocolate Cheesecake
Instant Pot Chocolate Orange Cheesecake
Instant Pot New York Cheesecake
Pin this recipe
We are a participant in the Amazon Services LLC Associates Program, an affiliate advertising program designed to provide a means for us to earn fees by linking to Amazon.com and affiliated sites.
Instant Pot White Chocolate Peppermint Cheesecake
Ingredients
Chocolate Crust
- 20 Chocolate Sandwich Cookies (filling scraped out so you have 40 halves)
- 1 Tbsp Sugar
- 3 Tbsp Butter, melted
Cheesecake Filling
- 2 8 oz Pkgs Cream Cheese, room temp
- ½ cup Sugar
- 2 tsp Vanilla
- 1 cup White Chocolate Chips
- ½ cup Heavy Cream, room temp
- ¾ tsp Peppermint Extract
- ½ cup Sour Cream
- 2 tsp Corn Starch
- 3 Eggs, room temp
Chocolate Ganache Drizzle Topping (Optional)
- ½ cup Chocolate Chips semi sweet
- ⅓ cup Heavy Cream
Instructions
Prepare the Pan
- Use a 7 or 8 inch cheesecake pan (I use a push pan, but you can use a springform pan as well. Whatever will fit comfortably in your pressure cooker and hold all of the filling).
- If using a 2" high pan or a 6" pan, line the sides with parchment that stands above the rim at least 2 1/2". This will give the extra batter room, and contain the cheesecake when it rises.
- Spray the pan with baking spray. If you have parchment paper, cut a piece to fit the bottom of your pan and spray that too (I use parchment liners).
Prepare the Pressure Cooker
- Put 1 1/2 cups of water in the inner liner of the pressure cooker.
- Put the trivet in the pot as well.
Prepare a Sling
- Usually made with aluminum foil, used to get the cheesecake in and out of the pot easily.
- Fold a 28” length of foil along the long end 3 times. You will end up with a sling that is 28” x 3”
Prepare the Crust
- Scrape the filling out of the cookies and place them in a food processor. Discard the filling.
- Add the sugar and pulse several times until the cookies turn into fine crumbs.
- Add the melted butter and pulse several times to combine and soften the crumbs. You may need to scrape the bowl of the food processor and pulse a few more times.
- Pour crust mixture into your prepared pan and use your fingers or the bottom of a small glass (or a tamper) to press the mixture into place. Cover the entire bottom of the pan and come up the sides a little. You do not have to come all the way up the sides. You want the crust to be about 1/4” thick or so.
- Put the pan in the freezer to chill and firm up while you prepare the cheesecake filling.
Prepare the Cheesecake Filling
- Clean the crust residue out of the food processor.
- Add the cream cheese, sugar, and vanilla and process until smooth and creamy.
- Pulse a several times until well combined.
- In a microwave safe bowl, add the white chocolate chips and heavy cream. Heat for 25 seconds in microwave. Stir very well and put back in for another 25 seconds. Stir very well again. It may take a couple minutes of stirring to become creamy, which is what you want.
- Let it cool to luke-warm, then stir in the sour cream (which helps cool it), and add it to the cream cheese mixture.
- Add the peppermint extract and the corn starch. Pulse several times to combine. Then process for a minute to make it smooth and creamy.
- Add the eggs last. Pulse just until combined. If you whip the eggs too much the cheesecake will puff up and won’t have the right consistency.
- Take the crust from the freezer and pour the filling into the pan.
- Cover the pan with a paper towel, then with a piece of foil. Crimp the edges around the pan so it stays taut and secure.
- Lay the sling out and set the pan on it, centered. Gather up the two ends and very carefully lift the pan and set it in the pressure cooker, leaving the sling with it. Just fold over the two ends of the sling on top of the pan.
Cook the Cheesecake
- Close the lid of the pressure cooker and set the steam vent to the Sealing position.
- Press the Manual (or Pressure Cook) button/dial and then the + or - button to choose 45 minutes.
- When cook cycle ends, let the cooker naturally release pressure until the pin in the lid drops down. Then turn off the pot and open the lid, but let the cheesecake sit in the pot for another 10 minutes. Cooling it slowly helps eliminate cracks.
- Gather up the two ends of the sling and VERY carefully lift the cheesecake pan out of the cooker and onto a cooling rack.
- Leave covered for 10 minutes, then carefully peel off the foil/paper towel and check for doneness.
- Cheesecake is done when it jiggles just a little when the pan is shook. You don't want waves, but it should jiggle a little. It will firm up in the fridge. If it looks too loose, cover it back up and cook for another 5 minutes, and let naturally release for 15 minutes.
- Let cool for an hour, then put the pan in the fridge to chill for at least 4 hours before serving. I prefer to make my cheesecake in the evening and let it cool overnight.
- After the cheesecake is cooled and set, you can remove it from the pan and decorate, if desired.
Chocolate Ganache Topping (Optional)
- In a microwave safe bowl, add the chocolate chips and heavy cream. Heat for 25 seconds in microwave. Stir very well and put back in for another 25 seconds. Stir very well again. It may take a couple minutes of stirring to become creamy and glossy.
- Drizzle over the cooled cheesecake and let set up in the refrigerator.
Notes
An 8 inch pan will take about 5 minutes less cook time. Altitude affects cook time.
Nutrition
Nutrition information is automatically calculated, so should only be used as an approximation.

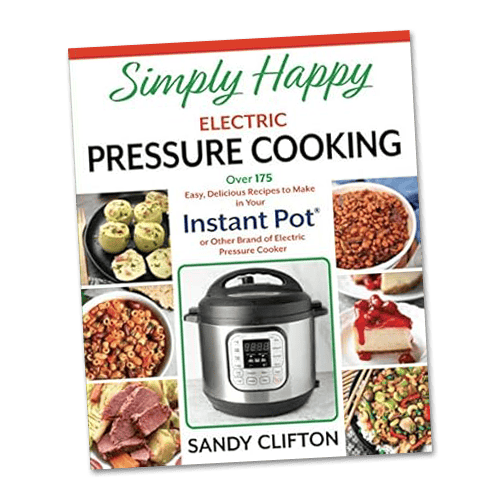
RESOURCES TO MAKE Instant Pot White Chocolate Peppermint Cheesecake and more
We are a participant in the Amazon Services LLC Associates Program, an affiliate advertising program designed to provide a means for us to earn fees by linking to Amazon.com and affiliated sites.


Was absolutely delish! Making again for the 2nd time 😉 The first time was in my 7” pan but I ordered an 8” so all the batter fit in great! I have an 8 qt. Foregoing the mint this time and doing lemon with a powdered sugar sprinkle. Thanks for the cheesecake recipe!
My pan is a 7″ springform. I made some ramekins and put them in the oven. I did not line the springform with parchment. I have some concerns because I did not overmix the batter. I did mix the batter up in my stand mixer. I should have thought about this because my normal instant pot cheesecake recipe fills the pan almost to the top and that is not with the extra cup of white chocolate and the 3rd egg though. I love the flavor of the cheesecake and hope it sets up well, it’s in the fridge now. I’ll let you know how it turns out! thanks for getting back to me and have a happy New Year!
Happy New Year, Sho! I hope it works for you!
I made this and I really am happy right now.
Yay!
Your recipe doesn’t say anything about putting water in the IP or a trivet for the cheesecake pan to sit on. Aren’t both necessary?
Hi Carol, yes, it’s all there. I broke it up in to sections so it would read easier. Prepare the Pan. Prepare the cooker, prepare the sling, etc. Under Instructions. Please let me know if this isn’t showing. I just saw it on my Safari and Chrome browsers. Thank you for the comment.