This post may contain affiliate links. Please read our disclosure policy.
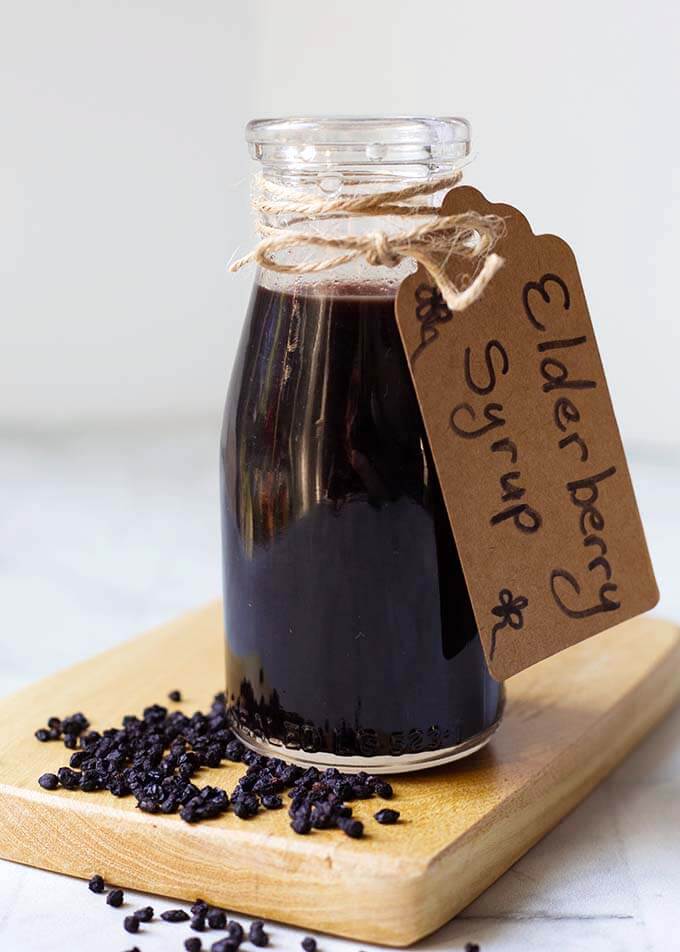
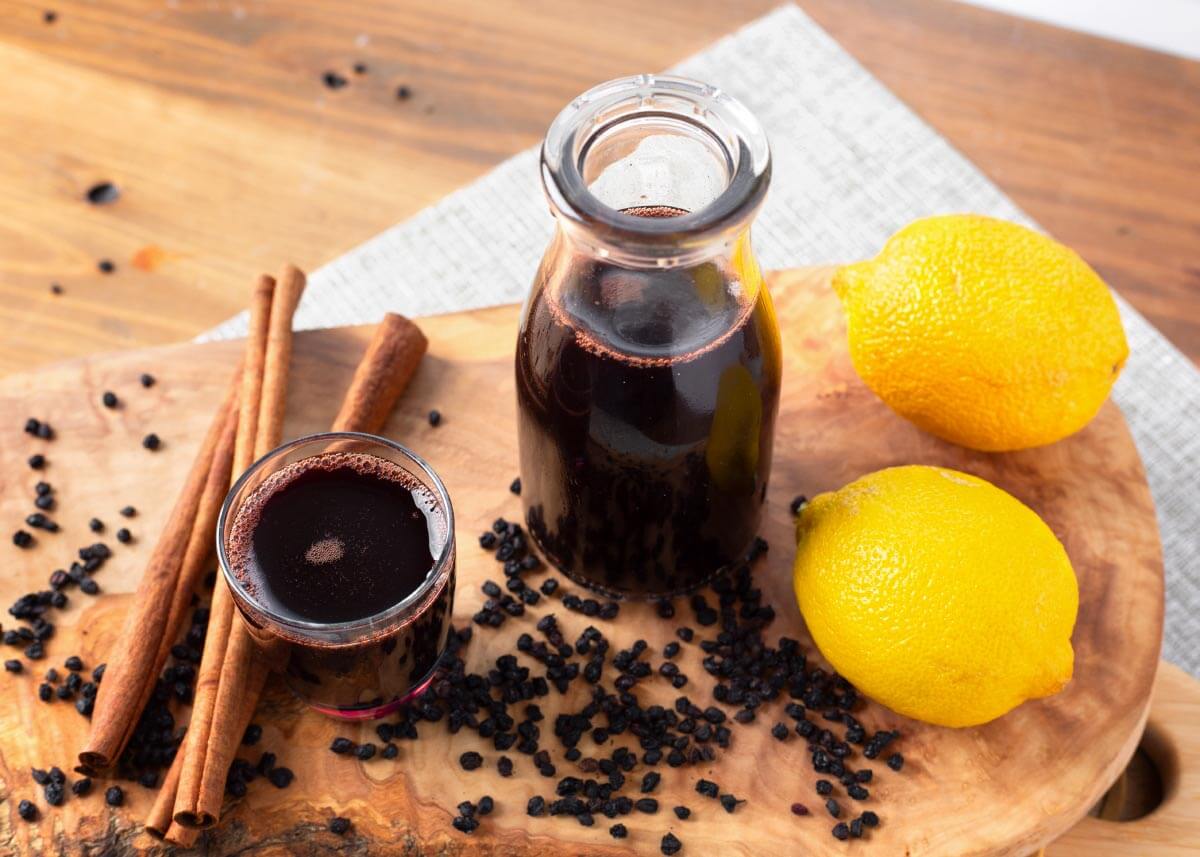
Instant Pot Elderberry Syrup is a wonderful, earthy and sweet syrup. It is believed to be a great antioxidant, and a possible natural remedy for warding off colds and the flu. This Pressure cooker Elderberry Syrup recipe has extra aromatic ingredients to enhance the flavor. Easy to make from dried or fresh elderberries, and it tastes great!
Recipe Updated 1/2019, and 10/2025
Pressure Cooker Elderberry Syrup
With cold and flu season upon us, I like to have something on hand to take daily that I feel will boost my immunity and help fight off sickness. That’s one of the reasons I make Elderberry Syrup.
Truthfully, I have no proof that it works, but I’m pretty healthy, and it tastes great. So I make it and take it!
Which Elderberries To Use For Syrup?
Best Choice: Black Elderberries
Use black elderberries (Sambucus nigra or S. canadensis). They’re the classic choice for syrup and the kind most dried berries are made from.
Dried Elderberries vs. Fresh Elderberries
- Dried elderberries are easy to find, store well, and make consistent syrup year-round. I usually use organic, non-irradiated dried elderberries, but any good-quality dried berries will work.
- Fresh elderberries are lovely in season. Make sure they’re fully ripe (deep purple/black) and free of leaves & stems.
Amount guide: As a rough swap, 1 cup dried elderberries ≈ 2½–3 cups fresh after removing stems.
What To Avoid
- Red elderberries (Sambucus racemosa) — not the same thing; skip these.
- Unripe (green) berries, stems, leaves, and twigs — don’t use them in syrup.
- Berries that smell musty or look dusty/brown.
Buying Tips: Look for berries that are deep purple/black with an even size and minimal stems. Choose reputable herb shops or suppliers that clearly label the species and processing (e.g., “organic,” “non-irradiated,” country of origin, harvest year).
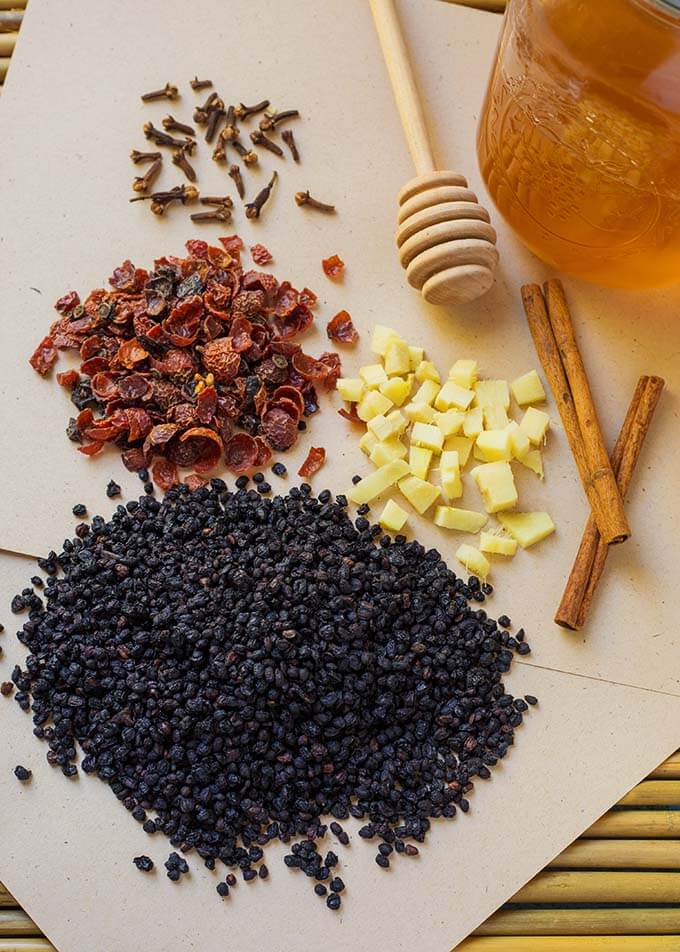
Add-Ins for Elderberry Syrup
Some of the ingredients you can add to your Instant Pot Elderberry Syrup:
- Dried Elderberries (my preference)
- Whole Cloves
- Rose Hips
- Ginger
- Raw Honey
- Cinnamon
- Lemon (which I forgot to put in the photo!)
You can use this Pressure Cooker Elderberry Syrup for many other things
• Splashed in a glass of Soda Water
• In a Cocktail (Elderberry Martini?)
• On Pancakes
• Over Ice Cream
• In Yogurt
• In Oatmeal
• Salad Dressing
• Added to Smoothies
• In Tea
• By the Spoonful
I use it for several of the things I mentioned above. It’s delicious, so why not?!
For maintenance, I take 1-2 Tbsp. a day. If I feel a cold or flu coming on, I take it 3-4 times a day (just my preference, not medical or health advice at all).
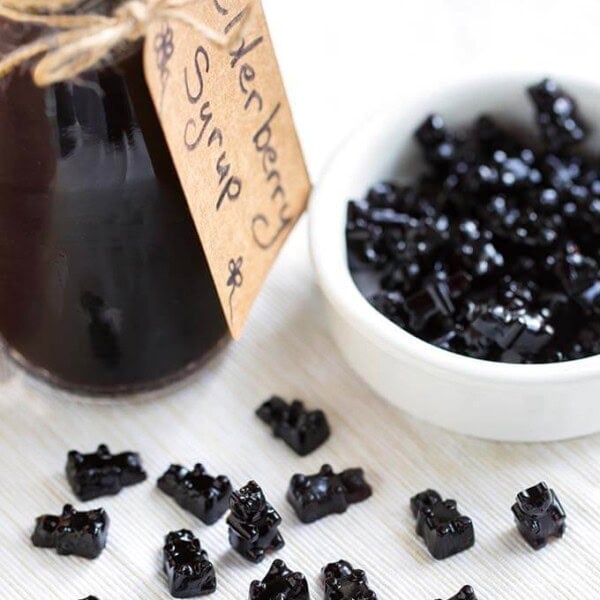
Here’s the link to my Elderberry Syrup Gummies recipe: Elderberry Syrup Gummies
Elderberry Storage
Dried Elderberries
Keep dried elderberries in an airtight jar in a cool, dark cupboard. Use within a year for the best flavor. If the aroma fades, it’s time for a new bag.
Note: Flavor and quality depend more on freshness, variety, and handling than on organic/irradiated status. Safety comes from proper cooking and straining, which this recipe includes.
Fresh Elderberries
Fridge: Keep unwashed clusters in a shallow container, loosely covered; use within 1–3 days.
Wash last: Rinse right before cooking.
Freeze: Strip berries and freeze on a sheet, then bag airtight — or freeze whole clusters and strip while frozen. Use within 6–12 months.
Elderberry Syrup Storage & Shelf Life
Refrigerate
Pour into clean glass jars/bottles, seal, and label the date. Keep refrigerated and use within 2–4 weeks. If you notice mold or any off smell/taste, discard.
Freeze for later
Portion into ice-cube trays or small jars (leave headspace), freeze, then move to freezer bags/containers. Best quality for about 6 months. Thaw in the fridge and use within 1–2 weeks.
- Canning note
There isn’t a tested home-canning process for elderberry syrup, so it’s not shelf-stable. Stick to the fridge or freezer.
- Honey note
Honey-sweetened syrup still needs refrigeration. (And no honey for children under the age of 1 year.)
- Best-quality tips
Use hot, clean containers, minimize headspace, and avoid double-dipping, just pour out what you need.
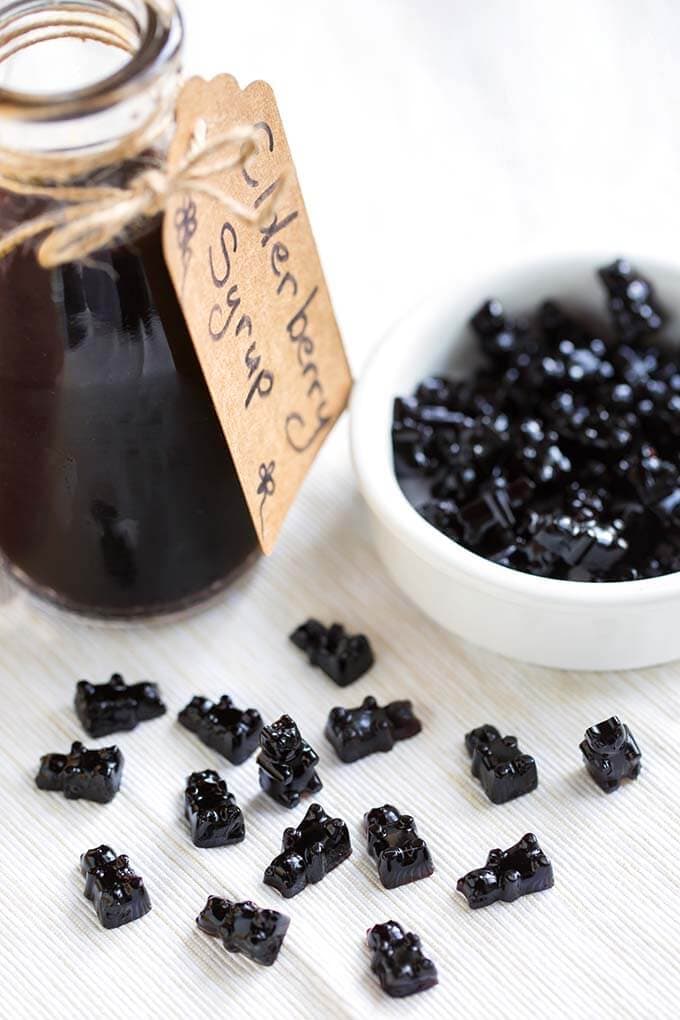
You can also make Elderberry Syrup Gummies!
I have read many articles about the uses of Elderberry Syrup. I have my own opinion about how it works for me and my family.
There is a wealth of information out there on the subject, so doing your own research is a good idea to see if taking Instant Pot Elderberry Syrup is right for you and your family.

Instant Pot Chicken Noodle Soup
Elderberry Syrup Gummies
Peach Simple Syrup
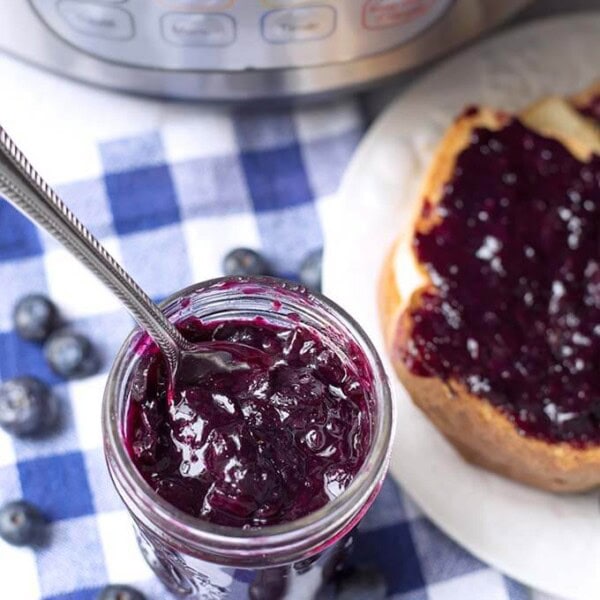
Blueberry Compote

If you make this homemade elderberry syrup recipe, please leave a comment with a star rating below. I would like to know how you liked it.
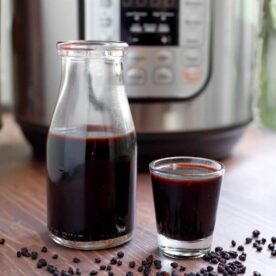
Instant Pot Elderberry Syrup
Equipment
- Electric Pressure Cooker (3 or 6-quart)
- Glass Milk Bottle (for storage)
Ingredients
- 1 cup Organic Dried Elderberries, (or 3-cups Fresh)
- 4 cups Filtered Water
- 2-inch knob Fresh Ginger, chopped
- Peel of 1 Organic Lemon (try not to get any of the white pith)
- 2 Cinnamon Sticks, organic
Optional Ingredients (add with the elderberries)
- 8-12 Whole Cloves
- 2 Tablespoons Rose Hips, dried
Add After Pressure Cooking and Cooling
- ¾ – 1 cup Raw Honey
- Juice of 1 Lemon, organic
Instructions
Prep
- Measure out the ingredients, peel, then juice the lemon, chop the ginger, etc. Remove and discard any bits of elderberry stems or leaves.
- Add all ingredients except the honey and lemon juice to the inner liner of the pressure cooker.
Pressure Cook
- Place lid on and set the steam release knob to the Sealing position.
- Press the Pressure Cook (or Manual) button or dial and then the +/- button or dial and select 15 minutes. When the cook cycle finishes, turn off the pot so it doesn't go to the Warming setting. Let it fully Naturally Release the pressure.
- Open the lid and carefully take out the inner pot and strain out the berries and any solid bits (I have a large heat-safe pyres-type of bowl for this). Return the liquid to the inner pot, and return the inner pot to the pressure cooker.
Simmer and Reduce
- Turn on the Sauté setting to the LOW temperature. Let the syrup simmer uncovered for a minimum of 10-15 minutes, stirring occasionally, to finish cooking out possible remaining cyanogenic glycosides. It will reduce and thicken a bit.
Cool and Finish
- Add the liquid to a heat-safe glass bowl to cool. When cooled to about room temp, add the honey and whisk until fully incorporated (if you add the honey to hot syrup, it will kill off the good properties of the raw honey).
- Add the juice of 1 lemon and whisk. Taste and add more honey if you like it sweeter, or more lemon if you like it tart.
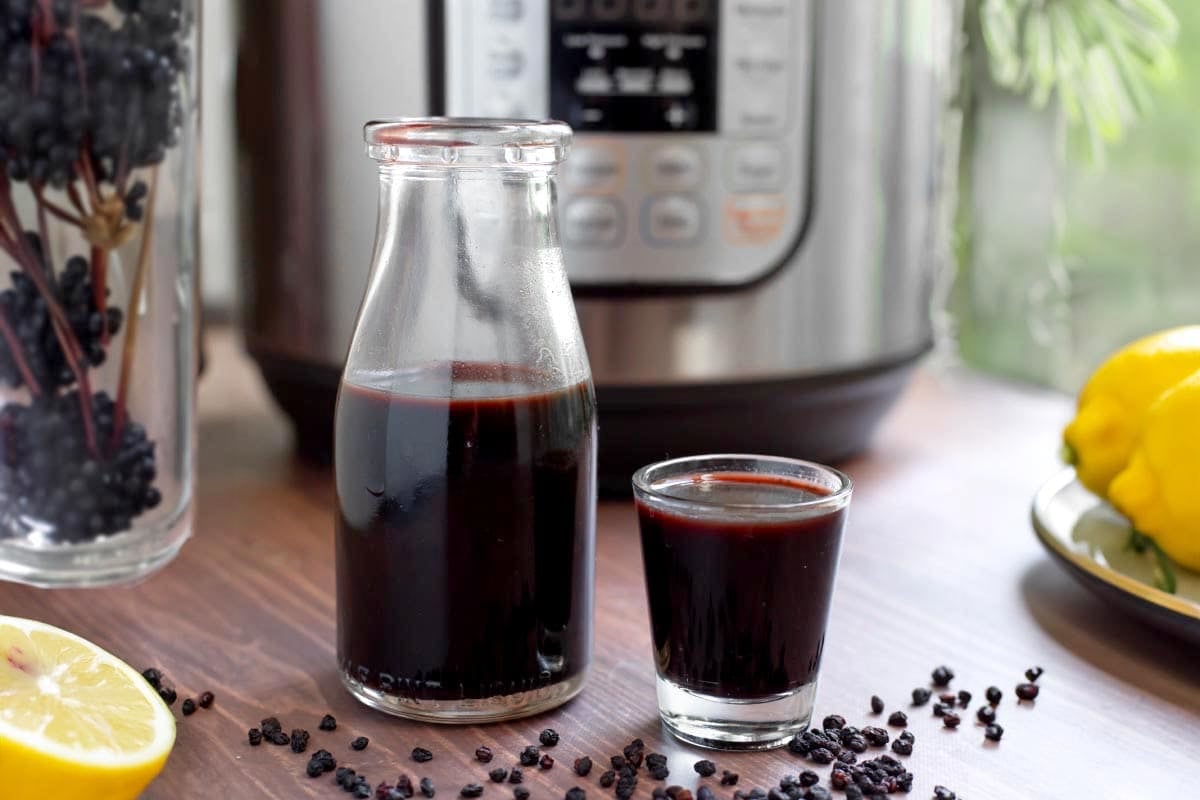
Prepare to Store
- Transfer the elderberry syrup to a sanitized bottle or mason jar with a lid and refrigerate for up to 2 months.
- Elderberry Syrup Suggested "Dosage":For intensive use:Adults: 2 teaspoons 4 times dailyChildren: 1 teaspoon 4 times dailyFor daily maintenance:Adults: 2 teaspoons dailyChildren: 1 teaspoon dailyExcerpt from: The American Botanical Council THE ABC CLINICAL GUIDE TO ELDER BERRY European Elder Berry Sambucus nigra L. Family: Caprifoliaceae
Stovetop Instructions
- Add elderberries, water, ginger, lemon peel, cinnamon, (and cloves and rose hips, if using), to a medium saucepan and bring to a low boil. Reduce heat to a low simmer for 45 minutes to 1 hour.
- Mash the berries while still in the pan, then strain through a fine mesh strainer or cheesecloth.
- Let the mixture cool, then whisk in the honey until dissolved.
- Add the lemon juice, if using, and stir.
Notes
Nutrition
Nutrition information is automatically calculated, so should only be used as an approximation.
Instant Pot Elderberry Syrup FAQs
Current food-science and extension sources indicate the safety issue comes from uncooked or improperly processed plant parts (especially leaves/stems and unripe fruit), not from pressure cookers themselves. Proper heat processing reduces cyanogenic glycosides. My method uses ripe elderberries only, excludes stems/leaves, cooks thoroughly, and includes an uncovered simmer after pressure cooking.
Sources: CDC elderberry illness report (1983) – https://www.cdc.gov/mmwr/preview/mmwrhtml/00000311.htm ; Appenteng 2021 – https://pubmed.ncbi.nlm.nih.gov/33806603/ (full text: https://pmc.ncbi.nlm.nih.gov/articles/PMC7961730/) ; Senica 2016 – https://trishaselderberries.com/wp-content/uploads/2022/08/EE_Processed-elderberry.pdf ; Oregon State Extension – https://extension.oregonstate.edu/catalog/em-9446-play-it-safe-when-preserving-elderberries ; Penn State Extension – https://extension.psu.edu/elderberry-in-the-garden-and-the-kitchen
Hydrogen cyanide (HCN) is highly volatile (boiling point about 25.6 °C / 78 °F). Allowing the syrup to simmer uncovered after pressure cooking helps volatiles dissipate, similar to a stovetop simmer.
Source: NIOSH/CDC HCN properties – https://www.cdc.gov/niosh/ershdb/emergencyresponsecard_29750038.html
Yes. Use ripe black elderberries only and discard all stems/leaves. Multiple extension publications emphasize removing these parts and cooking before consuming.
Sources: Oregon State Extension (guide & PDF) – https://extension.oregonstate.edu/catalog/em-9446-play-it-safe-when-preserving-elderberries and https://extension.oregonstate.edu/sites/extd8/files/catalog/auto/EM9446.pdf ; Penn State Extension overview – https://extension.psu.edu/elderberry-in-the-garden-and-the-kitchen
Legal Disclaimer
The products and claims made about specific products or foods on or through this Site have not been evaluated by the United States Food and Drug Administration and are not approved to diagnose, treat, cure or prevent disease. This Site is not intended to provide diagnosis, treatment or medical advice. Products, services, information and other content provided on this Site, including information that may be provided on this Site directly or by linking to third-party websites are provided for informational purposes only. Please consult with a physician or other healthcare professional regarding any medical or health related diagnosis or treatment options. This post/article is not intended to diagnose, treat, cure or prevent any disease.
Statements regarding dietary supplements have not been evaluated by the FDA and are not intended to diagnose, treat, cure, or prevent any disease or health condition.


Have you ever tried adding echinacea? I plan to try this recipe but I’d like to have echinacea in the elderberry syrup as well. Thankyou!
I have not tried that. It sounds interesting.
I add echinacea. it helps.
Should it come out as a liquid or a syrup. I followed the pressure cooker recipe and it came out as a liquid.
It’s closer to a liquid, but kind of thick.
Mine also came out more liquid in texture. I did double the batch in the Instant Pot. I wonder if I should use less water or just cook down…
A little less water and cook it down a bit.
If I use rose hips, do you have a brand that you like over other ones? I’ve never used these in cooking and am unfamiliar with what to look for. I read that their are needle-like fibers in them so I’m cautious about using them.
I use a dried variety that don’t have any needle bits that I have ever seen. I use an organic, cut, seedless variety.
Since the elderberry syrup is only for me (everyone else in the family doesn’t like the taste), I’m going to freeze it in ice cube trays. Once frozen, I’m going to store the cubes in a zip lock bag in the freezer. Last time I made it, a whole bunch of it was wasted because I couldn’t take it all. It has a pretty good flavor. I have to admit that after a while, I got tired of the cinnamon/ginger flavor. It was easy to make! I might add some orange extract to it the next time.
Where did you get your bottles?
Look on Amazon. My quart size bottle is a milk bottle. The small one is a vintage milk bottle.
Hello 🙂
How long could it bottles be stored? Do they have to be refrigerated? And finally could I freeze some syrup?
They do need to be refrigerated. Mine has lasted over 2 months in the fridge. It does freeze well.
Walter
Just made another batch of elderberry syrup. I have been using the foodie to make the syrup for over a year. Thank you for recipes.
Essential oils will not mix properly without any oil in the recipe. The herbs also have different properties than the oils. Make the recipe as directed and save the oils for your diffuser or inhaler. HTH
Is there a way to substitute essential oils for the clove, cinnamon, lemon and ginger?
I don’t know a lot about the oils, but if they are food grade, I don’t see why not!
I make mine with essential oils, I mix my oils in with the honey and it acts as an emulsifier and helps the oils blend well. I’ve never had an issue with the oils seperating
My new home has fresh elderberries that are ready, should I dehydrate them first and then make the syrup or can I use fresh instead and would it still be 1 cup. I’m super excited to find this recipe. I’ve never tried this before.
Hi Cory, how lucky you are!!! The first thing is to make sure there are no stems remaining at all. They are very toxic. Then do a ratio of 1 part fresh, fully ripe elderberries to 2 parts water. The black elderberries are the ones you want to use. Then follow my recipe!