This post may contain affiliate links. Please read our disclosure policy.
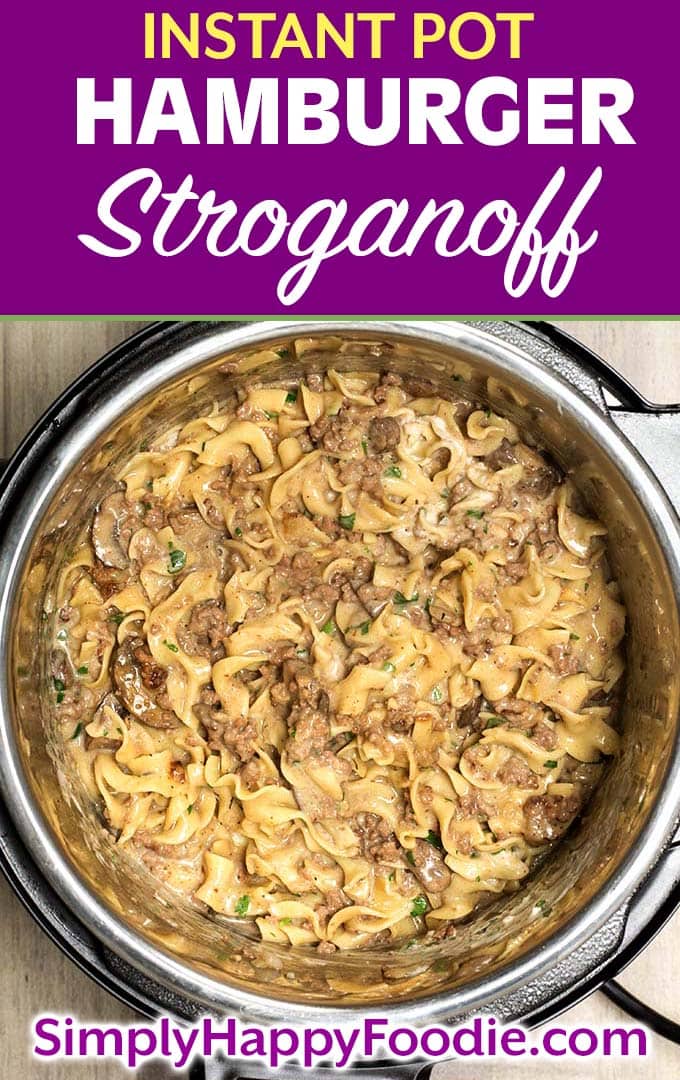
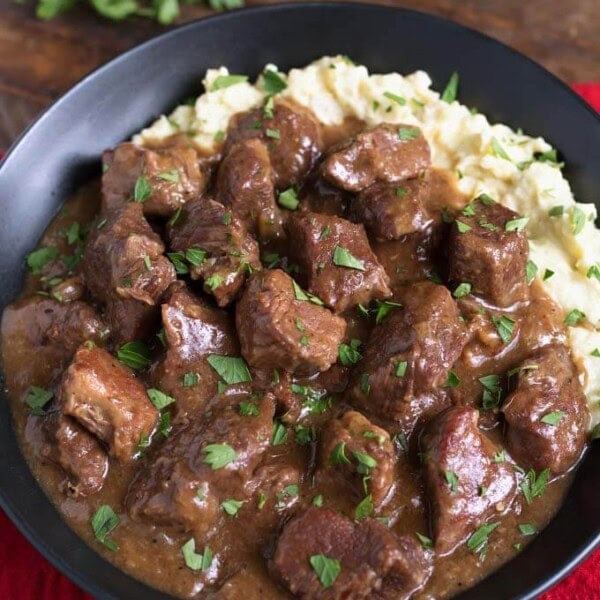
Instant Pot Hamburger Stroganoff is a delicious, money saving variation of the favorite Beef Stroganoff. With a rich flavor from simple ingredients, no ‘cream of’ soup is needed. This pressure cooker ground beef stroganoff will become a family favorite!
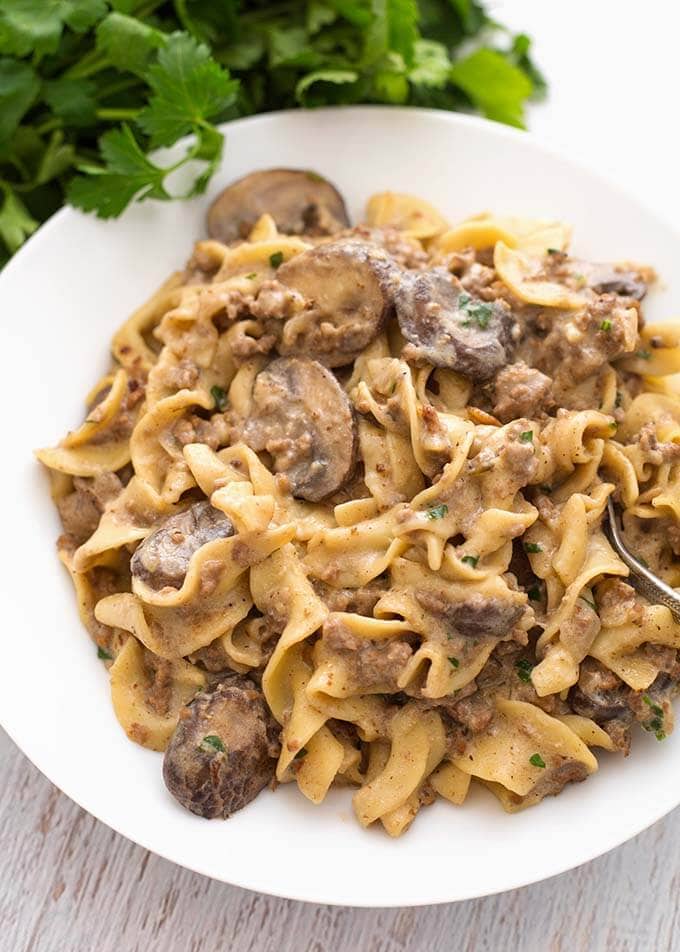
Instant Pot Hamburger Stroganoff
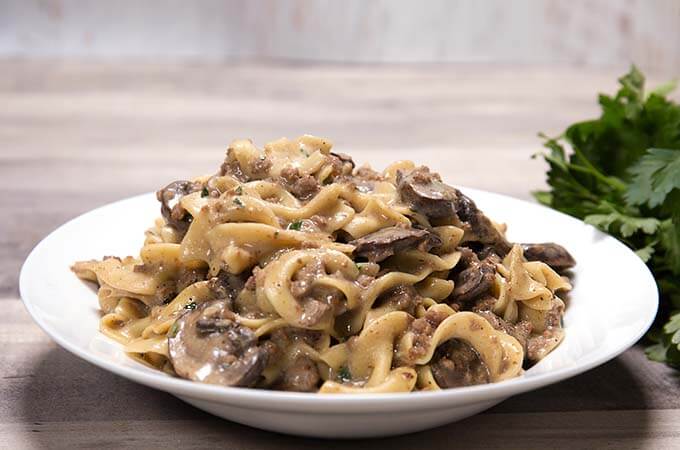
Talk about comfort food! Pasta has to be one of the top favorites for me. The creamier, the better! If I can make the meal for less money, that’s a win!
Traditional Beef Stroganoff is made with beef tenderloin. It is amazing, however, it is also pretty expensive, especially when you are making a family-sized batch.
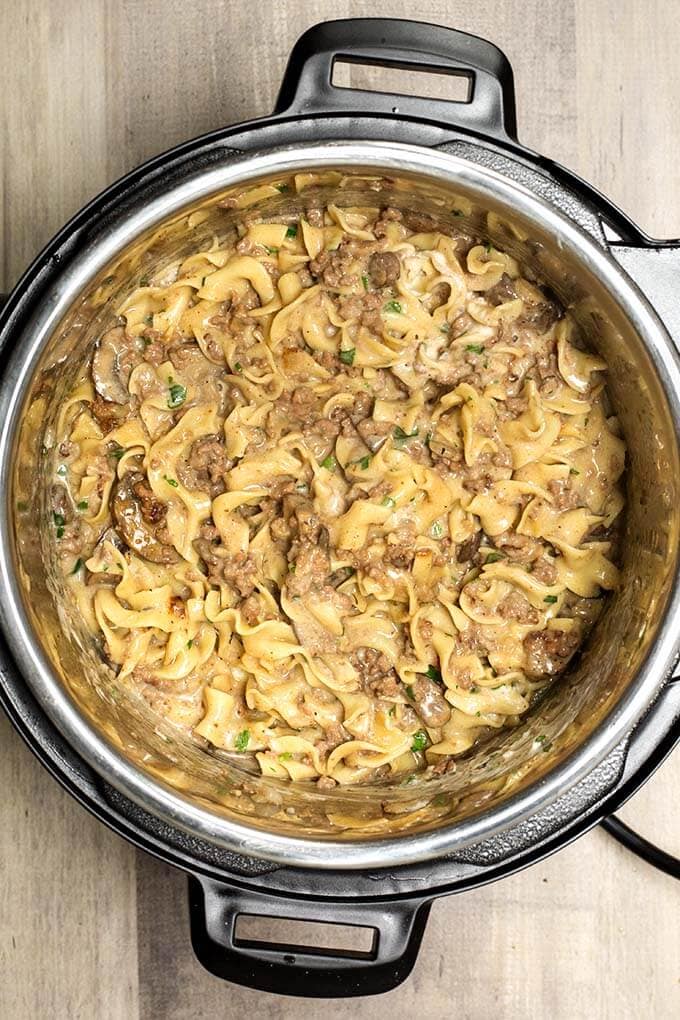
Using hamburger, ground beef, ground turkey, will save you some money, and it’s easier to make this Instant Pot Stroganoff into a one-pot dish.
The ground beef will cook up faster and easier when you give it a browning first, and then leave it in when you add the pasta. No draining!
I love Beef Stroganoff made with the tenderloin, or even a Flat Iron, Ribeye, or other cut of beef. But something about this hamburger version just works! It’s especially good for little ones who maybe don’t like chewier pieces of beef.
If you don’t want to use sour cream, you can substitute Greek yogurt and still get the creamy consistency and tangy flavor.
I hope you give it a try! Let me know in the comments if you make this, and how you liked it! Follow me on Pinterest for all of my recipes, and other great ideas for your Instant Pot!

Instant Pot Cheesy Taco Pasta
Instant Pot Meatball Pasta Dinner
Instant Pot Cheeseburger Pasta
Instant Pot Mac and Cheese
Watch me make Instant Pot Hamburger stroganoff


Instant Pot Hamburger Stroganoff
Ingredients
- 1 Tablespoon Olive Oil
- 2 Tablespoons Butter
- 1 Yellow Onion, diced
- 1 lb Lean Ground Beef (or ground turkey, 93% lean)
- ½ teaspoon Thyme, dried
- 1 teaspoon Salt
- ½ teaspoon Pepper
- 3 cloves Garlic, pressed or minced
- 1 ½ Tablespoons Worcestershire Sauce
- 10 oz Mushrooms, sliced
- 4 cups Beef Broth
- 2 teaspoons Beef Bouillon I use Better Than Bouillon®
- 8 oz Wide Egg Noodles
To Finish
- 3 Tablespoons Flour
- 3 Tablespoons Cold Water
- 1 cup Sour Cream (plus extra for garnish)
- ¼ cup Fresh Parsley, chopped (plus extra for garnish)
Instructions
- Turn on Sauté setting. When pot is hot, add the oil, butter, and onion. Cook, stirring occasionally, until just starting to turn translucent.
- Add the ground beef and stir, breaking up the meat, but leaving a few larger chunks. Cook, stirring occasionally, until just a little pink remains.
- Add the thyme, salt, pepper, garlic, and Worcestershire sauce. Stir and cook for 1 minute.
- Add the mushrooms and mix well. Cook for another minute.
- Pour the broth and beef bouillon in while stirring, and scraping the bottom of the pot to get up any brown bits (deglaze).
- Add the egg noodles and press them gently into the mixture to submerge them as much as possible.
- Cancel the Sauté function. Then press the Pressure Cook/Manual button or dial, and the +/- to select 4 minutes (5 minutes for softer noodles).
- After the cook cycle has finished, let the pot sit undisturbed for 2 minutes. Then do a controlled Quick Release* of the remaining pressure/steam.
- When the pin in the lid drops back down, open the lid. Then turn on the sauté setting.
- Mix together the flour and water. Add to the pot and stir well to combine. Turn off the pot.
- In a small bowl, mix the sour cream with a little of the hot sauce from the pot. Then add a little more. This tempers the sour cream so it doesn't curdle when added to the hot stroganoff.
- Add the sour cream and parsley to the pot. Stir gently to incorporate the ingredients. Taste and adjust salt, if needed.
- Serve immediately, garnishing as desired.
Notes
Nutrition
Nutrition information is automatically calculated, so should only be used as an approximation.
Pin This Recipe


I made this tonight, starting with frozen ground beef. I’ve had bad experiences with noodles in the IP, but following your instructions they came out great! I went with the 4 minute time and they were soft, I wouldn’t want to do 5 minutes. I’m not a mushroom lover, so I left those out. I did add a little more than a TBSP of tomato paste just because I’m accustomed to that slightly pink stroganoff sauce (is that just me??). Oh, I noticed someone else’s questioning of the 8 oz noodles. I felt the same way so I used about 3/4 of a 16 oz bag. It came out really great- I think we ate too much of it! Yummy!
That’s great, Anne! I’m glad you liked it!
Learning to use my QVC multi cooker, Second recipe I tried! EXCELLENT! I screwed up and added broth before flour so just made a slurry of flour & water– Perfect! Used pappradelle pasta! WOW! Loving the pot so far!
That’s great! So glad it worked for you!
All I have is elbow macaroni – how would is adjust the recipe? I’m painfully new to this Instant Pot craze! 🙂
I think you could use the same timing with elbows. I usually cook for 3 to 4 minutes. Use 1 cup of liquid per 4 oz of pasta.
Great Recipe. My family loves it. Got the burn notice but it was cooked when I released pressure. I’m thinking maybe the burn notice is because of the flour? Maybe we can add flour after pressure release?
It could be. It seems that a small percent of people do get the burn message. You can add the flour after or use more liquid. Also make sure the pasta measurement is correct as more pasta will suck up the liquid!
We love this recipe, have made it several times! only thing is in my 6qt lux. It never comes to pressure.?? ?♀️ always turns out fine may have a bit stuck to the bottom, but it stirs right in.. I follow the recipe to the letter.. Any suggestions as to why it might not be coming to pressure?? Maybe I need to cut back on the flour??
Thank you Amy! I would back off on the flour. I adjusted the recipe to reduce the amount of flour a few weeks ago, but maybe try it with 1 Tablespoon less.
I just made this and it came out perfectly. Followed instructions exactly. Lots of delicious sauce and looks just like the picture.
Yay!
I made this last night! It was a hit!! I used ground pork and mushroom broth because my husband is allergic to beef. I used lactose free Greek yogurt and I added some zucchini. So yummy. 🙂
Sounds great! Thank you for your review!
has anyone used a different kind of pasta? penne or the macaroni noodles? thanks.
Super yum- i haven’t shopped this week so i needed a recipe with stuff i had on hand, as a result i followed as is with exception of added 1can of cream of mush soup bc I didn’t have mushrooms and wanted that flavor, and I used elbow noodles bc I had them on hand- oh and had to use plain Greek yogurt bc i didn’t have enough sour cream lol
flavor and consistency was spot on!!
Delicious. Thanks for the recipe. I made a few changes to encompass what I had on hand and to add more veggies and accommodate for food allergies, LOL. Used cremini and shiitake mushrooms, added carrots and celery, used cashew milk instead of sour cream and used gluten free noodles. Worked great and tasted great.
Is the purpose of the binder clip to secure the inner pot so it won’t rattle while stirring/sautéing? I am guessing that, but is there another reason?
Yes, it stops the inner pot from spinning when you have a lot of stirring to do.
I never comment on recipe blogs but this was DELICIOUS. Adding it to our regular dinner rotation for sure! It’s only the 3rd thing I’ve ever made in my instant pot and it came out perfect. Thank you for an awesome recipe!
That’s great, Angela! I’m very happy this was a success for you, especially being new to the IP! Thank you for your review!