
This post may contain affiliate links. Please read our disclosure policy.
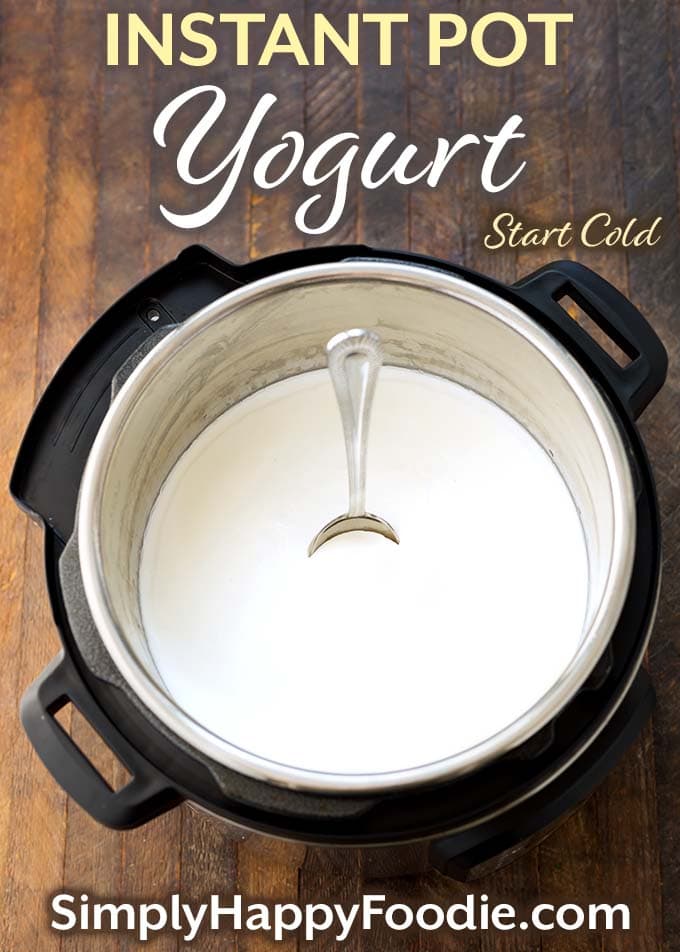
Instant Pot No Boil Yogurt, also known as Instant Pot Cold Start Yogurt, is a thick, creamy yogurt that you can make faster than the boil method. Electric pressure cooker yogurt uses a yogurt setting that is built in, to make it easy, with no babysitting required! And did I mention that this Instant Pot yogurt is delicious?!
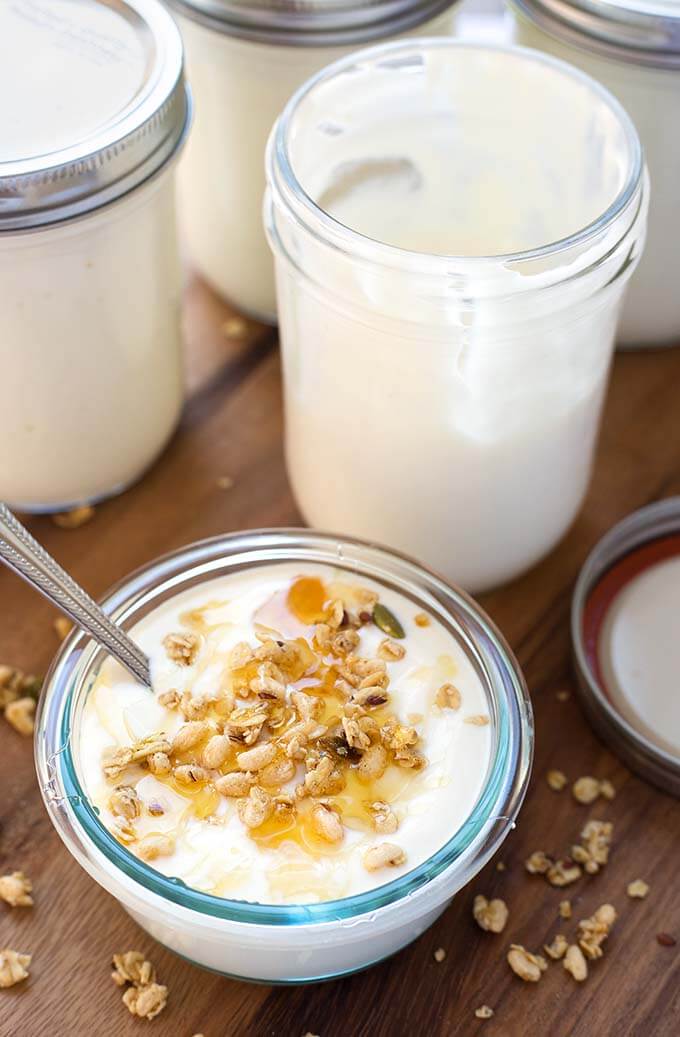
Instant Pot No Boil Yogurt
Making yogurt is something I never did until I bought my first Instant Pot® electric pressure cooker. I used the boil method, where you heat the milk to 180, cool it to 110, then add the starter (yogurt), then incubate for 8+ hours. It’s not hard, and you can use regular milk.
It comes out a little thinner than the “cold start” or “no boil” method. It is still good though!
When I first made Instant Pot No Boil Yogurt, I was thrilled, as this method appealed to my lazy side, and it came out thick enough that I didn’t have to strain it (another point for my lazy side)! Not having to boil & cool it meant that I saved time, too.
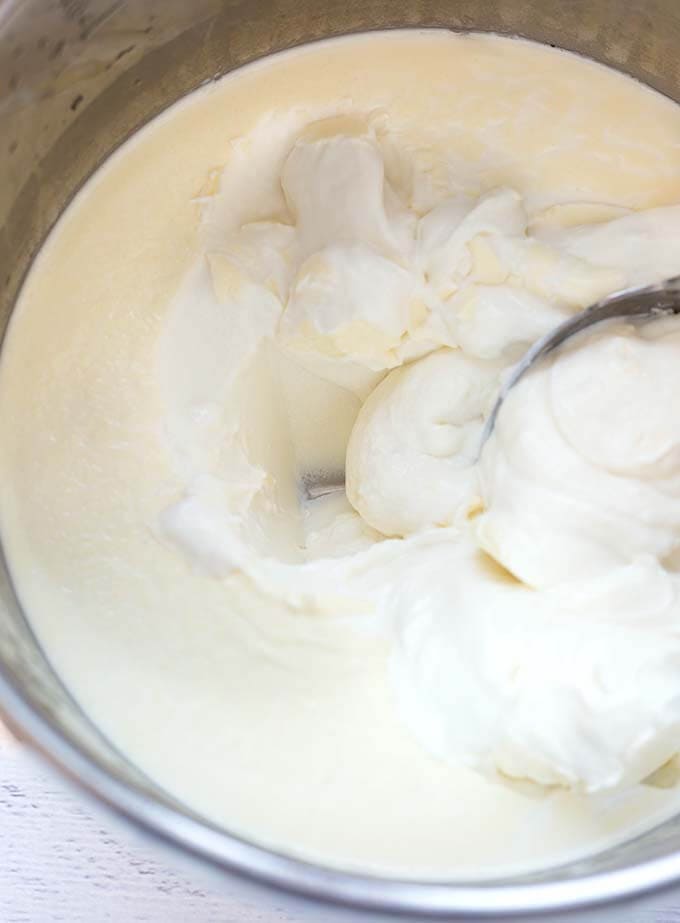
Instant Pot No Boil Yogurt, or sometimes called “Fairlife yogurt”, “Cold Start yogurt” or a loose version of Vietnamese yogurt, comes out creamy and thick.
This version of Instant Pot Yogurt uses a milk that has already been boiled and is filtered. There are several brands out there, but Fairlife® is by far the most popular. It comes in whole, 2%, and nonfat.
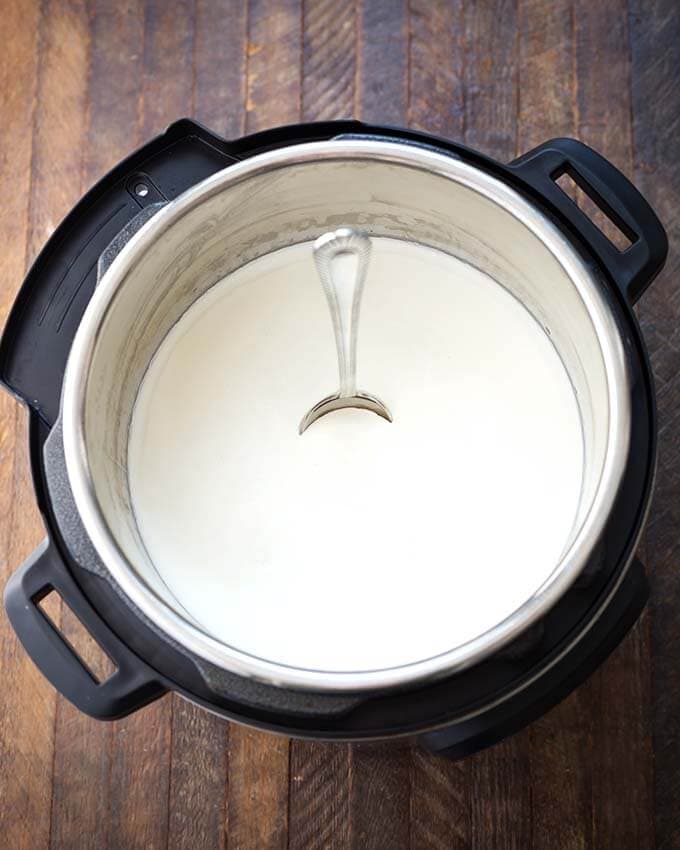
How to Make Instant Pot No Boil Yogurt
- Use ultra pasteurized milk, such as Fairlife® – You can use whole, 2%, etc. The reason you can get away with not boiling it for this method is that they already boiled it. The milk gets heated enough to kill the bacteria that fights against the cultures that make the yogurt. That’s why you have to add starter with active/live cultures.
- Add a starter with active/live cultures – You need a starter (I use Fage yogurt), since all of the live stuff was killed off in the boil. Just whisk it in. I use 2 heaping Tbsps for 1/2 gallon of milk. Make sure it’s fresh, and actually says “Active Live Cultures” on the carton.
- Sweetening your yogurt – Completely optional. Sometimes I do, and use a can of sweetened condensed milk, whisked in well. Sometimes I don’t want a sweet batch, or I just don’t have the SCM, so I leave it out. I like to use honey and vanilla when I serve it.
- Heavy Cream – Sometimes I add a cup to make my yogurt even creamier. Totally optional (and so decadent!).

Instant Pot Vanilla Extract
Instant Pot Hot Sauce
Instant Pot Lemon Curd
Instant Pot Dulce de Leche Caramel
Pin This Recipe
Instant Pot No Boil Yogurt
Equipment
- 6 or 8-quart Electric Pressure Cooker
Ingredients
- 52 oz Fairlife® Ultra Filtered Milk, divided
- 2 Tablespoons Yogurt Starter (use a yogurt with live, active cultures)
- 1 14-ounce can Sweetened Condensed Milk (optional), such as Eagle Brand®
- 1 cup Heavy Cream (optional)
- 2-3 teaspoons Vanilla (optional)
Instructions
- Pour ¼ of the milk into the inner liner (stainless pot).
- Add 2 heaping Tablespoons of the yogurt starter (I like to use Fage brand). Whisk to incorporate completely.
- Add sweetened condensed milk (if using), and whisk very well to dissolve and combine.
- Add the heavy cream and vanilla (if using) and the remainder of the milk and whisk well to combine.
- Place a lid on the pot. You can use the IP lid (on venting), a glass lid, silicone, a dinner plate, etc.
- Press the Yogurt button (or dial), and set time, using the +/- button, or dial, for either 8 hours (default) or 9 hours (for a more tart flavor). Longer incubation time equals tarter yogurt.
- When incubation time is finished, cover the inner liner with a paper towel, and a lid over that, and place it in the fridge to chill. Do not stir until chilled, for best results.
- Remove from fridge and stir. Yogurt should be nice and thick*.
Notes
Nutrition
Nutrition information is automatically calculated, so should only be used as an approximation.

Resources to Make Instant Pot Cold Start Yogurt Recipe and more
We are a participant in the Amazon Services LLC Associates Program, an affiliate advertising program designed to provide a means for us to earn fees by linking to Amazon.com and affiliated sites.










I have the lux. I was wondering if there’s any way I could make the yogurt in jars directly and not the inner pot?
I’m not positive as I haven’t tried it.
Just made my second batch of this yogurt. I used the heavy cream as you suggested and it came out even thicker! This is my favorite yogurt!
Hey Barb! I’m so happy you liked this yogurt recipe! I also made a batch with the heavy cream yesterday! Thanks for the review!
If I have the Yogurt function on my IP do I just bring milk to temp of 110-111 add yogurt startet and then set my time w yogurt function? (Skipping the towel step) Love the idea of not having to boil it first and bring back down to 111. I buy Aldi Organic Whole Milk that is Ultra Pasterized.
If you have the Yogurt button, just follow the recipe on the recipe card. Not the towel version.
i have the instant pot mini. Would this recipe work by cutting it in half? You make it look soooooo easy.
Yes, you could cut this in half with no problem. Maybe only cut the starter by 1/3.
Sandy, without the cream, this recipe works just fine in the 3 quart mini. No need to cut it in half.
That’s good to know! Thank you, Jackie!
Thanks for the recipe. I’m going to try it out tonight. My first attempt was a complete failure. Live and learn though. Do I just leave the pot out onto the stove for 8hrs in a towel wrapped around the IP? Note: Stove will be off. Or does it need to go into the fridge?
If you are doing the LUX version, when you wrap it you are trying to keep it warm so it incubates for 8 hours. So not in the fridge. Then put in fridge after the 8 hours.
Since we sweeten the yogurt in this recipe, is it still good to save for starter?
Yes, it’s fine. Many people like to use vanilla flavored yogurt for their starter.
In recording my calories and protein values, do I just use the Fairlife values and 2 tbsp. FAge yoghurt values? Or does incubating change the protein / calories nutritional values? I made my delicious yoghurt according to this recipe, without adding any sweetness and flavorings.
Thank you, love this easy recipe and results.
I am not a Nutritionist, so I can’t say for certain how much change there is after it becomes yogurt! Great question! Now I need to do some research!
How long does this keep in the fridge?
Hi Barbara, I’ve kept it as long as 2 weeks. It probably lasts longer, but I don’t know how much longer. We eat it daily, so it goes fast!
Have you made cottage cheese in your IP?
I haven’t. Sounds fun though!
I’d love to know how! If you figure it out, let us/me know!
Oops, I bet it is your picture at the top of the page that gave me the idea of honey and walnuts.
Thanks!
I see that combination a lot! 🙂