This post may contain affiliate links. Please read our disclosure policy.
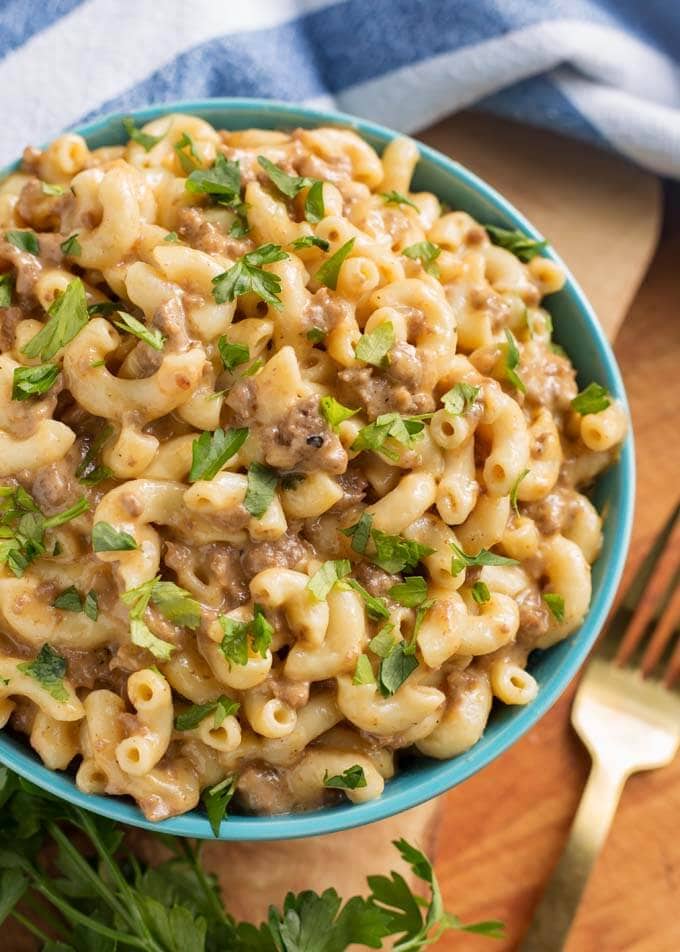
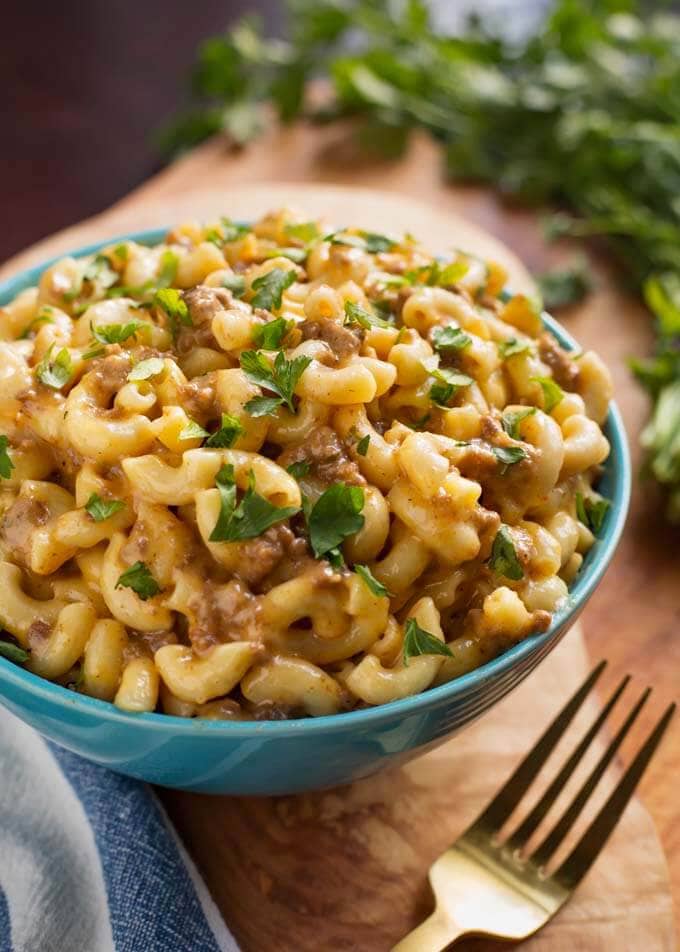
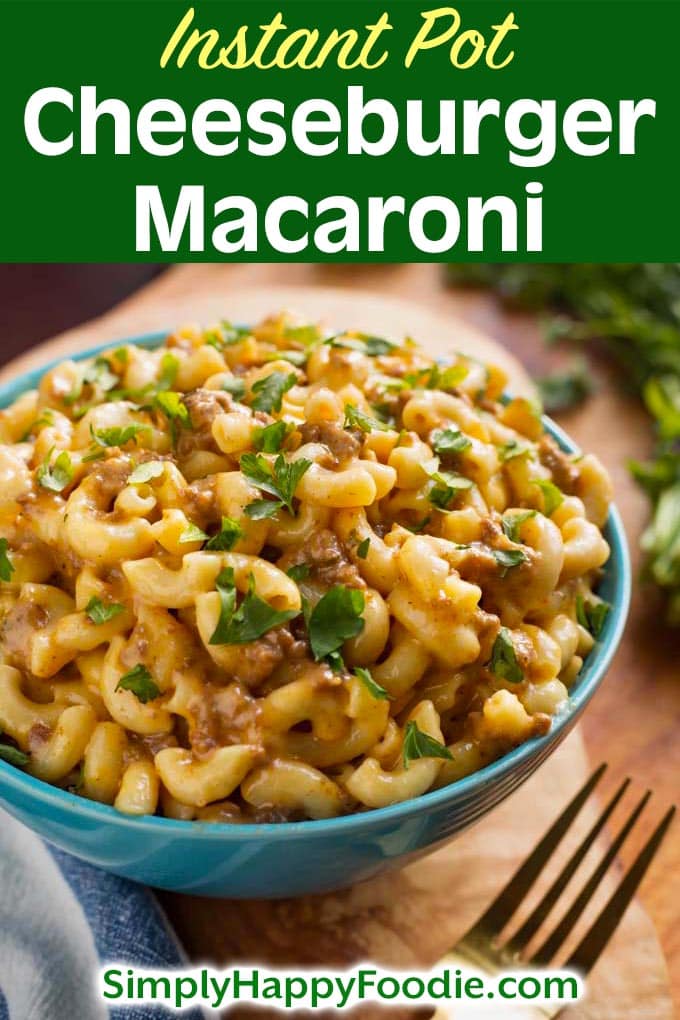
Instant Pot Cheeseburger Macaroni is a comfort food meal that tastes great! It reminds me of the “Cheeseburger Helper” we had growing up! This pressure cooker cheeseburger macaroni is creamy, cheesy, and delicious! A great weeknight Instant Pot pasta dinner!
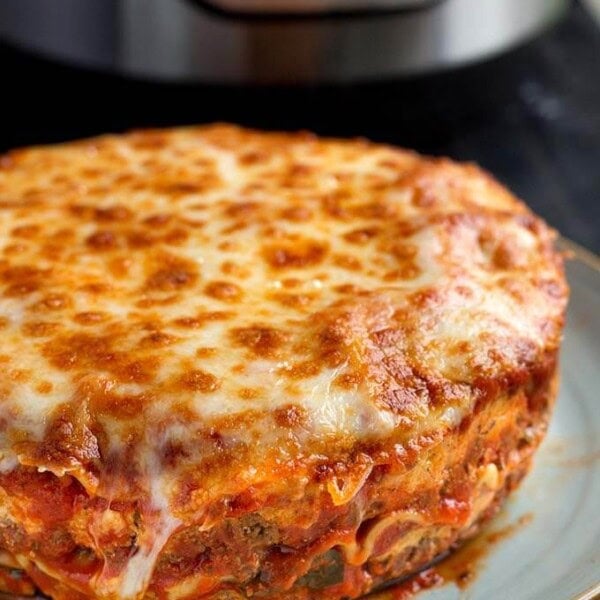
Instant Pot Cheeseburger Macaroni
I suppose you could call this “nostalgia in a bowl.” This kind of creamy, cheesy pasta brings me right back to twilight games of Red Rover and Kick the Can! Any minute mom will yell for us to come and eat!
On really busy days we got to eat the “Helper” style quick dinner. Mom was a great cook, but you know how sometimes you just want something easy, and decide to make the boxed stuff? As busy kids sometimes mom did for a quick dinner! It was one of the first things I got to make by myself.
Instant Pot Cheeseburger Macaroni is fresher, and I think it tastes better. Also, you can control how much salt, cheese, etc. that goes in.
The steps to make this Instant Pot one-pot pasta meal are simple:
How to Make Cheeseburger Macaroni in the Instant Pot
- Brown the hamburger and onion on the Sauté setting.
- Add the garlic and spices.
- Add the broth or water.
- Add the macaroni.
- Pressure cook it.
- Add the shredded cheese.
- Stir in a little milk.
- Serve hot.
Make this tasty pressure cooker macaroni dinner for the family, and it will soon become a favorite! Adjust the recipe as will work for your family’s taste.
You can use ground turkey or ground beef to make this recipe.

Instant Pot Mac and Cheese
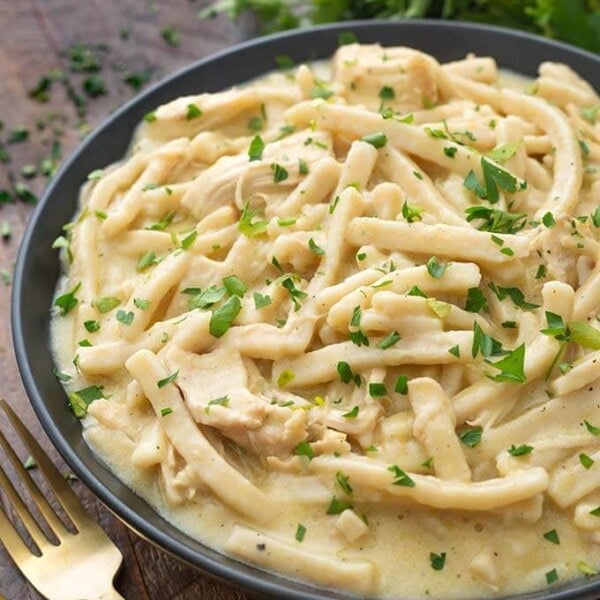
Instant Pot Chicken Bacon Ranch Pasta
Instant Pot Creamy Cajun Pasta
Instant Pot Meatball Pasta Dinner
Watch the Instant Pot Cheeseburger Macaroni Video

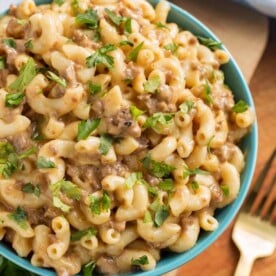
Instant Pot Cheeseburger Macaroni
Ingredients
- 1 lb Ground Beef or Ground Turkey (93% lean)
- 1 Onion, chopped (or 3/4 tsp Onion Powder)
- 2 cloves Garlic, minced (or 1 tsp Garlic Powder)
- ¾ tsp Seasoned Salt
- ½ tsp Kosher Salt (or 1/4 tsp table salt)
- ½ tsp Pepper
- 1 tsp Hot Sauce (optional)
- 1 tsp Dijon Mustard (or 2 - 3 tsp dry mustard powder)
- 3 cups Low Sodium Chicken Broth (or Water)
- 12 oz Small Macaroni (3 cups) uncooked
To Finish
- 2 cups Sharp Cheddar Cheese (fresh shredded)
- 1 cup Monterey Jack Cheese (fresh shredded)
- ¼ - ⅔ cup Milk
Garnish
- Fresh Chopped Parsley
- Dollop of Sour Cream
Instructions
- Turn on the pot's Sauté setting. When it is hot, add the ground beef and onion. Cook, stirring occasionally, until onions are tender, translucent, and the meat is browned.
- Add garlic. Stir.
- Add all of the spices after browning the meat.
- Add the hot sauce, if using, Dijon, and broth. Stir.
- Put a glass lid, or other lid on to let the broth heat up to almost a simmer. If you have to use the IP's lid, make sure it is on Venting.
- Next, remove glass lid and add the macaroni and make sure it is submerged.
- Close the IP lid and set the steam release knob to the Sealing position. Then cancel the Sauté setting.
- Press the Pressure Cook (or Manual) button, or dial, then the +/- button or dial to select 4 minutes (or 1/2 the cook time your pasta's package directions indicate). The pot will take a few minutes to come to pressure.
- When the cook cycle is finished, turn the pot off and do a Controlled Quick Release* (explained below) of the pressure.
- *A controlled quick release means you release the steam in short bursts, then longer bursts, until you can be sure none of the sauce spews out of the vent with the steam from the intense pressure. Then fully open the vent and let it go.
- When the pin in the lid drops down, remove the lid and stir the pasta.
- Stir in the cheeses and then add as much milk as you want to make it as saucy as you like.
- Add optional garnish and serve hot.
Nutrition
Nutrition information is automatically calculated, so should only be used as an approximation.
RESOURCES TO MAKE Instapot Cheeseburger Macaroni and more
This post contains Affiliate links. As an Amazon Associate I earn from qualifying purchases.
Pin This Recipe


Picky family approved!!! I took the advise and used 16 oz of elbows so I didn’t have 4 oz left and added 1 cup of broth. Worked perfect. Keeper!
Awesome!
Hello, Sandy
Can’t wait to try this tonight!
Question: I bought a 16 oz. box of corkscrews. I don’t want 4 oz. left over.
How much additional liquid for the other 4 oz.?
Using 8 oz. cream cheese also for creaminess.Any thoughts?
Hi Clay. So I use 1 cup of liquid per 4 oz of pasta. So add 1 more cup of liquid. For the cream cheese (yum!), try and have it at room temp, and break it up into chunks. Just toss them in last, right before you close the lid to cook.
Sandy, I would think that the cream cheese should be added AFTER you cook the pasta. Just like adding the cheddar and Monterey Jack cheese, you are basically only adding the cheeses at the very end to melt them. Am I correct about that?
I think you could add it after. Just make sure it is room temperature. I like cooking it with the pasta, and I do that in several of my recipes. I don’t think it would hurt to add it after if you want to.
So the recipe states if you’re not using fresh onion and garlic to add the spices, but doesn’t state when to add the spices if you ARE using fresh onion and garlic. Am I overlooking something?
Okay, I see what you are saying. I reworded it. Let me know if it is easier to understand!
Can this be used in the mini or should the recipe be cut in 1/2?
Here is my recipe for the 3 qt Mini: Instant Pot Mini-Mac and Cheese
Do you drain the grease from the ground beef?
Not if I’m using 93% lean ground beef (which is my normal kind). If I use 80% to 90% there is some grease to drain.
We’ve made this several times. The original recipe allows for endless tweaks acccording to what we have on hand. Our most recent fave is omitting the ground beef and instead adding leftover chopped brisket. Yummy! Thanks for the great recipe!
Thank you for this recipe! I have an allergy to gluten, so I used gluten-free pasta, and it worked perfectly. This has been a pregnancy craving for me, and I haven’t been able to have “hamburger helper” in years because of the gluten issue- you have made a pregnant lady VERY happy!
Thank you for your review, Amelia! I’m happy this worked for you. Congratulations on your baby!
This came out fabulous. I did tweak it to my liking a bit but wow…kids went for seconds. They noodles were done perfect!
Thank you, Yolanda. I’m happy that you and your kids liked this recipe!
WE made this evening in our instant pot tonight. It was awesome and easy to make. Thank you for the recipe,
Thank you! I’m glad you liked it!
My family loved this! We all had 2 helpings!! Thank you for the easy recipe!
That’s great, Sarah! I’m glad you liked it! Thank you for your review!