
This post may contain affiliate links. Please read our disclosure policy.
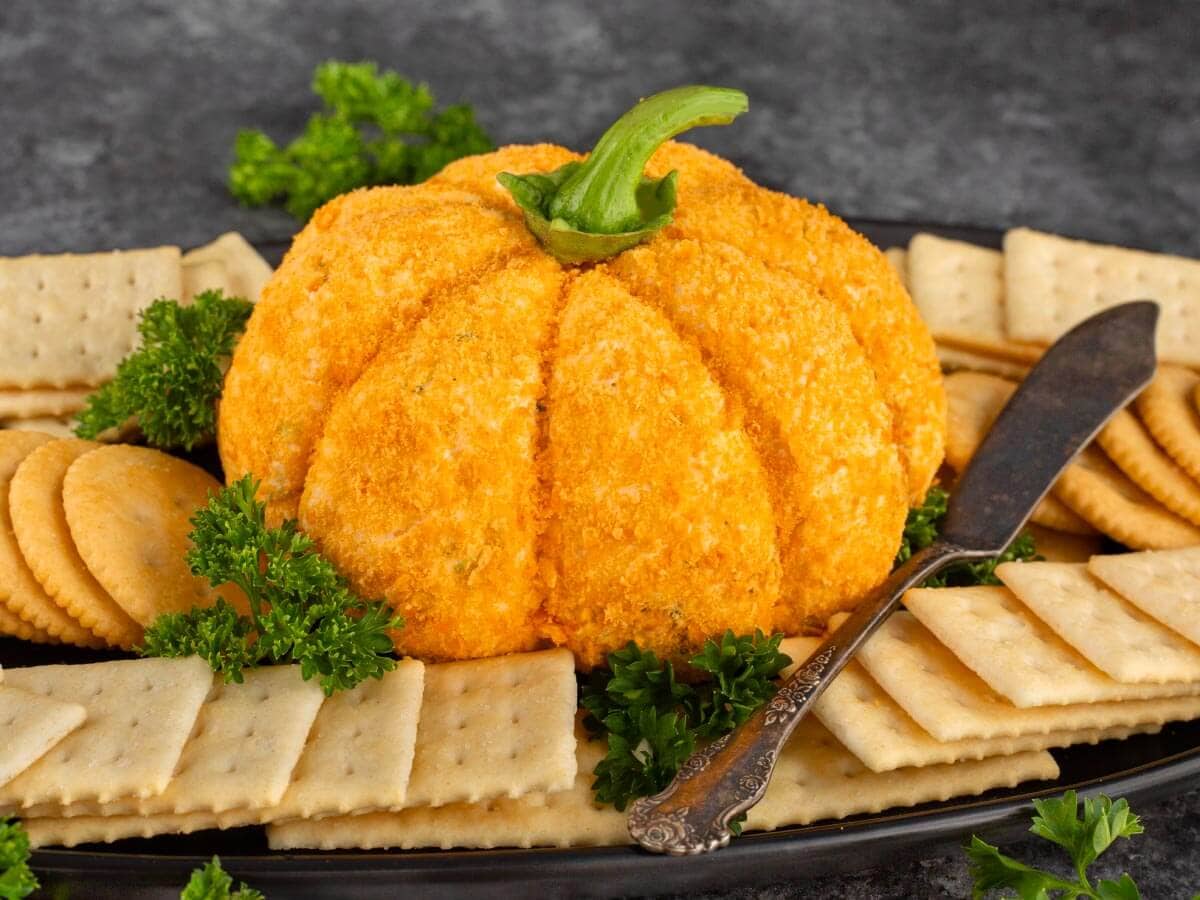
This Pumpkin Cheese Ball is such a fun Halloween appetizer! It has a creamy, savory filling made with cream cheese and flavorful seasonings, plus a crunchy orange coating. It looks like a little pumpkin, but there’s no actual pumpkin in it! Serve it with crackers for a festive Halloween party snack.
Easy Halloween Cheese Ball
This pumpkin-shaped cheese ball is easier to make than it looks! You don’t need a special mold or any fancy equipment. A little plastic wrap and kitchen twine are all it takes to create those cute pumpkin grooves.
I used crushed Cheez-Its for the bright orange coating, and a green bell pepper stem finishes the look.
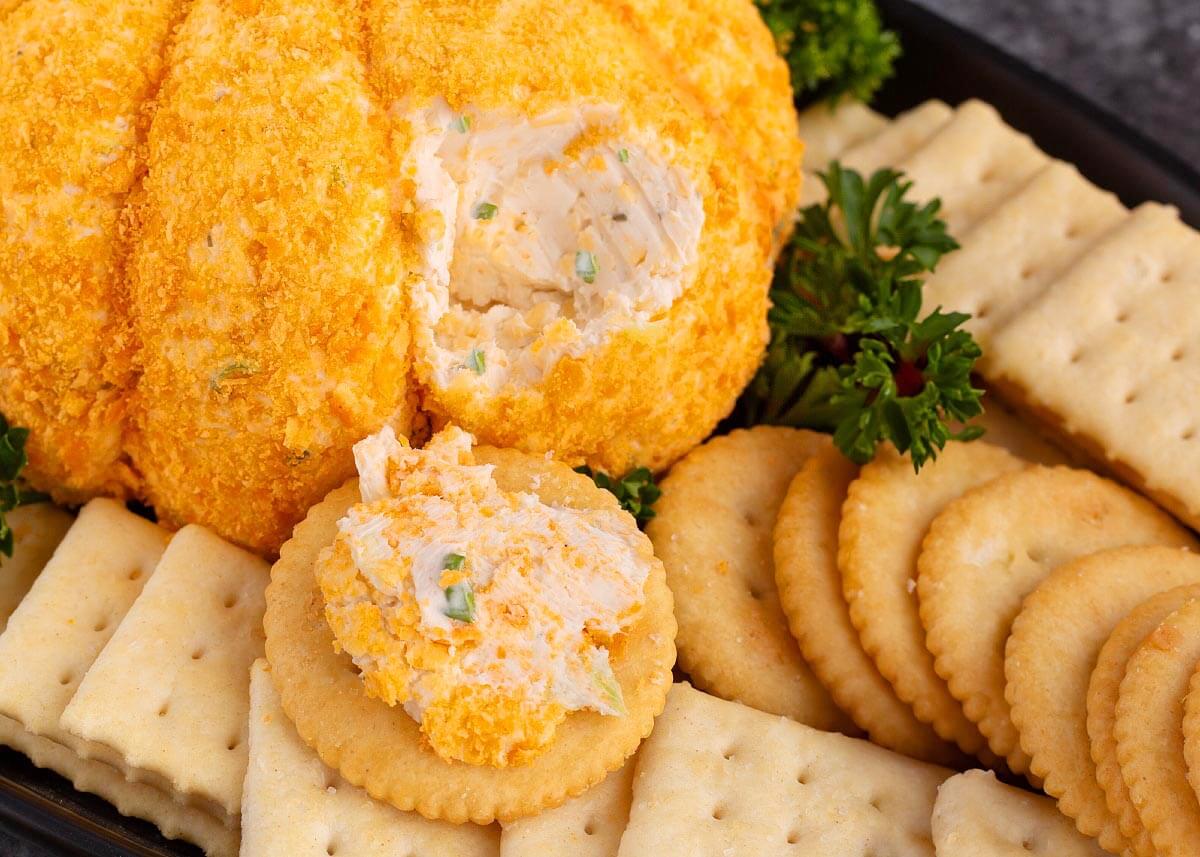
The filling is deliciously cheesy with just the right amount of ranch flavor.
Why You’ll Love This Recipe
- No cooking required. Just mix, shape, chill, and decorate.
- Great for making ahead. Prepare the cheese ball in advance and coat it before serving.
- Creamy and crunchy. The flavorful cheese filling is delicious with the cheesy cracker coating.
- Fun Halloween presentation. The pumpkin shape makes a cute centerpiece for an appetizer platter.
Ingredients for Pumpkin Cheese Ball
This easy Halloween appetizer uses simple ingredients, with a few extras to give it that fun pumpkin appearance.
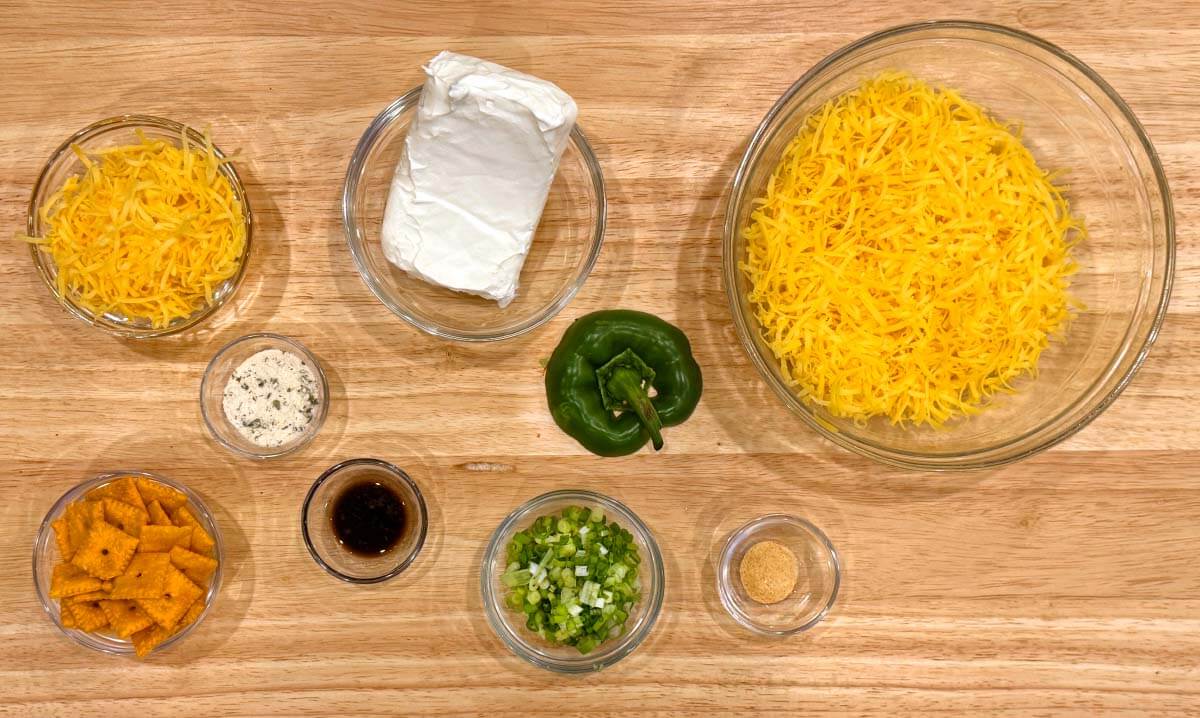
For exact amounts. please see the recipe card below.
Cream Cheese, Sharp Cheddar Cheese, Dry Ranch Seasoning Mix, Worcestershire Sauce, Garlic Powder, Green Onions, Cheez-Its, Green Bell Pepper Stem
A few ingredient notes:
- Cream cheese: Use regular block cream cheese and soften it well for easier mixing.
- Sharp cheddar: Finely shredded cheddar blends nicely into the cream cheese and gives the filling plenty of flavor.
- Cheez-Its: Crush them fairly finely so the coating sticks easily and doesn’t hide the pumpkin grooves.
Variations and Substitutions
- Orange coating: I used crushed Cheez-Its, but you can also try crushed cheese puffs (such as Cheetos Puffs) or cheese-flavored tortilla chips (such as Doritos). Each will give the cheese ball a slightly different flavor and texture.
- Green onions: Fresh chopped chives make a nice substitute and have a slightly milder onion flavor.
How to Make a Pumpkin Cheese Ball
Making this cheese ball is pretty simple! The refrigerator does most of the work once you’ve shaped your pumpkin.
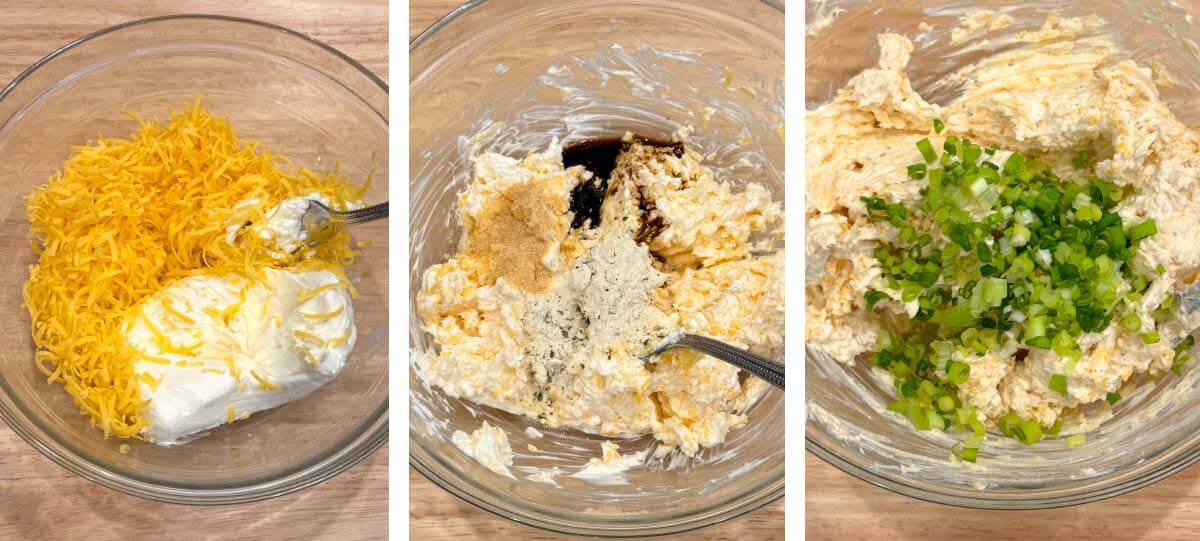
- Mix the cheeses. In a large bowl, use a fork to thoroughly combine the softened cream cheese and shredded cheddar. An electric hand mixer on low speed works too.
- Add the seasonings. Mix in the ranch seasoning, Worcestershire sauce, and garlic powder until well combined. Stir in the chopped green onions last.
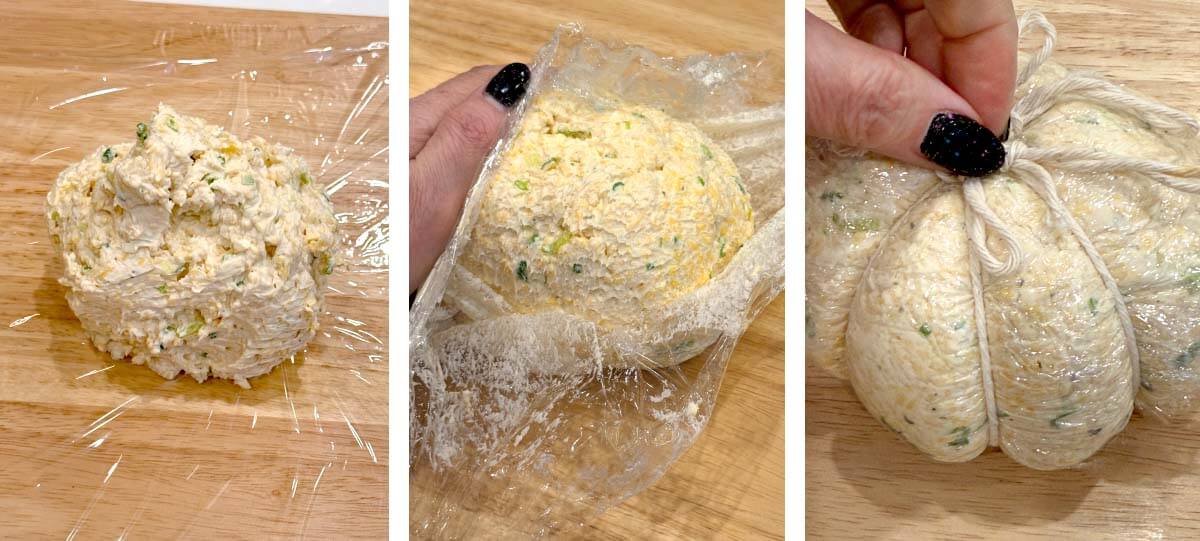
- Shape the pumpkin. Use a silicone spatula to transfer the mixture onto plastic wrap.
- Wrap it snugly and shape it into a slightly flattened ball.
- Make the pumpkin grooves. Wrap kitchen twine around the plastic-wrapped cheese ball to create the ridges (I used 4 pieces of twine).
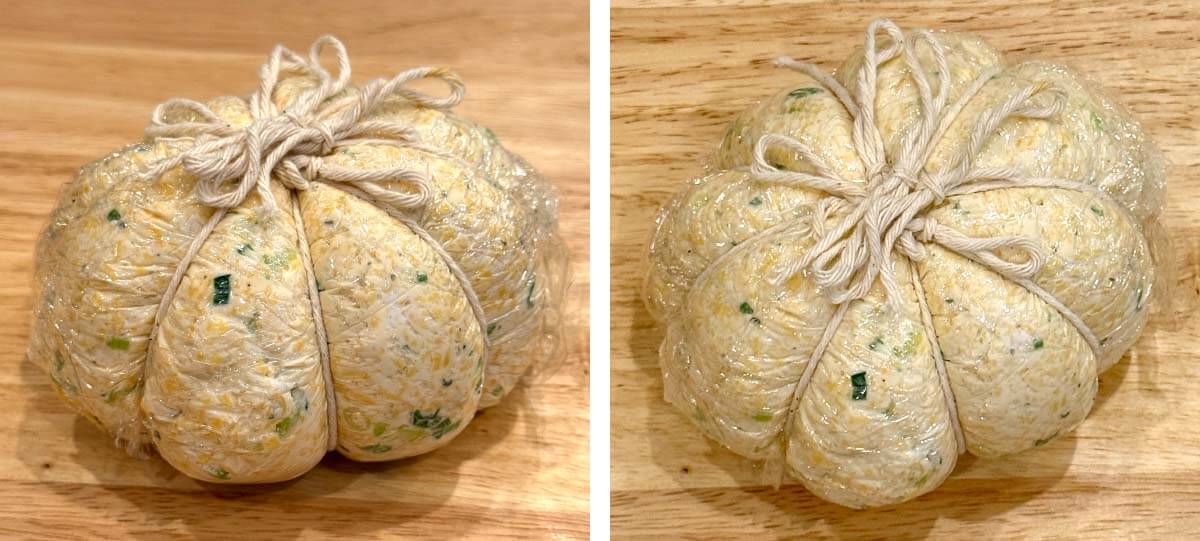
- Refrigerate for at least 2 hours, or until firm.
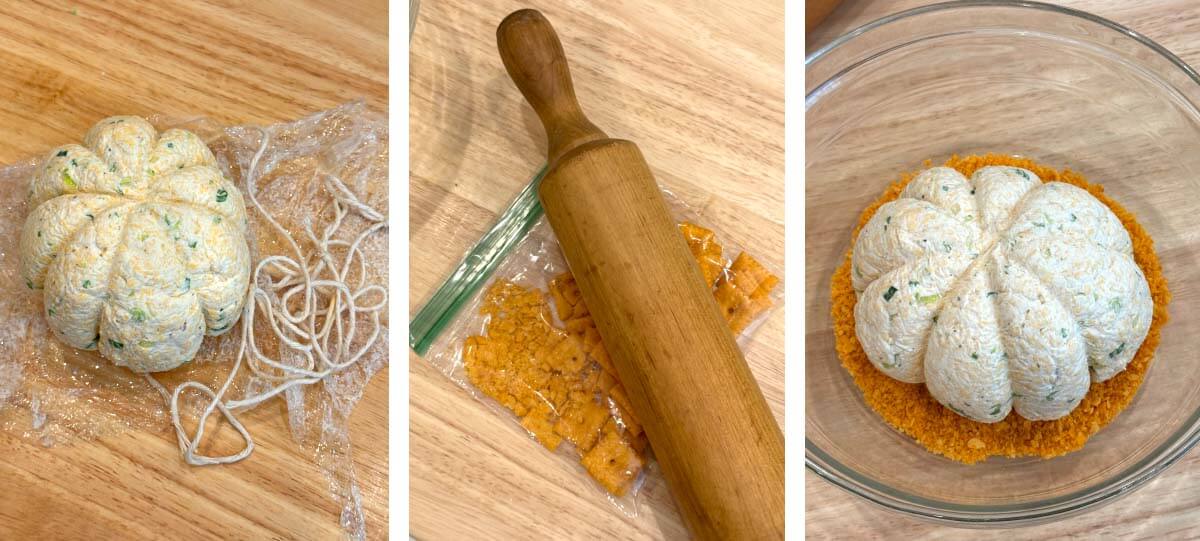
- Remove the wrapping. Carefully remove the twine and plastic wrap while the cheese ball is still cold.
- Crush the Cheez-Its. Place the crackers in a zip-top bag and crush them finely with a rolling pin.
- Add the coating. Place the cheese ball in a bowl of crushed crackers and gently press the crumbs onto the surface, keeping the pumpkin grooves visible.
- Decorate. Transfer to a serving platter and add the green bell pepper stem to the top.
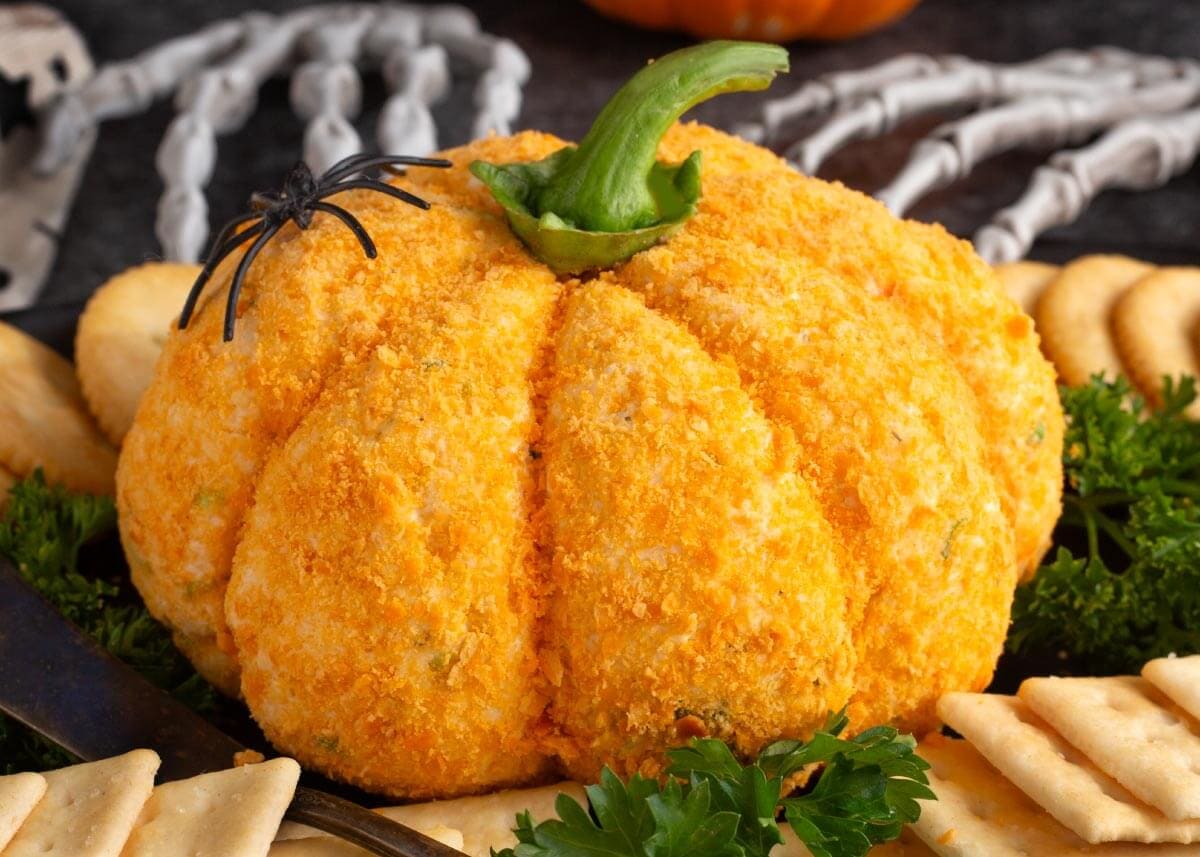
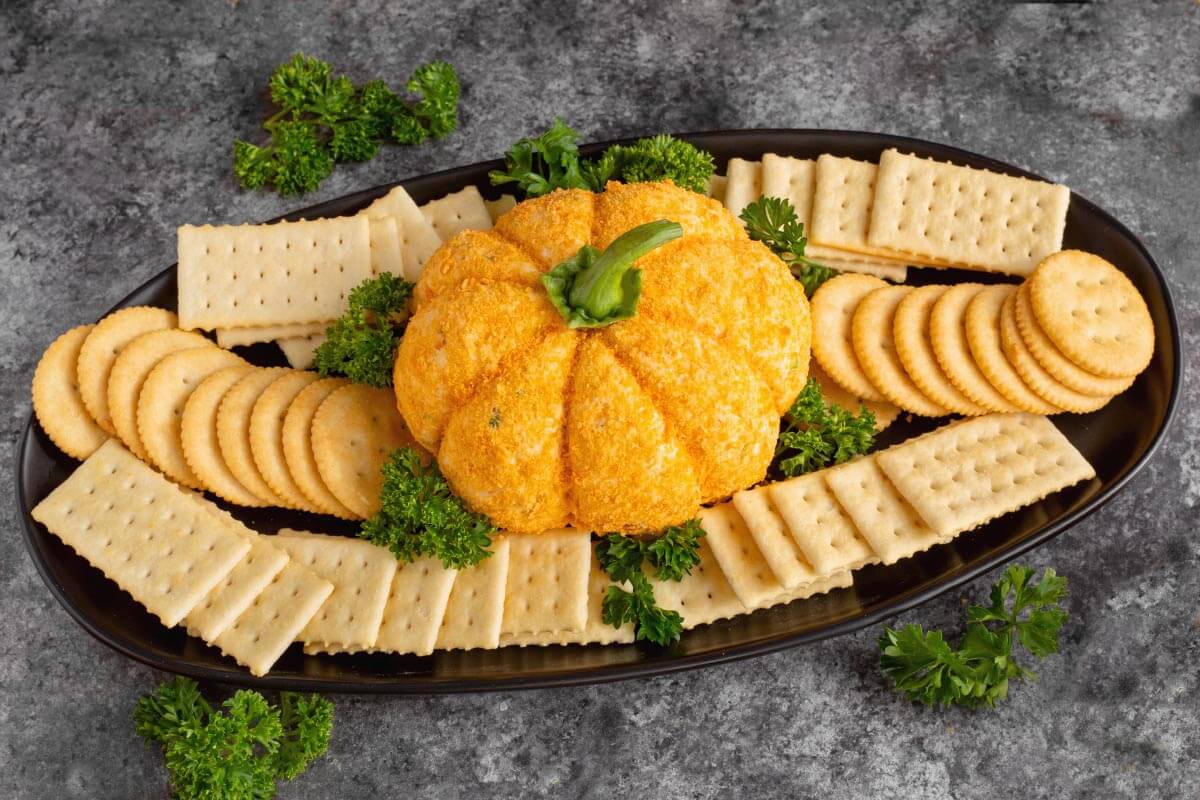
Arrange the pumpkin cheese ball on a platter with your favorite crackers and serve!
Tips for the Best Pumpkin Cheese Ball
- Quickly soften the cream cheese. Place the wrapped bricks in a large bowl of hot tap water for about 10 minutes, making sure the packaging is watertight. You want the cream cheese quite soft for easier mixing. It will firm back up in the refrigerator.
- Remove the twine while cold. The cheese ball should be firm when you remove the twine and plastic wrap so the pumpkin grooves hold their shape.
- Help the coating stick. If the surface isn’t sticky enough, let the unwrapped cheese ball sit for 5–10 minutes before gently pressing on the crumbs.
- Coat shortly before serving. The Cheez-It crumbs will retain more of their crunch when added just before serving.
Make-Ahead and Storage
Make ahead: Prepare and shape the cheese ball up to 2 days in advance. Keep it wrapped in the refrigerator, then add the orange coating and pepper stem shortly before serving.
Storage: Refrigerate leftovers in an airtight container for 3–4 days. The cracker coating will soften during storage, but the cheese ball will still taste good.
Serving: For easier spreading, let the cheese ball sit at room temperature for about 15 minutes before serving.

More Halloween Party Foods
If you’re planning a Halloween party, check out these fun and spooky recipes!
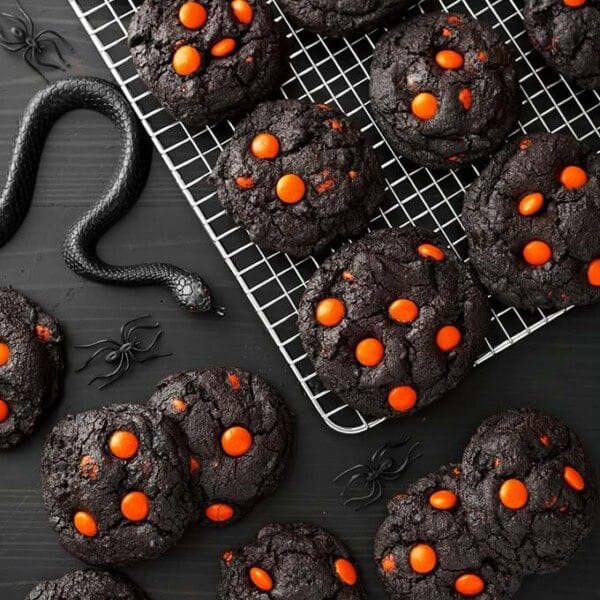
Halloween Monster Cookies
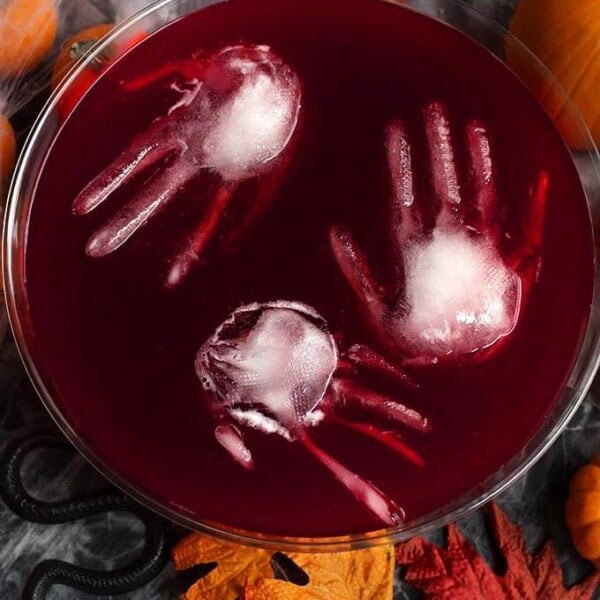
Witches Brew Halloween Punch
Halloween Feet Loaf
Easy Halloween Focaccia Bread
All of My Halloween Recipes
If you make this delicious Pumpkin Cheese Ball party appetizer, let me know by leaving a comment with a star rating below! 🎃

Pumpkin Cheese Ball
Ingredients
- 16 oz Cream Cheese softened (2 bricks)
- 2 ½ cups Sharp Cheddar Cheese finely shredded
- 1 Tablespoon Dry Ranch Seasoning Mix
- 1 ½ teaspoons Worcestershire Sauce
- ¾ teaspoon Garlic Powder
- 2 Green Onions finely chopped (or 2–3 Tablespoons fresh chopped chives)
For the Coating
- 1 cup Finely Crushed Cheez-Its (measured after crushing)
- 1 Green Bell Pepper Stem for decorating top
- Crackers for serving
Instructions
Mix the Cheeses
- In a large mixing bowl, use a fork to thoroughly combine the softened cream cheese and shredded cheddar cheese. You can also use an electric hand mixer on low speed to make mixing easier.
Add the Seasonings
- Add the ranch seasoning, Worcestershire sauce, and garlic powder. Mix thoroughly until the seasonings are evenly distributed.
Add the Green Onions
- Stir in the chopped green onions or chives until well combined.
Shape the Cheese Ball
- Lay two overlapping pieces of plastic wrap on the counter. Using a silicone spatula, transfer the cheese mixture to the center of the plastic wrap. Bring the plastic wrap up around the mixture and shape it into a ball, flattening the top and bottom slightly.
Make the Pumpkin Grooves
- Wrap four lengths of kitchen twine around the plastic-wrapped cheese ball, spacing them to create pumpkin-like grooves. Tie them snugly enough to make indentations without cutting too deeply into the cheese mixture.
Chill the Cheese Ball
- Place the wrapped cheese ball in the refrigerator and chill for at least 2 hours, or until firm. It can also be refrigerated overnight.
Remove the Twine and Plastic Wrap
- Carefully cut and remove the kitchen twine while the cheese ball is still cold. Gently peel away the plastic wrap and place the cheese ball on a serving platter.
Add the Orange Coating
- Gently press the finely crushed Cheez-Its onto the surface of the cheese ball, keeping the pumpkin grooves visible. If the crumbs aren’t sticking, let the cheese ball sit at room temperature for 5–10 minutes to soften slightly before applying the coating.
Decorate and Serve
- Press the green bell pepper stem into the top of the cheese ball. Arrange crackers around the pumpkin and serve.
Notes
Nutrition
Nutrition information is automatically calculated, so should only be used as an approximation.