
This post may contain affiliate links. Please read our disclosure policy.
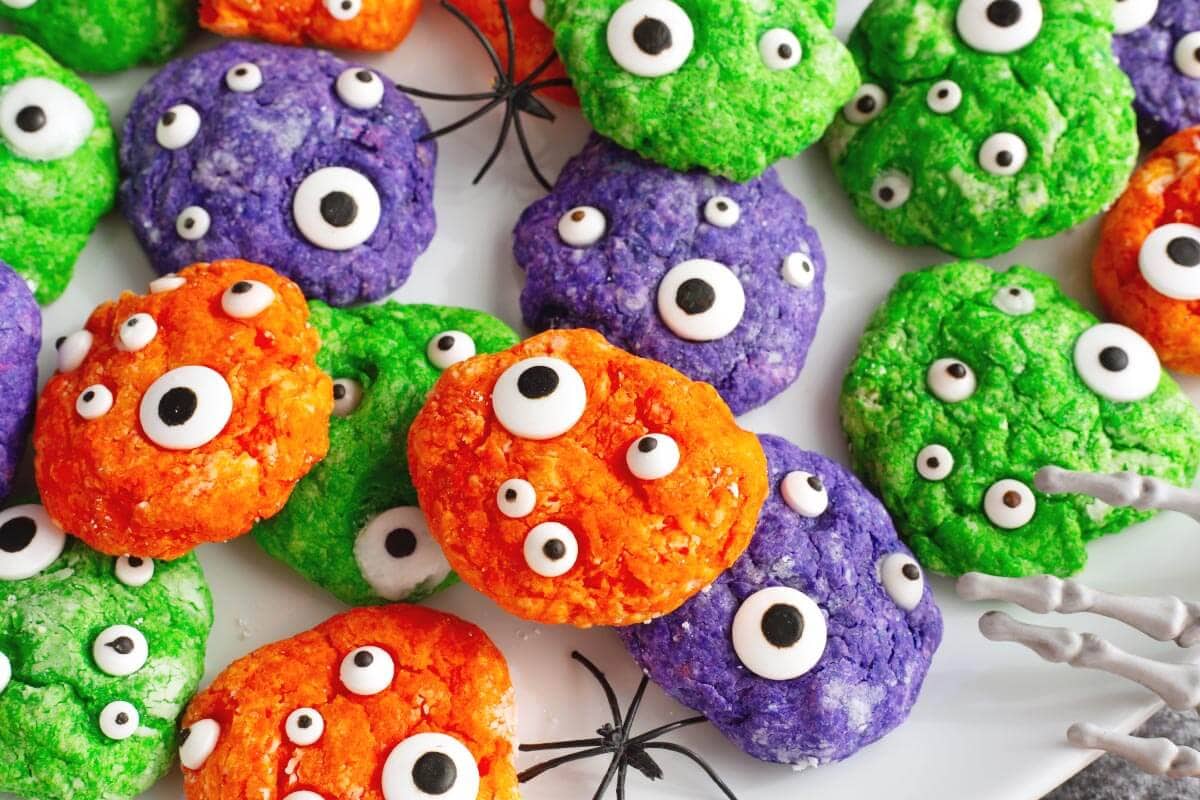
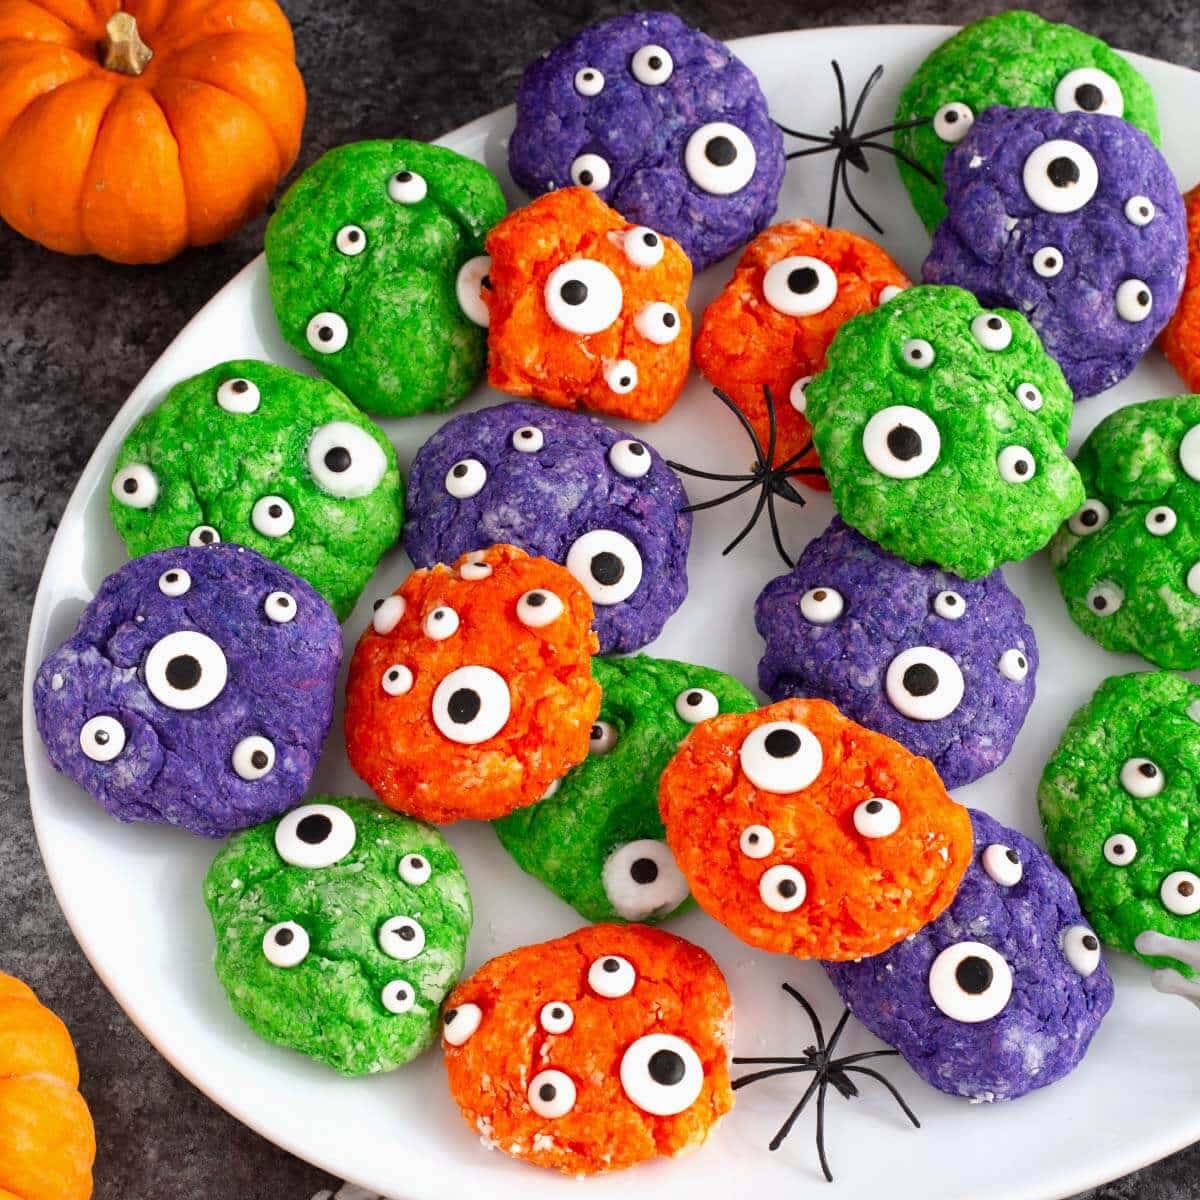
Halloween Monster Cookies are soft, sweet, and so much fun to make! These easy cake mix cookies are made with cream cheese, bright Halloween colors, and silly candy eyes. They’re a fun treat for Halloween parties, dessert trays, or anytime you want to make something a little spooky!

Table of Contents
Easy Halloween Monster Cookies with Cake Mix
These colorful little monsters are just as much fun to decorate as they are to eat! I made mine with three different colors of dough and assorted candy eyes to give each cookie its own funny personality.
The cookies have a soft, tender texture with a little richness from the cream cheese. Rolling them in powdered sugar before baking adds an extra touch of sweetness that I really like.
Why You’ll Love These Halloween Monster Cookies
- Easy cake mix recipe. A boxed cake mix keeps the ingredients and preparation simple.
- Soft and delicious. Cream cheese and butter give the cookies a rich, tender texture.
- Fun to decorate. Make colorful monsters with different arrangements of candy eyes.
- No frosting needed. The candy eyes bake right into the cookies, making decorating extra easy.
- Make ahead. Bake them in advance so they’re ready when you need them.
Halloween Monster Cookies Ingredients
You only need a few simple ingredients to make these fun Halloween cake mix cookies!
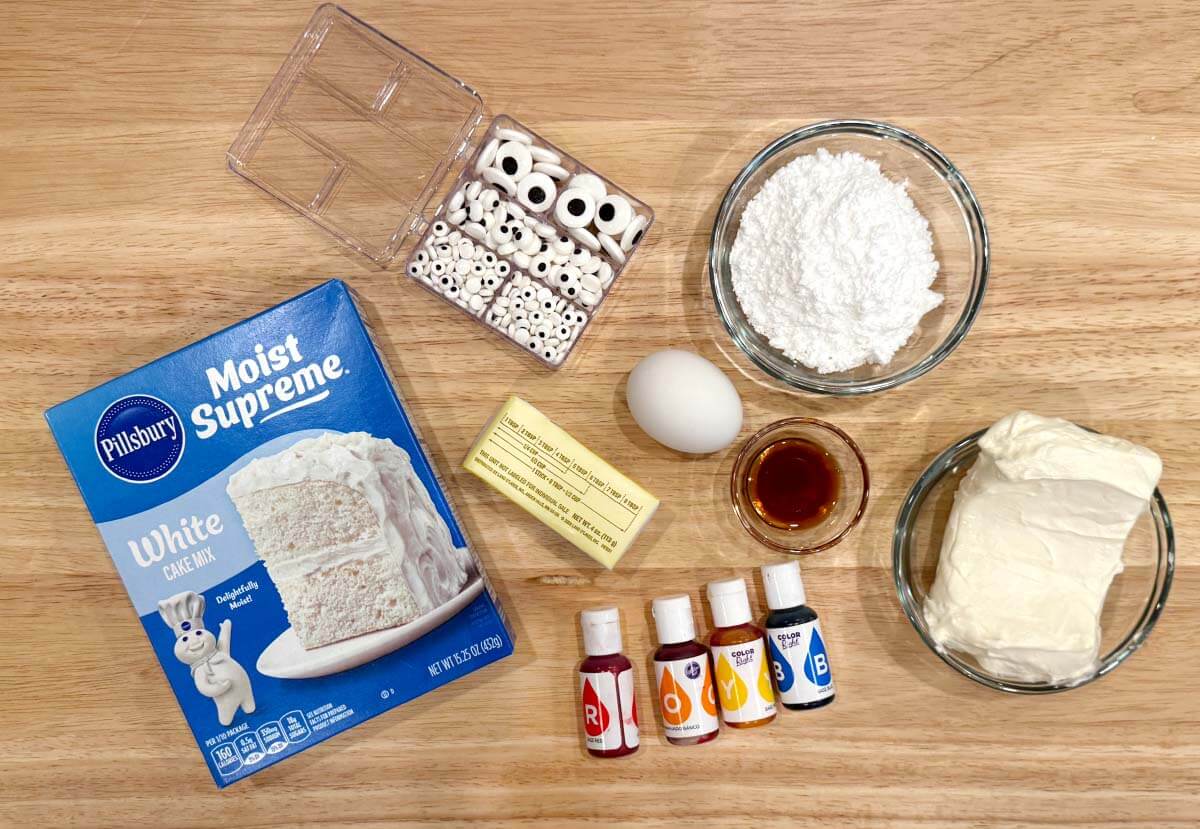
For the exact amounts, please see the recipe card below.
Full-Fat Cream Cheese, Unsalted Butter, Egg, Vanilla Extract, White Cake Mix, Gel Food Coloring, Powdered Sugar, Candy Eyes
- Cream Cheese: Use full-fat brick-style cream cheese, softened to room temperature. Avoid spreadable cream cheese from a tub.
- Cake Mix: White cake mix works especially well because it allows the food coloring to show up nicely. Use a 15.25-ounce box.
- Food Coloring: Concentrated gel food coloring gives the dough bright colors without adding much liquid. I used Wilton Color Right gels.
- Candy Eyes: Choose different sizes for fun monster faces. Larger candy eyes held their shape better during baking in my tests.
Variations and Substitutions
- Different colors: Try orange, green, purple, or any combination you like. You can even leave some lighter streaks in the dough for a slightly marbled appearance.
- Halloween sprinkles: Instead of coloring the dough, fold in ½ cup Halloween sprinkles for a different look.
- Yellow cake mix: You can use yellow cake mix instead of white, although the yellow color may affect the shades of food coloring.
- Other holidays: Change the colors and decorations to make these easy cookies for birthdays or other celebrations.
How to Make Halloween Monster Cookies
These cookies are easy to make, and decorating them is the fun part! Here’s a quick look at the steps.
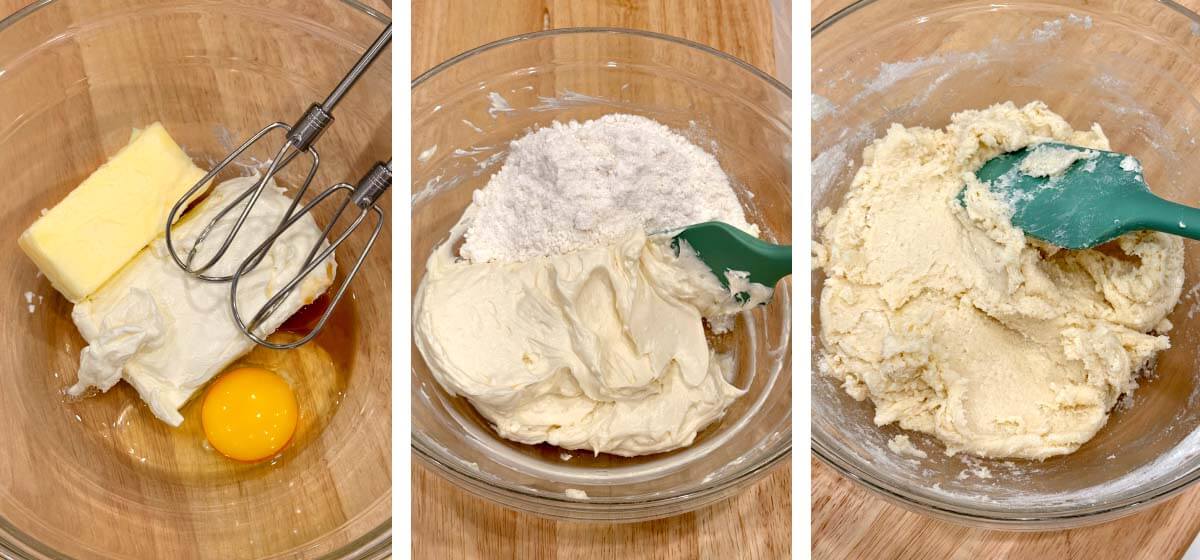
- Make the cookie dough. Beat the softened cream cheese, butter, egg, and vanilla until smooth. Stir in the dry cake mix until a thick, sticky dough forms.
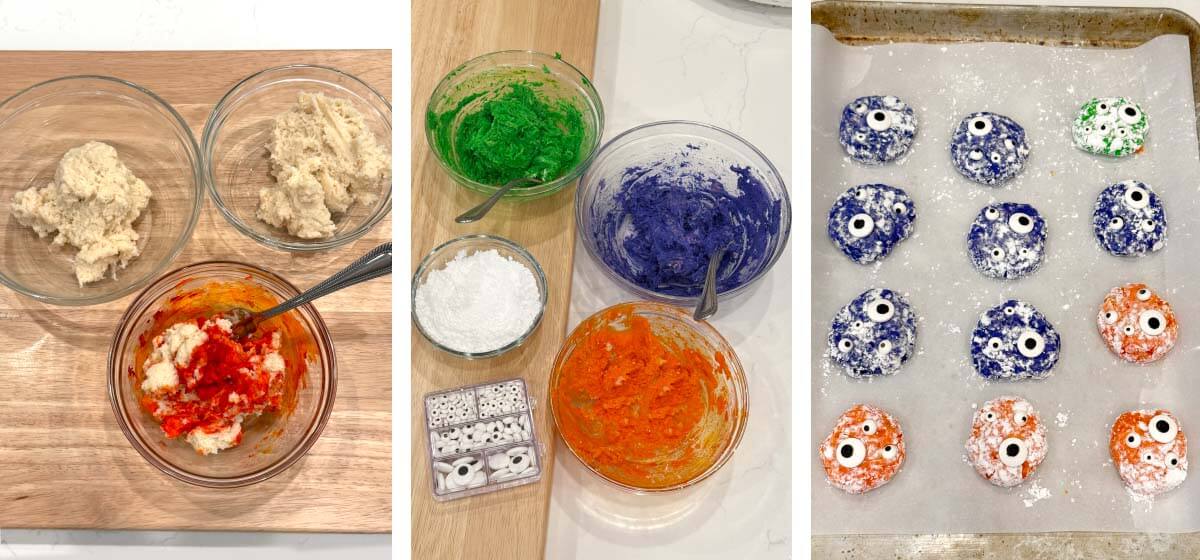
- Color the dough. Divide it into three portions and add gel food coloring to each one, mixing gently until you reach the colors you want.
- Shape and decorate. Scoop the dough into balls, roll in powdered sugar, and gently flatten into thick disks. Press the candy eyes into the dough to make funny monster faces.
- Bake. Bake at 350°F for 10–12 minutes, until the edges and centers are just set. Let the cookies cool on the baking sheet for 5 minutes before transferring them to a cooling rack.
Tips for the Best Monster Cookies
- Don’t chill the dough. The dough is thick and sticky, but a cookie scoop makes it easier to portion.
- Flatten before baking. These cookies don’t spread very much on their own. Gently flattening the dough helps the centers bake more evenly.
- Keep the powdered sugar. Some of it may disappear into the cookies as they bake, but it adds a nice sweetness.
- Use larger candy eyes. They held up better in the oven during testing. Very small candy eyes may soften or melt slightly.
- Don’t overbake. The tops should stay fairly pale, and the cookies will continue to firm up as they cool. I baked mine for 11 minutes.
How to Store Halloween Monster Cookies
Room Temperature: Store completely cooled cookies in an airtight container at room temperature for up to 3 days. Separate layers with parchment paper if needed to protect the candy eyes.
Freezer: Freeze the cookies in an airtight container or freezer bag for up to 3 months. Separate layers with parchment paper and thaw at room temperature before serving.
These cookies are best enjoyed at room temperature, so there’s no need to reheat them.

More Fun Halloween Recipes
If you’re putting together a Halloween party, here are a few more fun treats to try!
Witches Brew Halloween Punch
Halloween Cake Pops
Halloween Mummy Oreo Truffles
Halloween Snack Mix
All of My Halloween Recipes

Halloween Monster Cookies
Equipment
- 3 Small Mixing Bowls (for coloring dough)
Ingredients
- 8 ounces Full-Fat Brick-Style Cream Cheese softened
- ½ cup Unsalted Butter softened
- 1 large Egg
- 1 teaspoon Vanilla Extract
- 1 15.25-ounce box White Cake Mix dry
- ½ cup Powdered Sugar for rolling
Decorations
- Gel Food Coloring as desired (orange, green, purple, etc.)
- Candy Eyes assorted sizes, as desired
Instructions
Prepare the Cookie Dough
- Preheat the oven to 350°F. Line two baking sheets with parchment paper.
- In a large mixing bowl, beat the softened cream cheese, butter, egg, and vanilla extract with an electric mixer until smooth and combined.
- Add the dry cake mix and stir until a thick, sticky dough forms.
Divide and Color Dough
- Divide the dough evenly into three portions. Add a few drops of gel food coloring to each portion and gently mix until you reach your desired colors. Add more coloring as needed.
Shape and Decorate
- Using a generously rounded 2-Tablespoon cookie scoop, portion the dough into approximately 24 balls (about 1.17 ounces or 33 grams each).
- Roll each dough ball in powdered sugar until lightly coated. Place on the prepared baking sheets, about 2 inches apart.
- Gently flatten each dough ball into a thick disk. Press the candy eyes firmly but gently into the dough, arranging them to make funny monster faces.
Bake and Cool
- Bake one sheet at a time on the middle oven rack for 10–12 minutes, until the edges and centers are just set. The cookies will still be slightly puffy and should not brown much on top.
- Let the cookies cool on the baking sheet for about 5 minutes before transferring them to a wire rack to cool completely.
Notes
Nutrition
Nutrition information is automatically calculated, so should only be used as an approximation.