
This post may contain affiliate links. Please read our disclosure policy.
Instant Pot Chicken Pot Pie has tender chicken and vegetables in a creamy homemade sauce, served with warm, golden biscuits. This hearty pressure cooker chicken dinner has the comforting flavors of chicken pot pie, with no pie crust to roll out!
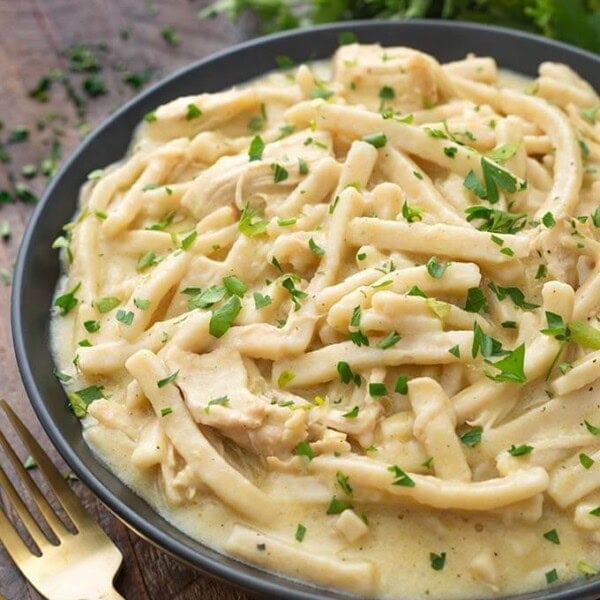
For another comforting pressure cooker dinner, try my Instant Pot Chicken and Dumplings!

Creamy Chicken Pot Pie with Biscuits
There’s something so satisfying about a bowl of creamy chicken and vegetables with a biscuit to soak up the sauce.
This version uses the Instant Pot for the filling, while the biscuits bake separately in the oven.
The sauce is made with butter, flour, and milk, so there’s no canned cream soup. Frozen or refrigerated biscuits keep things easy, though homemade biscuits are welcome, too!
Instant Pot Chicken Pot Pie Ingredients
This recipe uses boneless chicken thighs, a combination of fresh and frozen vegetables, and a few pantry staples.
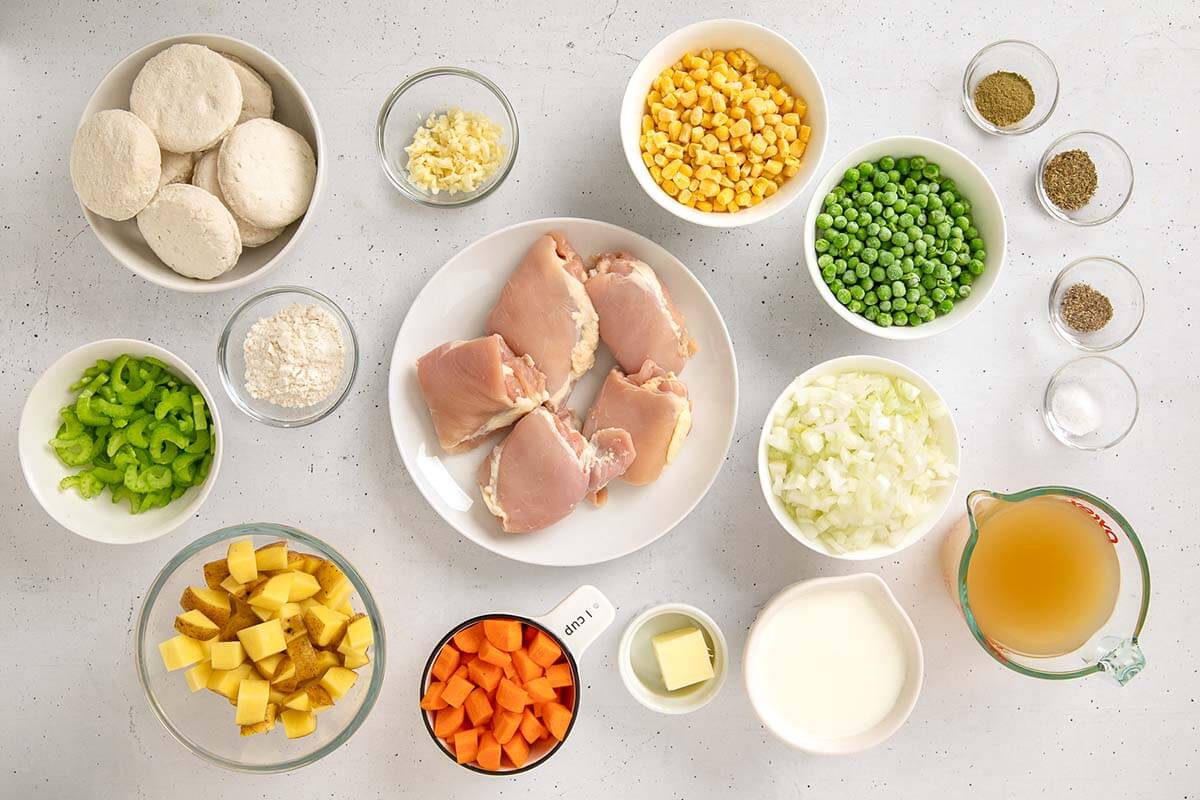
For exact amounts and full instructions, see the recipe card below.
Butter, Yellow Onion, Celery, Garlic, Boneless Skinless Chicken Thighs, Low-Sodium Chicken Broth, Dried Thyme, Poultry Seasoning, Fine Sea Salt, Black Pepper, Yukon Gold Potatoes, Carrots, All-Purpose Flour, Whole Milk, Frozen Peas, Frozen Corn, Buttermilk Biscuits
- Chicken: Thighs are a good choice for a tender, hearty filling.
- Potatoes: Yukon gold or red potatoes work well. Russets tend to break down more and will give the filling a different texture.
- Biscuits: Use frozen, refrigerated, or your favorite homemade biscuits. Bake them separately so they have golden tops and can be added just before serving.

How to Make Instant Pot Chicken Pot Pie
The Instant Pot is so handy with its sauté and pressure cook functions, allowing you to cook everything except for the biscuits in one pot!
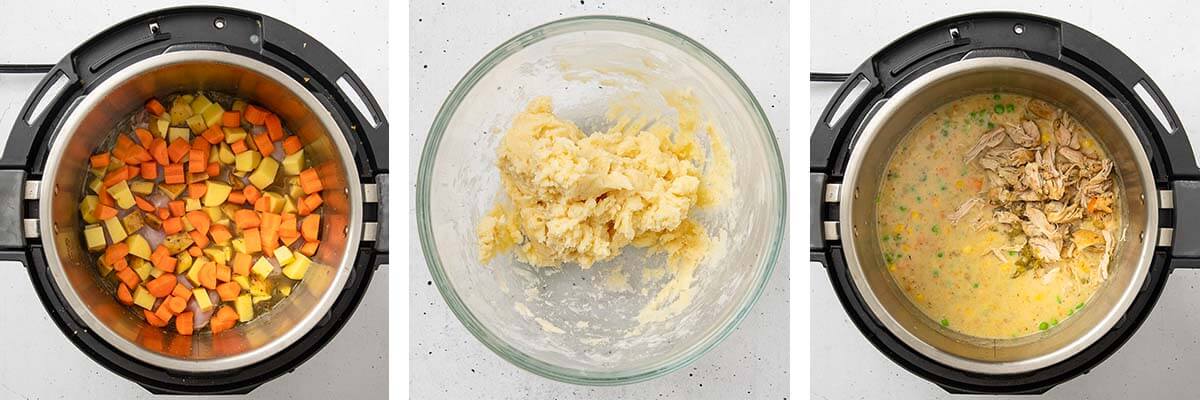
- Sauté the onion, celery, and garlic, then pressure cook the chicken with the broth, seasonings, potatoes, and carrots.
- Shred the chicken and thicken the sauce with the butter-flour mixture and milk. Stir in the peas, corn, and chicken, heat through, and serve with warm biscuits.
A helpful tip: The flour mixture and milk go in after pressure cooking. Keep the sauce at a gentle simmer and stir as it thickens to keep it from sticking to the bottom.
Storage and Reheating
Refrigerate: Store the filling in an airtight container in the refrigerator for up to 4 days. Keep the biscuits separate so they don’t get soggy.
Reheat: Warm the filling in a saucepan over medium-low heat, stirring often, until it reaches 165°F. Add a splash of broth or milk if needed to loosen the sauce. Warm the biscuits separately.
Freeze: Freeze the filling separately for up to 3 months. Thaw in the refrigerator overnight, then reheat gently, stirring well. The milk-based sauce may separate, so the texture may be a little different after freezing.


More Instant Pot Dinner Ideas
Instant Pot Pulled Pork
Instant Pot Taco Spaghetti
Instant Pot Beef Barley Vegetable Soup
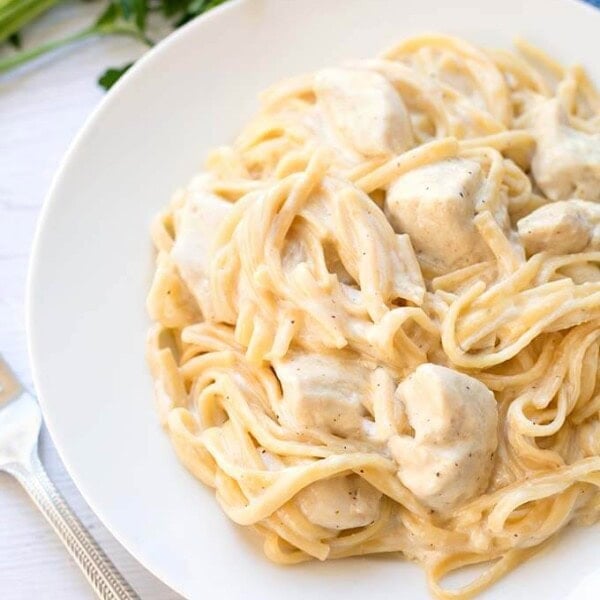
Instant Pot Fettuccine Alfredo
If you make this cozy Pressure Cooker Chicken Pot Pie, let me know by leaving a comment with a star rating below! 😊

Instant Pot Chicken Pot Pie
Ingredients
- 5 Tablespoons Butter divided (soften 3 Tablespoons for the flour mixture)
- 1 medium Yellow Onion diced (about 1¼ cups)
- 3 Celery Ribs sliced (about ¾ cup)
- 3 Garlic Cloves minced
- 1 ½ lbs Boneless Skinless Chicken Thighs trimmed of excess fat
- 1 ½ cups Low-Sodium Chicken Broth
- 1 teaspoon Dried Thyme
- 1 teaspoon Poultry Seasoning
- 1 teaspoon Fine Sea Salt or to taste
- ¼ teaspoon Black Pepper or to taste
- 2 cups Diced Yukon Gold Potatoes about ¾-inch pieces
- 1 cup Diced Carrots about ½-inch pieces
- 3 Tablespoons All-Purpose Flour
- 1 cup Whole Milk warmed
- 1 cup Frozen Peas
- 1 cup Frozen Corn
To Serve
- 8 Frozen or Refrigerated Buttermilk Biscuits
Instructions
Bake the Biscuits
- Heat the oven and bake the biscuits according to the package directions. You can bake them while the filling cooks. Set aside when done.
Make the Filling
- Select Sauté on the Instant Pot and use Normal or medium heat. Add 2 Tablespoons of the butter. When melted, add the onion and celery. Cook, stirring occasionally, until softened, about 5 minutes. Add the garlic and cook, stirring, for 30 seconds. Press Cancel.
- Pour in the chicken broth and scrape the bottom of the pot to release any browned bits.
- Stir in the thyme, poultry seasoning, salt, and pepper. Add the chicken thighs, spreading them out as much as possible. Add the potatoes and carrots on top.
Pressure Cook
- Close the lid and set the steam release valve to Sealing, if your model requires it. Select Pressure Cook or Manual, High pressure, for 10 minutes. Press Start if needed for your model.
- When the cook cycle ends, let the pressure release naturally for 10 minutes. Carefully release the remaining pressure. Open the lid when the pin drops.
- Check that the chicken has reached 165°F. If needed, simmer it in the liquid using Sauté until it reaches that temperature. Transfer the chicken to a cutting board and shred into bite-sized pieces. Set aside.
Thicken and Finish
- In a small bowl, mash the remaining 3 Tablespoons of softened butter with the flour until a smooth paste forms.
- Select Sauté on Normal or medium heat and bring the liquid to a gentle simmer. Add the butter-flour mixture a little at a time, stirring or whisking gently until fully incorporated, about 2 minutes. Avoid breaking up the potatoes as you stir.
- Gradually stir in the warmed milk. Simmer gently, stirring often, until the sauce thickens, about 3 to 4 minutes. Reduce the heat as needed to keep the sauce from sticking or boiling hard.
- Stir in the frozen peas, frozen corn, and shredded chicken. Continue cooking, stirring gently, until the chicken is hot and the frozen vegetables are cooked through according to their package directions.
- Taste and adjust the salt and pepper. Press Cancel.
- Serve the filling in bowls with warm biscuits on top or alongside.
Notes
- For a thicker filling, mash together 1 Tablespoon softened butter and 1 Tablespoon flour. Stir it into the simmering sauce a little at a time and simmer for another 2 to 3 minutes, or until thickened.
- If using regular chicken broth, start with less salt and adjust after cooking.
- Store the filling separately from the biscuits in an airtight container in the refrigerator for up to 4 days. Reheat the filling to 165°F, adding a splash of broth or milk as needed.
- Freeze the filling separately for up to 3 months. Thaw overnight in the refrigerator before reheating. The milk-based sauce may separate slightly after freezing.
Nutrition
Nutrition information is automatically calculated, so should only be used as an approximation.