
This post may contain affiliate links. Please read our disclosure policy.
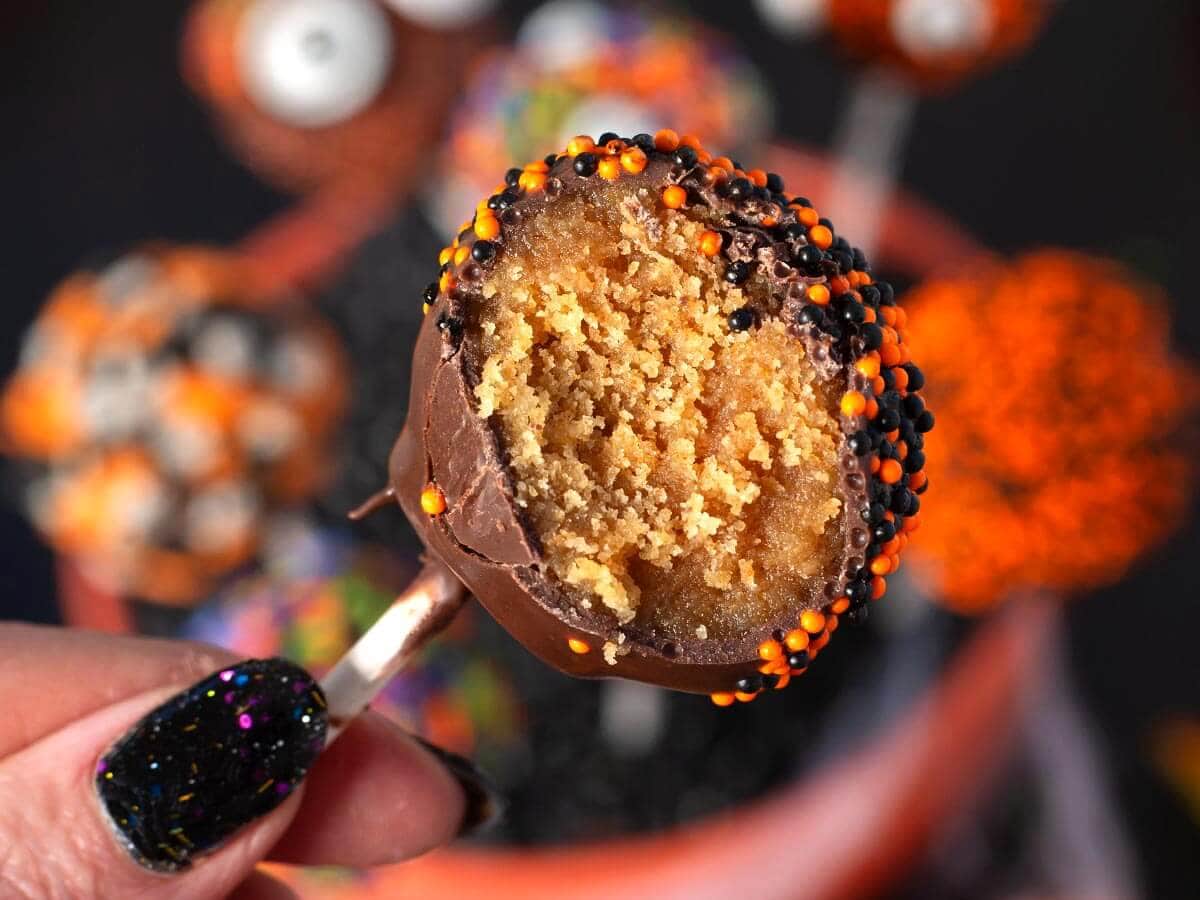
Halloween Cake Pops are almost too cute to eat! These fun little chocolate-covered treats are decorated with colorful sprinkles and silly candy eyes to make adorable Halloween monsters. They’re easy to make, delicious, and perfect for Halloween parties, dessert tables, or a little spooky fun!
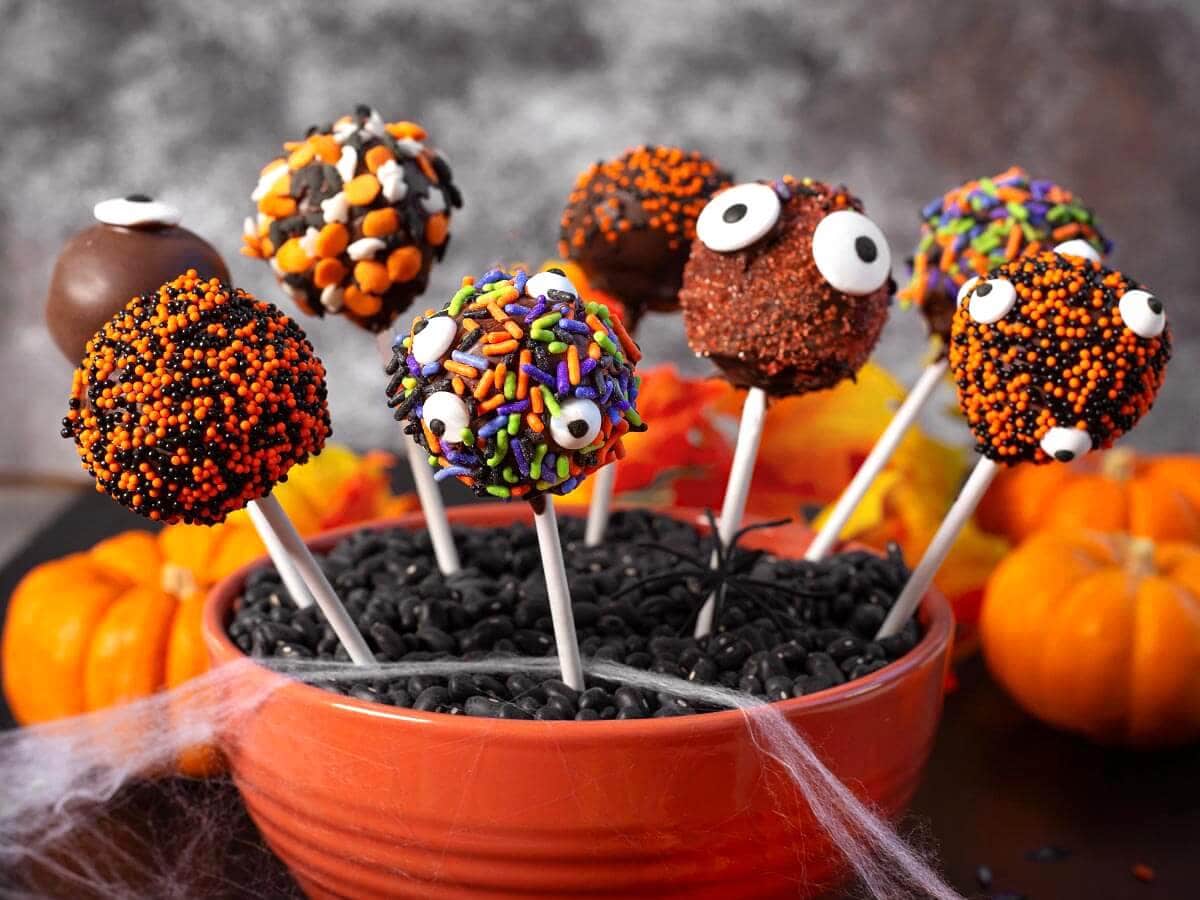
Table of Contents
- Easy Halloween Cake Pops
- Why You’ll Love These Halloween Cake Pops
- Ingredients for Halloween Cake Pops
- How to Make Halloween Cake Pops
- Tips for the Best Halloween Cake Pops
- Halloween Cake Pop Decorating Ideas
- Variations and Substitutions
- How to Store Halloween Cake Pops
- More Halloween Treats
- Halloween Cake Pops Recipe
Easy Halloween Cake Pops
These homemade Halloween Cake Pops are easier to make than you might think! You can use leftover unfrosted cake or bake a boxed cake mix specifically for this recipe.
I use creamy peanut butter to hold the cake crumbs together, which gives these little treats a delicious peanut butter flavor. You can also use prepared frosting if you prefer.
The decorating is my favorite part! I used Halloween sprinkles, candy confetti, and candy eyes to make a whole bunch of funny little monsters. No two have to look alike!
Why You’ll Love These Halloween Cake Pops
- Easy to make. Just mix, roll, chill, dip, and decorate!
- Delicious peanut butter flavor. Creamy peanut butter holds the cake crumbs together and tastes so good with the chocolate coating.
- Great for leftover cake. Use homemade cake or a baked, cooled boxed cake mix.
- Fun to decorate. Halloween sprinkles and candy eyes make cute little monsters.
- Perfect for parties. These individual treats are great for Halloween dessert tables and celebrations.
Ingredients for Halloween Cake Pops
You only need a few simple ingredients to make these fun Halloween treats. The decorations are completely up to you!
For exact amounts, please see the recipe card below.
Finely crumbled unfrosted cake, creamy peanut butter, melting chocolate, Halloween sprinkles, candy eyes.
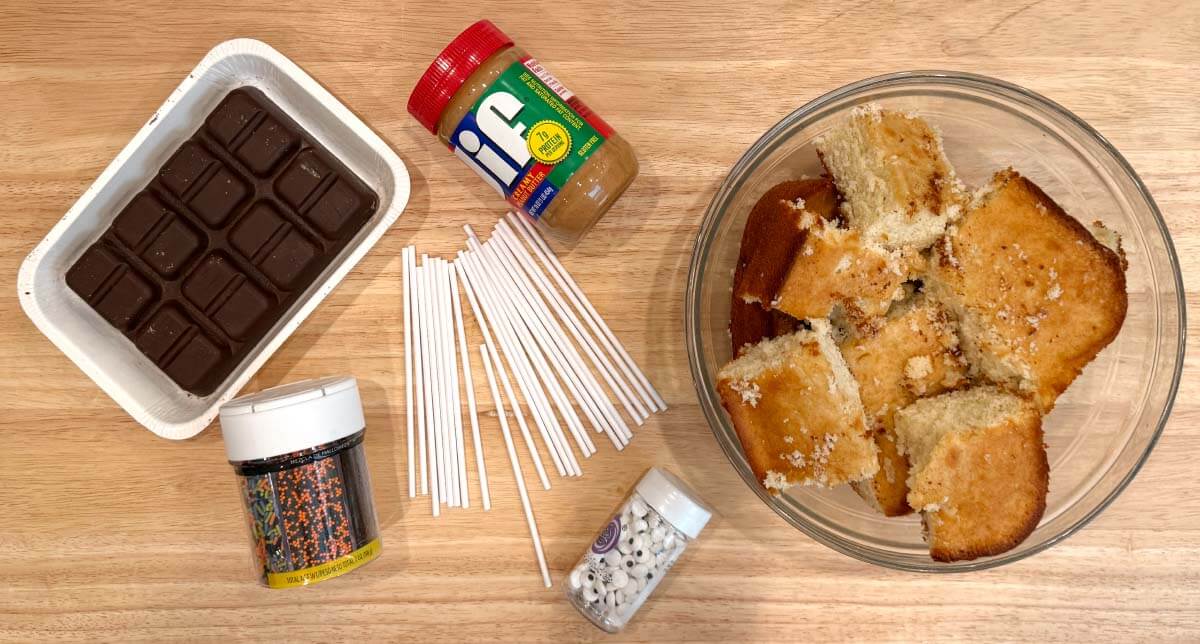
Cake: Use completely cooled homemade cake, leftover unfrosted cake, or cake prepared from a boxed cake mix. Yellow, vanilla, or chocolate cake are good choices.
Peanut Butter: Regular creamy peanut butter works well. You may need a little more depending on how moist your cake is.
Frosting Alternative: You can use prepared vanilla or chocolate frosting instead of peanut butter. See the Variations and Substitutions section for details.
Use Melting Chocolate: Use chocolate melting wafers, candy melts, or almond bark intended for dipping. These melt smoothly and set firmly.
How to Make Halloween Cake Pops
These easy Halloween Cake Pops are made by mixing cake crumbs with peanut butter, rolling them into balls, and dipping them in melted chocolate.
Make the Cake Balls
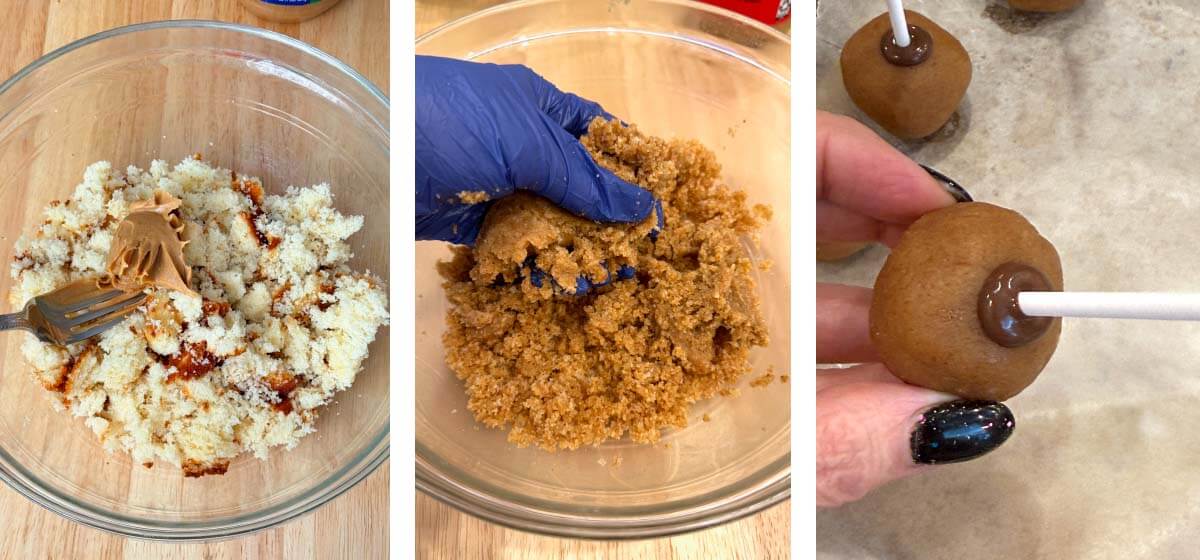
- Crumble the completely cooled cake into a large mixing bowl, breaking it into fine, even crumbs.
- Add the peanut butter and mix with a fork, then use your hands to work it thoroughly into the crumbs.
- Squeeze a small amount of the mixture in your hand. It should hold together without falling apart.
- Roll the mixture into approximately 1-inch balls and place them on a parchment-lined tray.
- Refrigerate for about 30 minutes, or until firm.
Attach the Sticks and Dip
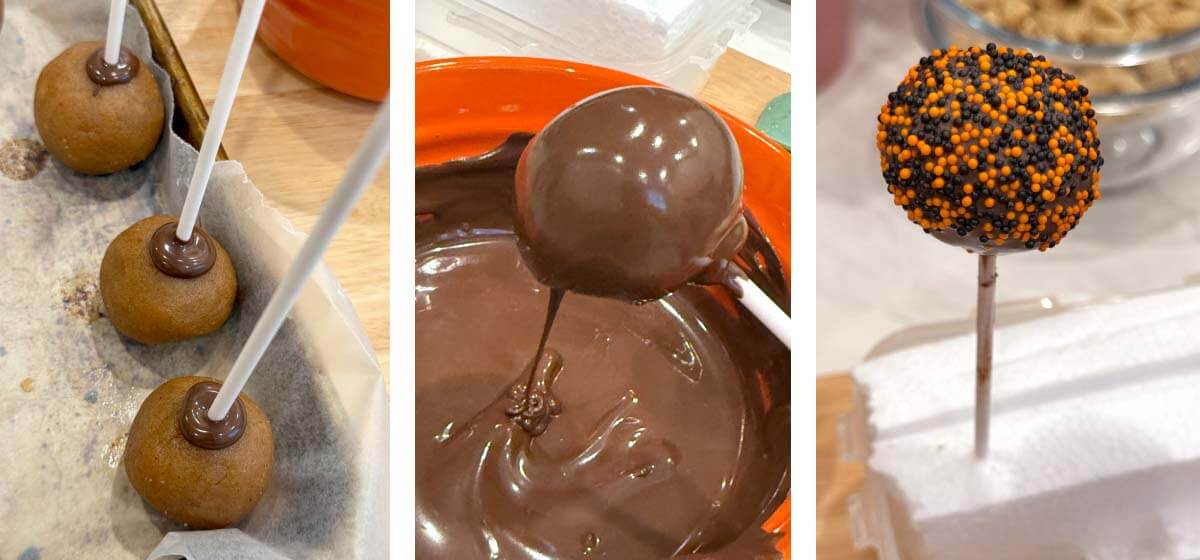
- Melt the chocolate wafers according to the package directions until smooth.
- Dip the end of a cake pop stick about ½ inch into the melted chocolate.
- Insert the stick approximately halfway into a chilled cake ball. Repeat with the remaining balls.
- Refrigerate for 5–10 minutes, until the chocolate securing the sticks is firm.
- Holding a cake pop by its stick, dip it straight into the melted chocolate until completely coated, including the area where the stick enters the cake.
- Lift it straight out and gently tap off the excess chocolate.
- Immediately decorate with Halloween sprinkles and candy eyes while the coating is still wet.
- Place the cake pops upright in a cake pop stand or Styrofoam block, spacing them apart. Allow the chocolate coating to set completely before serving or storing.
Tips for the Best Halloween Cake Pops
- Get the cake mixture just right. Squeeze a small amount in your hand. It should hold together and roll into a smooth ball without cracking, crumbling, or feeling sticky or greasy. If it’s too dry, add more peanut butter, 1 teaspoon at a time.
- Add milk only if needed. If your cake is particularly dry, a little milk may help. Start with ½ teaspoon and mix thoroughly before adding more.
- Chill before dipping. The cake balls should be firm but not frozen. Frozen cake balls can cause the chocolate coating to crack.
- Secure the sticks well. Dip each stick into melted chocolate before inserting it approximately halfway into the cake ball. Let the chocolate set before dipping the whole cake pop.
- Use a narrow, deep container. This makes dipping much easier and helps keep enough chocolate available to cover each cake pop.
- Dip gently. Lower the pop straight into the melted chocolate, lift it out, and gently tap off the excess. Avoid swirling it around, which can loosen the stick.
Halloween Cake Pop Decorating Ideas
This is where the fun really begins! You can decorate these Halloween Cake Pops in all kinds of spooky and silly ways.
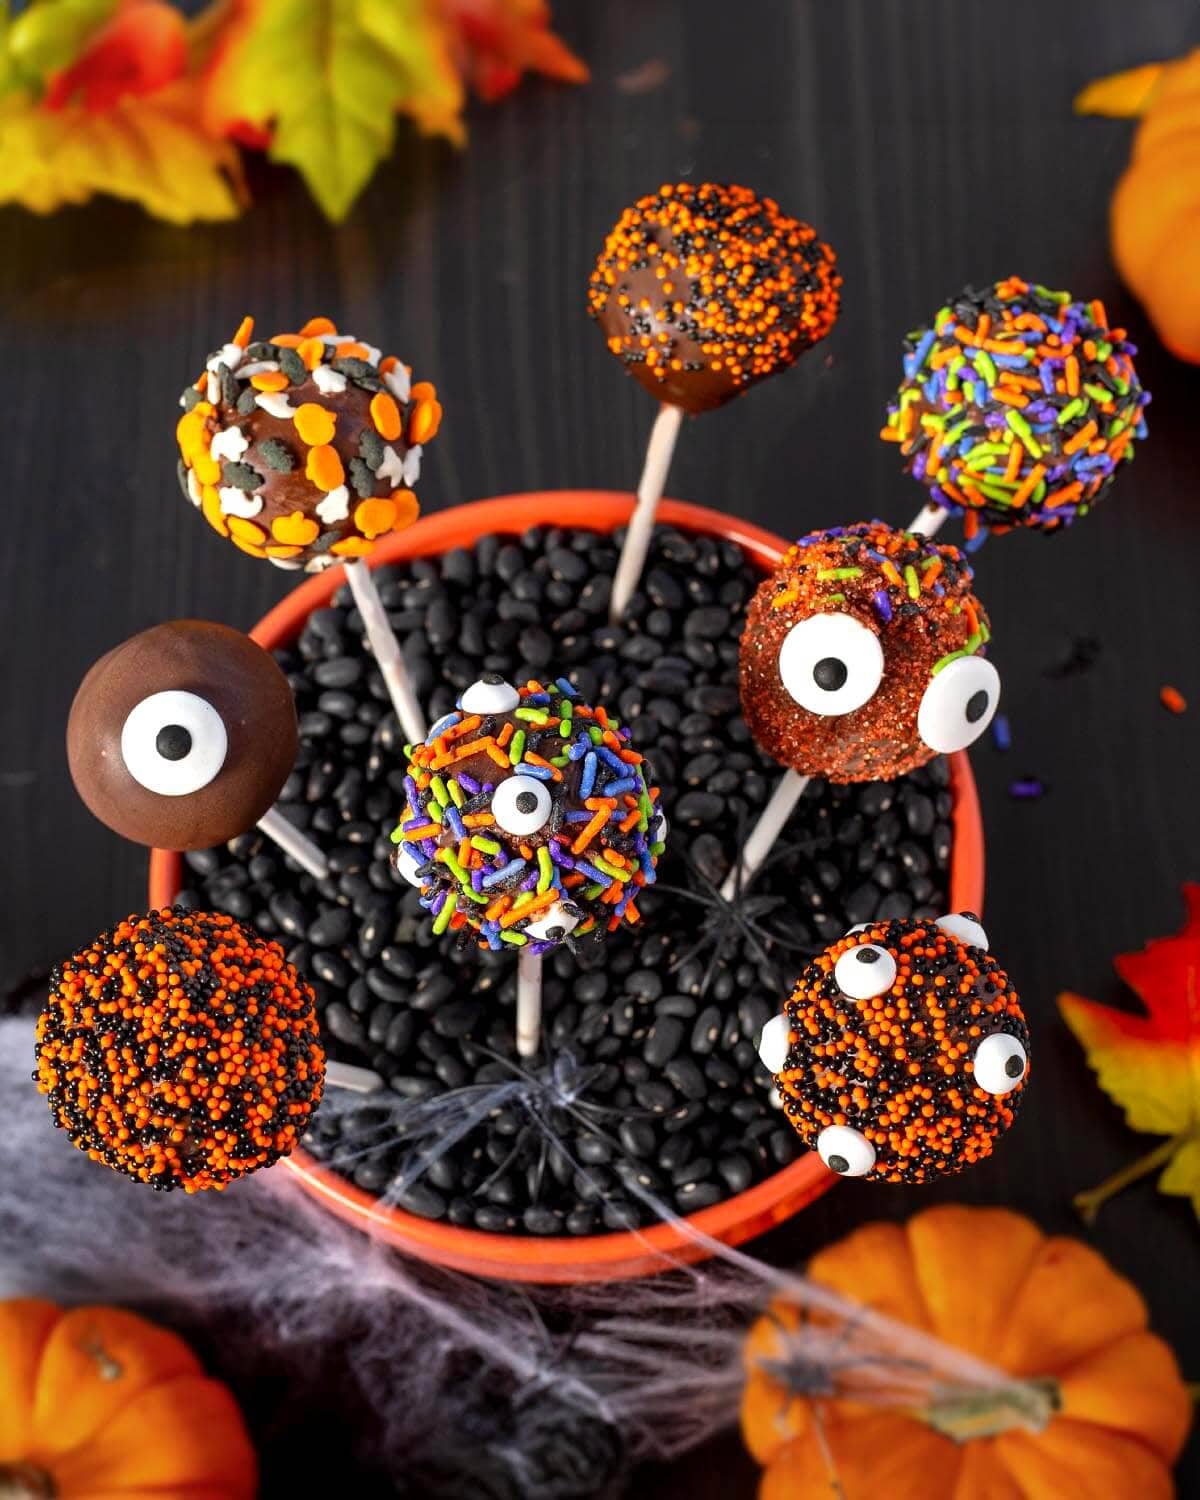
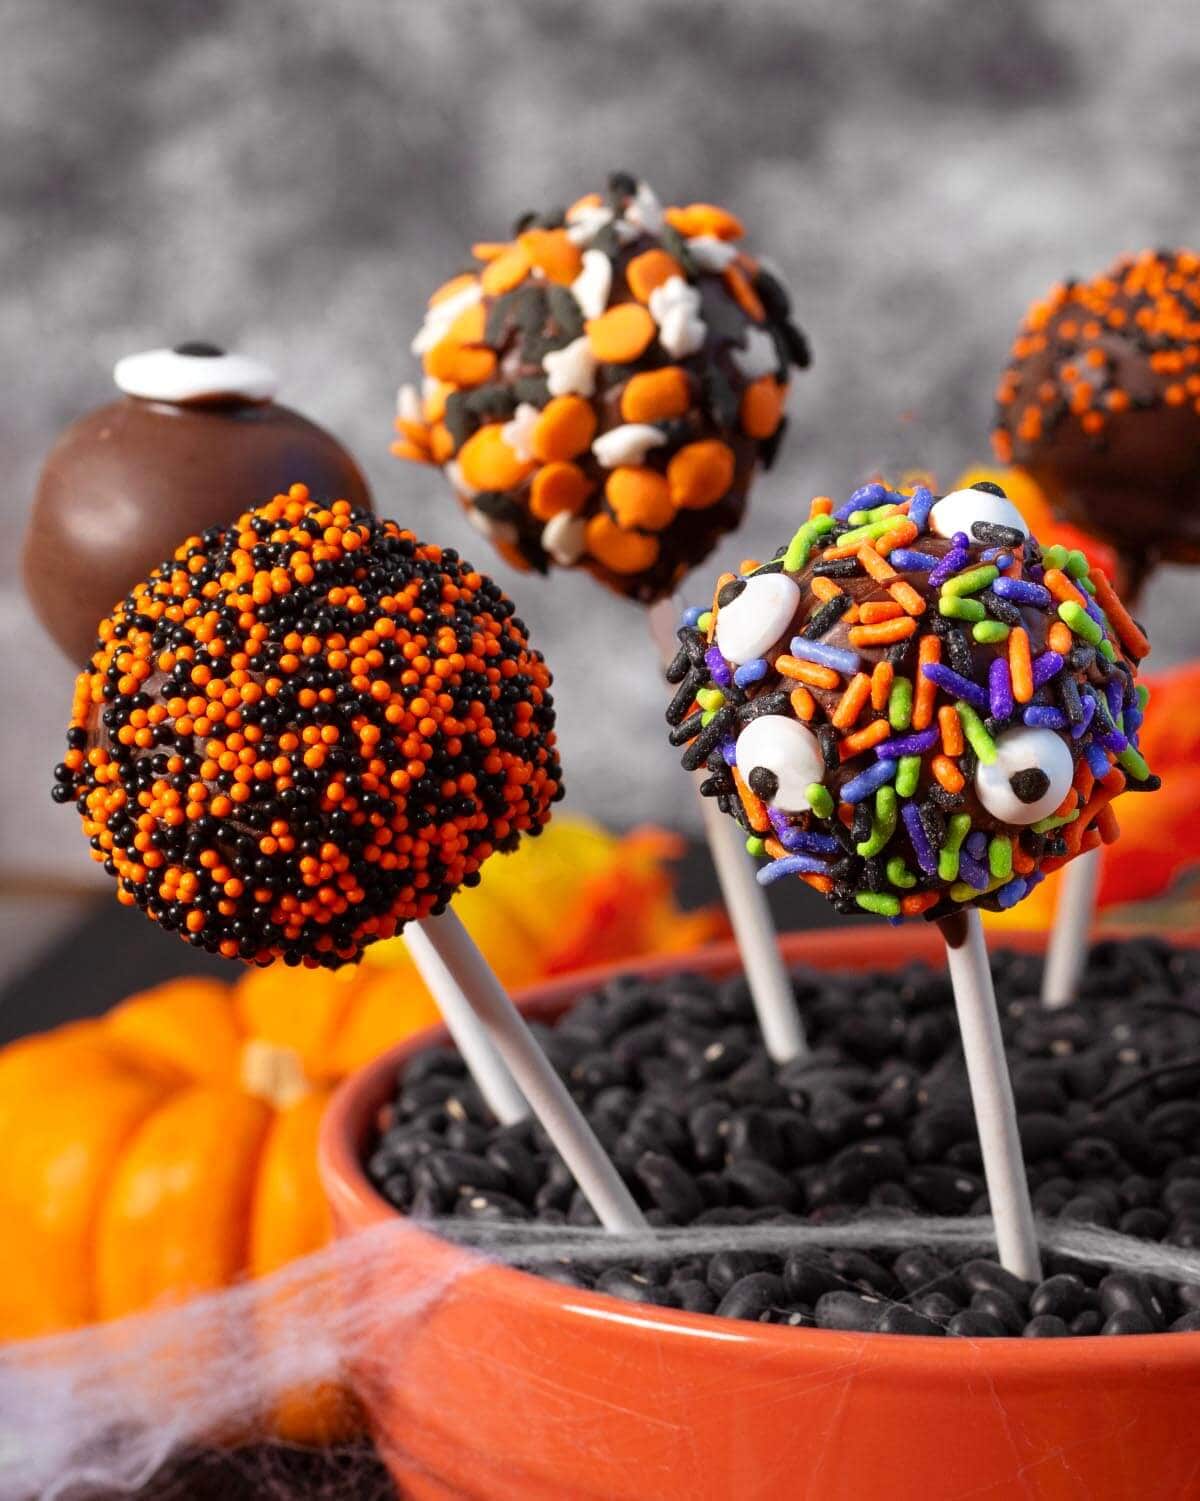
- Monster Cake Pops: Cover the wet chocolate with colorful Halloween sprinkles and add two or three candy eyes at different angles.
- Spooky Eyeballs: Add one large candy eye to a plain chocolate-coated cake pop.
- Orange and Black Sprinkles: Cover freshly dipped cake pops with orange and black nonpareils.
- Halloween Confetti: Decorate with orange, black, and white candy shapes for a festive finish.
You can make each one different or decorate them all the same. Either way, they’re sure to be a hit at your Halloween party!
Variations and Substitutions
- Use Frosting Instead of Peanut Butter: For traditional cake pops, substitute prepared vanilla or chocolate frosting. Start with ¼ cup of frosting for 4 cups of finely crumbled cake, mixing thoroughly. Add more, 1 Tablespoon at a time, until the mixture holds together and rolls into smooth balls without being too soft or sticky.
- Different Cake Flavors: Try yellow, vanilla, or chocolate cake. Just make sure the cake is completely cooled and unfrosted.
- Different Chocolate Coatings: Use milk chocolate, dark chocolate, white chocolate, or colored candy melts.
- Without Sticks: Make Halloween cake truffles instead. Dip the chilled cake balls using a fork, then place them on parchment paper to set.
- Different Decorations: Try Halloween-colored sugar, crushed cookies, or other small candy decorations.
How to Store Halloween Cake Pops
Refrigerator: Store finished cake pops in an airtight container in the refrigerator for up to 5 days. Let them sit at room temperature briefly before serving for the best texture.
Make Ahead: Prepare and roll the cake balls a day ahead. Keep them refrigerated in an airtight container, then attach the sticks, dip, and decorate when ready.
Freezer: Undipped cake balls can be frozen in a freezer-safe container for up to 2 months. Thaw overnight in the refrigerator before dipping. Don’t dip frozen cake balls, as the chocolate coating may crack.

More Halloween Treats
Halloween Snack Mix
Halloween Pasta Salad
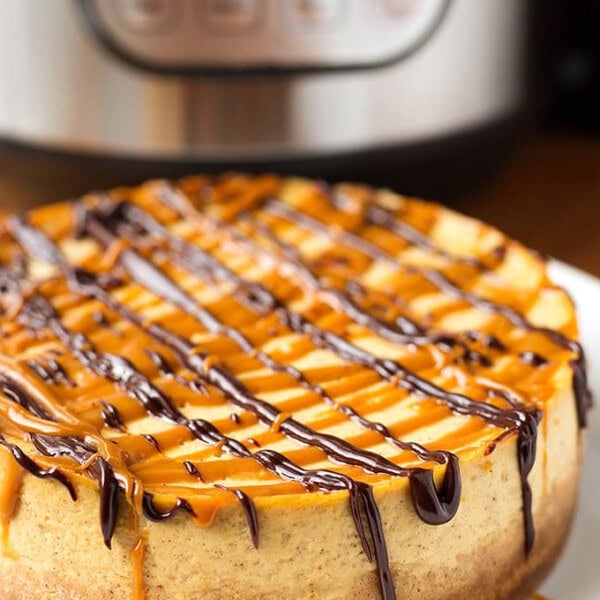
Mini Pumpkin Cheesecakes
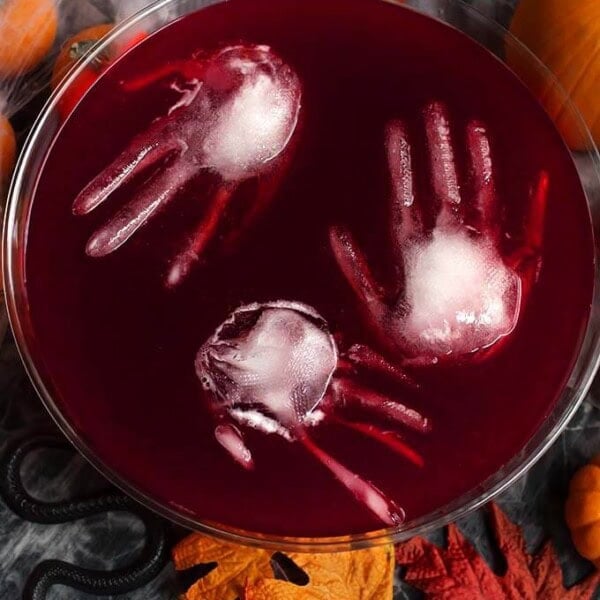
Spooky Halloween Party Punch
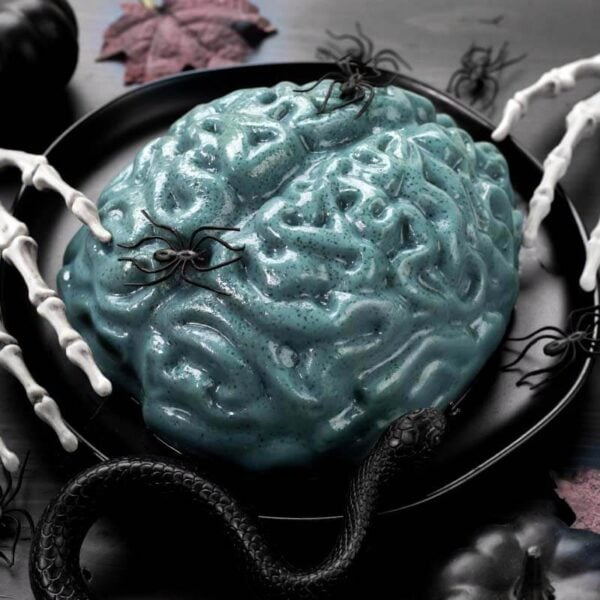
Halloween Jello Brain Recipe
If you make this Halloween Cake Pops recipe, let me know by leaving a comment and a star rating below! 🎃
Halloween Cake Pops
Equipment
- Fork
- Baking Sheet or Tray
- Microwave Safe Bowl or Narrow Dipping Cup
- Cake Pop Stand or Styrofoam Block
Ingredients
- 4 cups Finely Crumbled Unfrosted Cake completely cooled
- ½ cup Creamy Peanut Butter
- 16 ounces Chocolate Melting Wafers or Candy Melts
- Halloween Sprinkles optional
- Candy Eyes optional
- Milk optional, only if needed
Instructions
Make the Cake Ball Mixture
- Crumble the completely cooled cake into a large mixing bowl, breaking it into fine, even crumbs.
- Add the peanut butter and mix with a fork, then use your hands to work it thoroughly into the cake crumbs.
- Squeeze a small amount of the mixture in your hand to test the consistency. It should hold together without crumbling. Roll it into a ball to make sure it holds its shape without cracking. If necessary, add more peanut butter, 1 teaspoon at a time, mixing thoroughly after each addition.
- Roll the mixture into approximately 1-inch balls and place them on a parchment-lined tray. Refrigerate for about 30 minutes, or until firm.
Attach the Cake Pop Sticks
- Melt the chocolate coating according to the package directions until smooth. Use a narrow, deep microwave-safe container for easier dipping.
- Dip the end of a cake pop stick about ½ inch into the melted chocolate, then insert it approximately halfway into a chilled cake ball. Repeat with the remaining cake balls.
- Refrigerate for about 10 minutes, or until the chocolate securing the sticks is firm.
Dip and Decorate
- Holding a cake pop by its stick, lower the cake ball straight into the melted chocolate until completely covered, including the area around the stick.
- Lift it straight out and gently tap off the excess chocolate. Avoid swirling the cake pop in the coating.
- Immediately add Halloween sprinkles and candy eyes while the chocolate is still wet.
- Place the finished cake pops upright in a cake pop stand or Styrofoam block, spacing them apart. Allow the chocolate coating to set completely before serving or storing. I keep them in the fridge to harden.
Notes
Nutrition
Nutrition information is automatically calculated, so should only be used as an approximation.